The Best Honeycomb Ice Cream Recipe: Easy & Irresistible
You are going to fall in love with this homemade Honeycomb Ice Cream! There is something truly magical about the way those crunchy, golden nuggets of honeycomb melt slightly into a velvety vanilla base. It creates the most incredible ripples of caramel-like flavor that honestly put store-bought tubs to shame.
I designed this recipe to be completely beginner-friendly, so you don’t even need an expensive ice cream maker to get professional results. Whether you are hosting a sunny backyard barbecue or just want a sweet treat to tuck into after dinner, this Honeycomb Ice Cream hits the spot every single time.
This version is so creamy and decadent that your friends will swear you bought it from a high-end creamery. Plus, making the honeycomb yourself feels like a fun little science experiment in the kitchen—it’s so satisfying to watch it foam up into golden bliss!
More Ice Cream Recipes
- No-Churn Pumpkin Ice Cream Recipe
- Homemade Peach Pie Ice Cream (No-Churn!)
- Oatmeal Ice Cream with Toasted Walnuts Recipe
- Browned Butter Pecan Ice Cream
- No-Churn Chocolate Chip Ice Cream Recipe
- Vanilla Ice Cream
INGREDIENTS
For the Homemade Honeycomb (Cinder Toffee)
- 1 cup (200 g) Granulated white sugar
- 1/4 cup (60 ml) Golden syrup or light corn syrup
- 1 ½ tsp (7 g) Baking soda (sifted to remove lumps)
- 1 tbsp (15 ml) Water
For the Ice Cream Base
- 2 cups (480 ml) Heavy whipping cream (cold)
- 1 can (14 oz / 395 g) Sweetened condensed milk
- 1 tsp (5 ml) Pure vanilla extract or vanilla bean paste
- 1/4 tsp (1.5 g) Fine sea salt
Optional Add-ins
- 1/2 cup (85 g) Semi-sweet chocolate chips (melted for a chocolate drizzle)
- A pinch of flaky sea salt for topping
INSTRUCTIONS
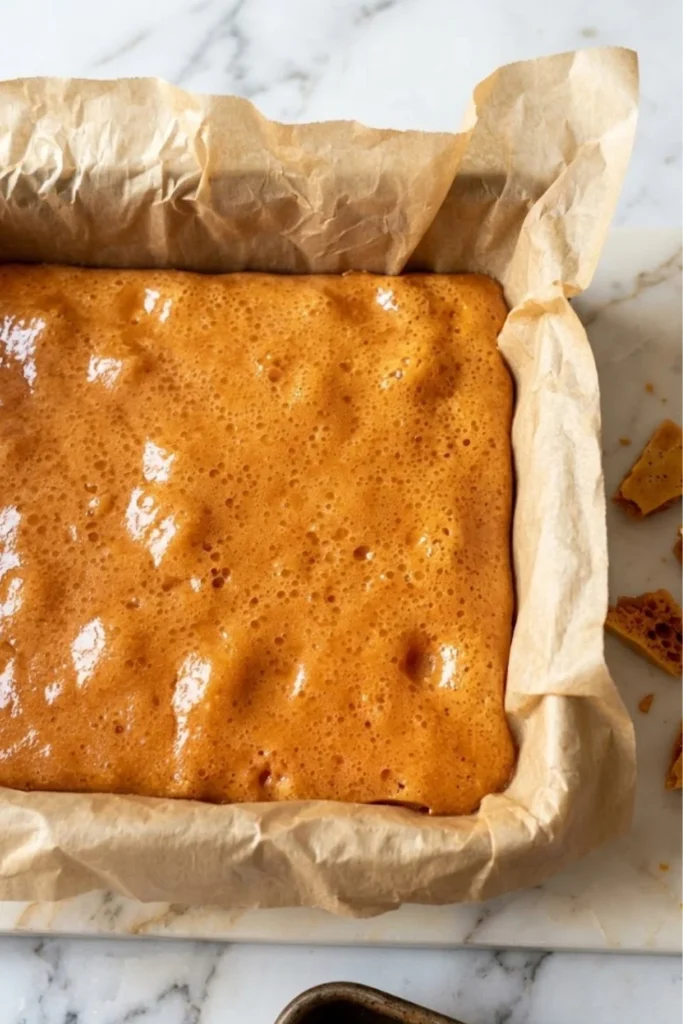
- Prepare your pan: Line an 8-inch (20 cm) square baking pan with parchment paper. Ensure the paper hangs over the edges so you can easily lift the honeycomb out later.
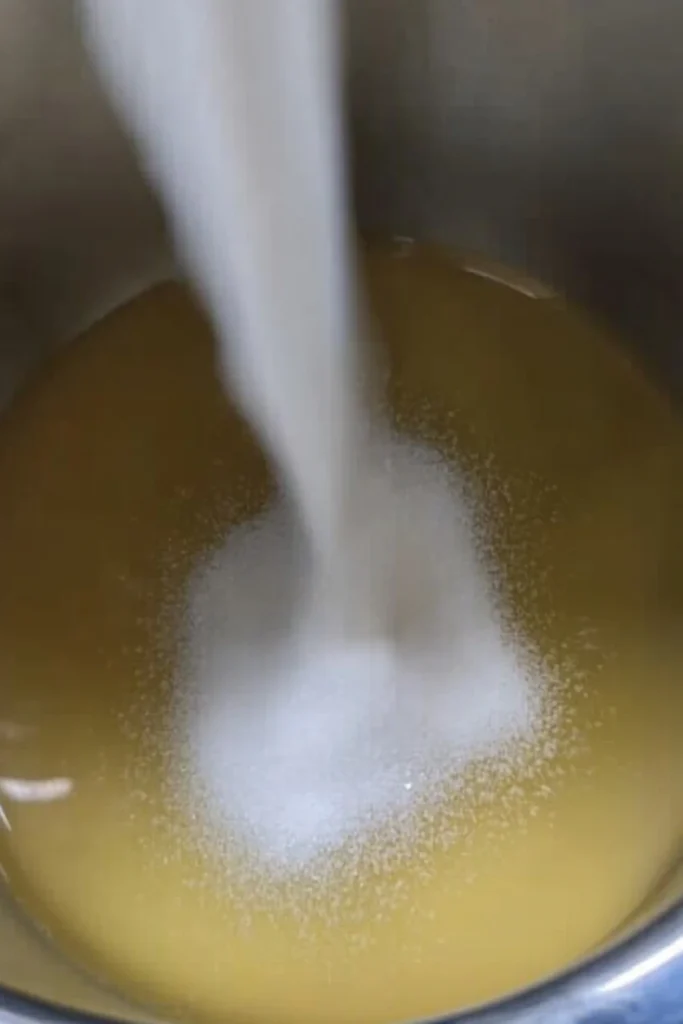
- Cook the sugar mixture: In a medium saucepan, combine the granulated sugar, golden syrup, and water. Stir over medium heat until the sugar dissolves. Once dissolved, stop stirring and let the mixture boil until it reaches a deep amber color, or 300°F (150°C) on a candy thermometer.
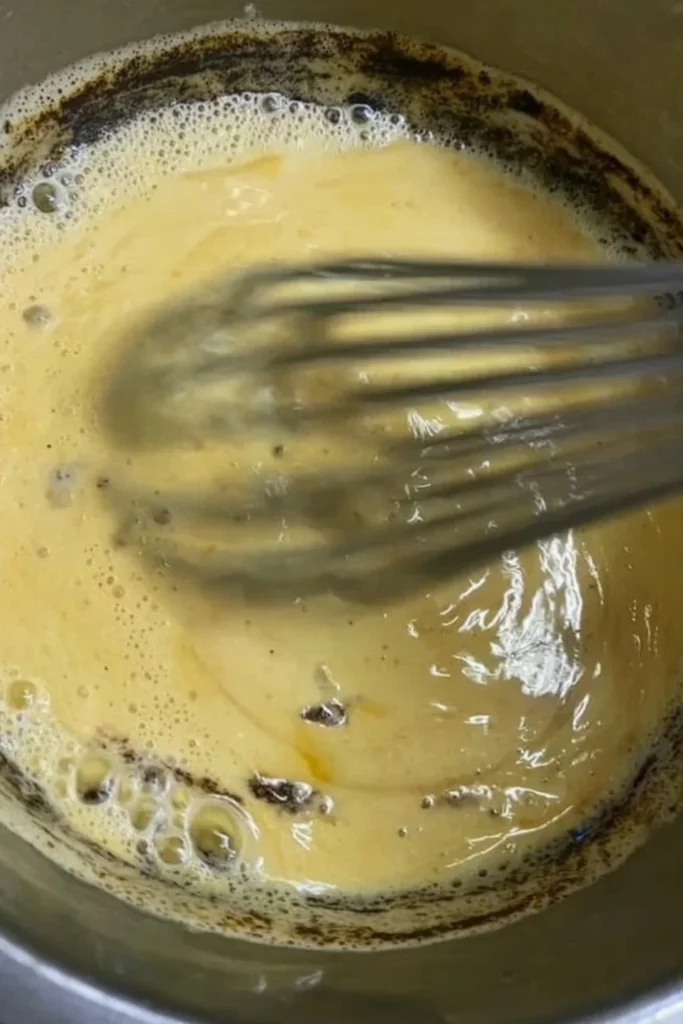
- Create the foam: Remove the pan from the heat immediately. Quickly whisk in the baking soda. Watch closely as the mixture foams up beautifully! Pour it instantly into your prepared pan. Do not spread it out; let it settle naturally and cool completely for at least 30 to 60 minutes.
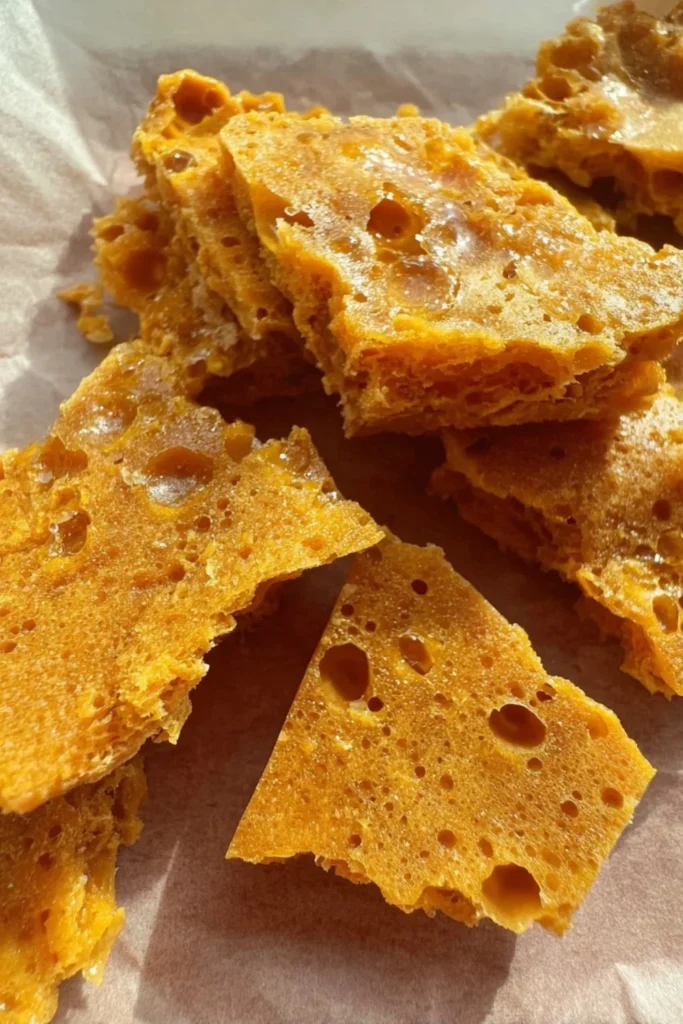
- Crush the honeycomb: Once the honeycomb is hard and cool, lift it out of the pan. Use a rolling pin or the back of a large spoon to break it into bite-sized chunks and smaller sandy bits.
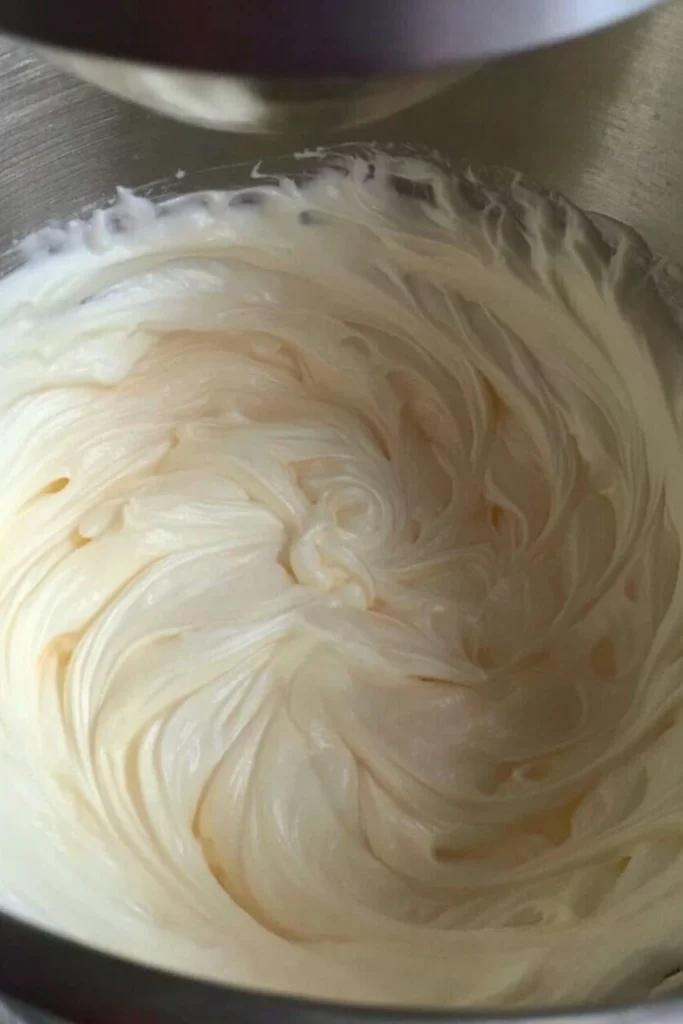
- Whip the cream: In a large chilled bowl, whip the cold heavy cream until stiff peaks form. Be careful not to over-mix!
- Fold the base: In a separate medium bowl, whisk together the sweetened condensed milk, vanilla extract, and sea salt. Gently fold this mixture into the whipped cream using a spatula until just combined.
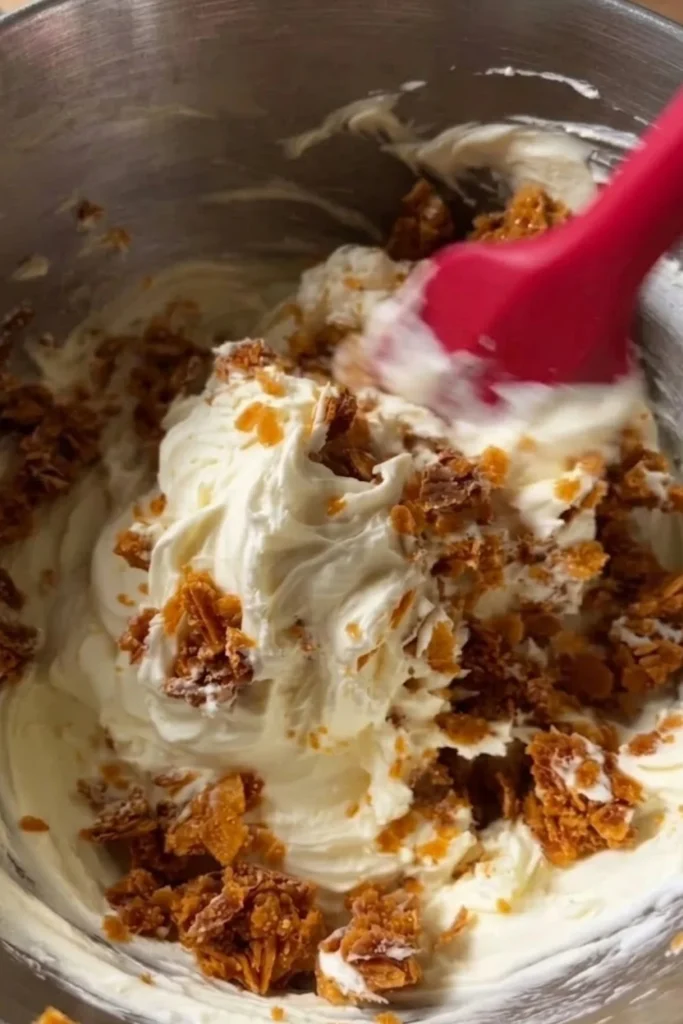
- Swirl in the crunch: Gently fold about three-quarters of your crushed honeycomb into the creamy mixture.
- Freeze: Pour the mixture into a freezer-safe container or a loaf pan. Top with the remaining honeycomb chunks. Cover tightly with plastic wrap or a lid and freeze for at least 6 hours, or ideally overnight, until firm.
TIPS & VARIATIONS
Cooking Tips
- Don’t Over-stir: Once the sugar and syrup mixture starts boiling, stop stirring. Stirring can cause the sugar to crystallize, resulting in a grainy honeycomb rather than a light, airy one.
- Sift Your Soda: Always sift your baking soda before adding it to the hot syrup. Small lumps of baking soda won’t dissolve properly and can leave a bitter, soapy taste in your golden honeycomb.
- Work Fast: Once you add the baking soda, the mixture reacts quickly. Have your lined pan ready and waiting so you can pour it in before it starts to deflate.
Ingredient Swaps
- Vanilla Twist: Swap the vanilla extract for vanilla bean paste to get those beautiful little black specks throughout your ice cream.
- Honey Substitute: If you can’t find golden syrup, you can use honey for the honeycomb. It will have a more floral, distinct honey flavor and a slightly darker color.
Storage & Make-Ahead Tips
- Keep it Cold: This no-churn ice cream melts a little faster than traditional churned versions. Always serve it straight from the freezer.
- Airtight is Best: Store your ice cream in a dedicated airtight container to prevent it from picking up any “freezer smells” and to keep that honeycomb crunch as fresh as possible. It stays delicious for up to 2 weeks!
SERVING IDEAS
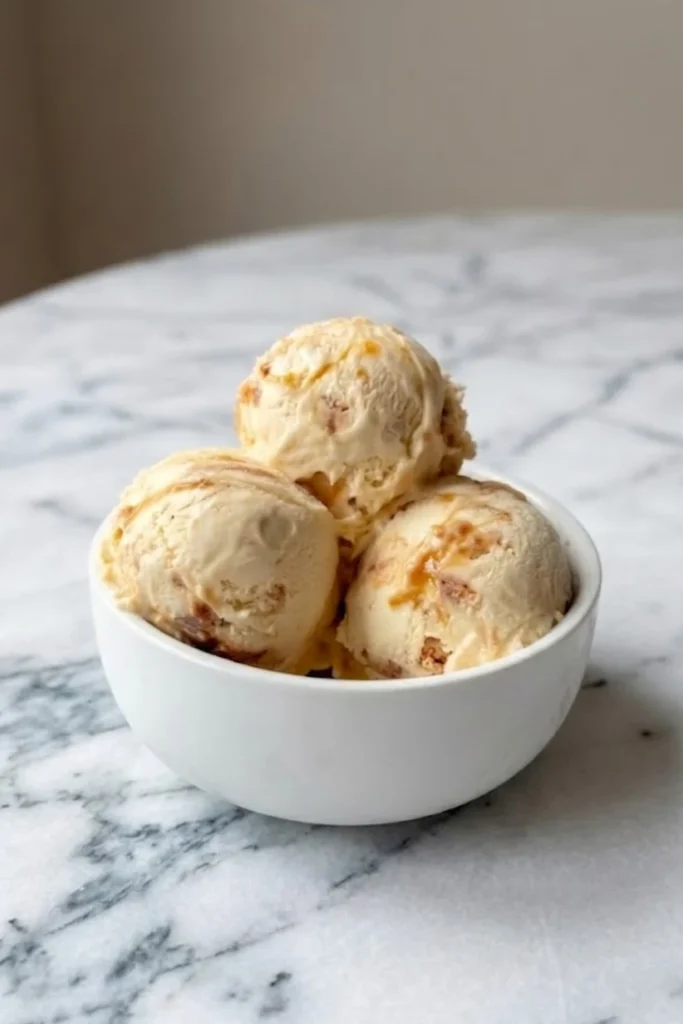
How to Serve For the most effortless scoops, let the container sit on the counter for about 2–3 minutes before serving. Use a warm ice cream scoop to create perfect, round globes of Honeycomb Ice Cream. The slight softening makes those crunchy bits stand out even more!
Delicious Pairings
- The Ultimate Sundae: Top a couple of scoops with a generous drizzle of warm chocolate ganache and an extra sprinkle of sea salt. The salt really makes the honey notes sing!
- Warm Brownie Base: Serve a scoop over a warm, fudgy brownie. The way the ice cream melts into the chocolate is pure heaven.
- Coffee Lovers: Try a “Honeycomb Affogato” by pouring a hot shot of espresso over a single scoop for a sophisticated, crunchy dessert.
Occasion-Based Ideas
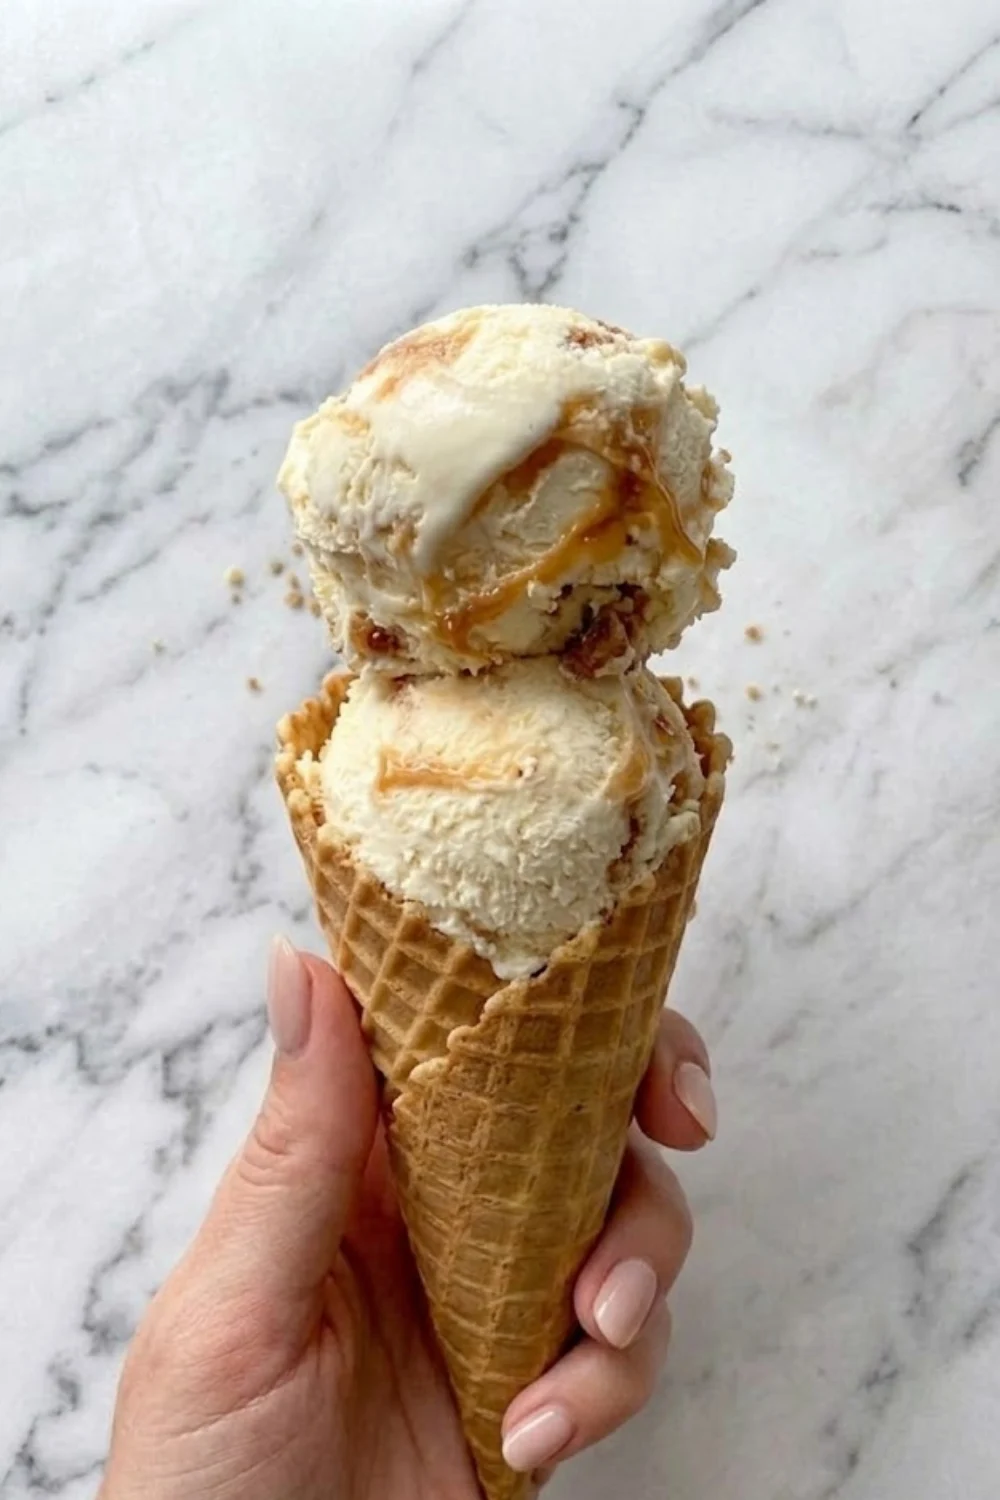
- Summer Garden Parties: Serve in waffle cones lined with melted chocolate to keep the summer vibes going and the kids happy.
- Holiday Dinners: This makes a fantastic alternative to traditional pies. It feels fancy enough for a dinner party but is so easy to prep days in advance.
FAQs
How do I prevent my honeycomb from tasting bitter? The bitterness usually comes from overcooking the sugar or using too much baking soda. Make sure you remove the pot from the heat exactly when it hits that deep amber color, and always measure your baking soda precisely!
Can I make this recipe without a candy thermometer? Yes, you can! Watch for the mixture to turn the color of an old penny (deep golden-brown). If you drop a tiny bit of the syrup into a glass of cold water and it turns brittle instantly, it is ready. However, a thermometer is the best way to get consistent results every time.
Why did my honeycomb sink to the bottom of the ice cream? If your ice cream base is a little too thin when you fold in the pieces, they might settle. To prevent this, ensure your heavy cream is whipped to very stiff peaks before folding in the condensed milk. This thick, airy texture holds the Honeycomb Ice Cream chunks in place perfectly.
How long does homemade honeycomb stay crunchy in the ice cream? The sugar in the honeycomb eventually starts to absorb moisture, but in this high-fat ice cream base, it stays delightfully crunchy for about 4–5 days. After that, it starts to soften into delicious ribbons of caramel, which tastes just as amazing!
Is this recipe gluten-free? Naturally, yes! The core ingredients for Honeycomb Ice Cream—sugar, syrup, baking soda, cream, and condensed milk—are all gluten-free. Just always double-check your specific brands to be 100% sure.
Recipe
Honeycomb Ice Cream
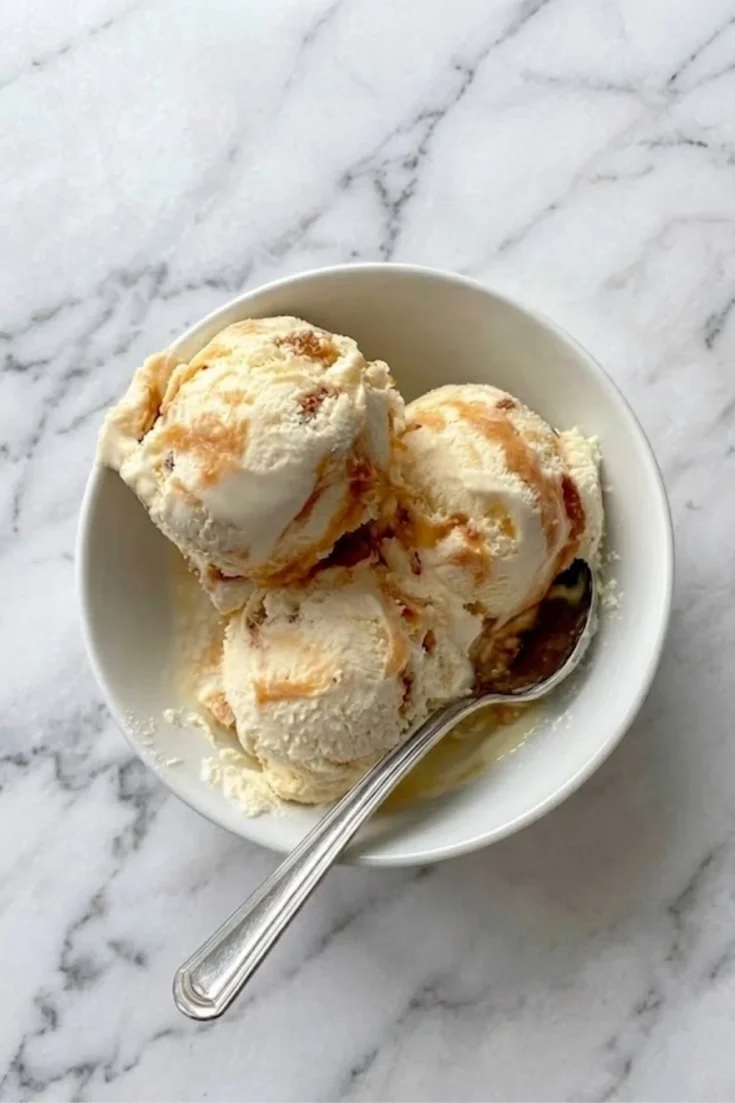
This easy, no-churn Honeycomb Ice Cream combines a velvety smooth vanilla base with shards of homemade golden cinder toffee. It’s the perfect balance of creamy and crunchy!
Ingredients
For the Honeycomb:
- 1 cup (200 g) Granulated white sugar
- 1/4 cup (60 ml) Golden syrup or light corn syrup
- 1 tbsp (15 ml) Water
- 1 ½ tsp (7 g) Baking soda
For the Ice Cream:
- 2 cups (480 ml) Heavy whipping cream, very cold
- 1 can (14 oz / 395 g) Sweetened condensed milk
- 1 tsp (5 ml) Pure vanilla extract
- 1/4 tsp (1.5 g) Fine sea salt
Instructions
- Line an 8-inch (20 cm) pan with parchment paper.
- In a saucepan, heat sugar, syrup, and water over medium heat. Let it boil without stirring until it reaches 300°F (150°C) or turns deep amber.
- Remove from heat, whisk in baking soda quickly, and pour into the pan. Let it cool completely, then shatter into bite-sized pieces.
- Whip the cold heavy cream in a large bowl until stiff peaks form.
- In a separate bowl, stir the condensed milk, vanilla, and salt. Fold this gently into the whipped cream.
- Fold in most of the Honeycomb Ice Cream bits, saving some for the top.
- Transfer to a container, top with remaining honeycomb, and freeze for at least 6 hours.
Notes
Nutrition Information:
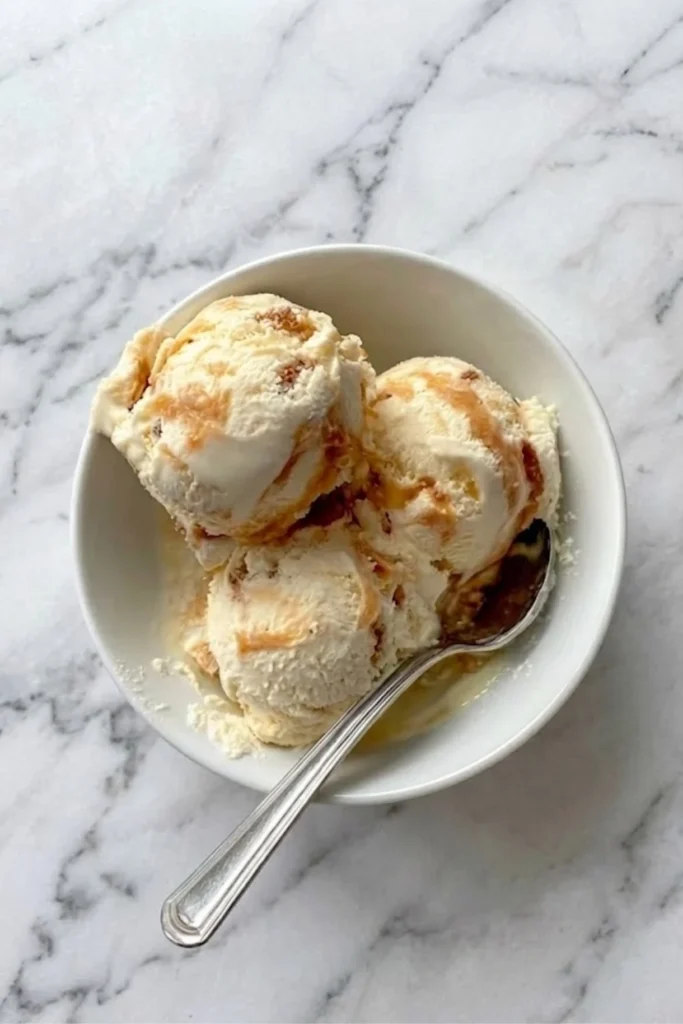
Yield: 10 Serving Size: 1 ScoopAmount Per Serving: Calories: 310Total Fat: 17gCarbohydrates: 38gProtein: 4g
Nutrition information is estimated and may vary based on ingredients used.
I am so excited for you to try this Honeycomb Ice Cream! There is truly nothing like the satisfaction of cracking into that homemade golden toffee and seeing those beautiful swirls in your very own batch of ice cream. It is such a showstopper of a dessert, yet it’s simple enough for a casual Tuesday treat.
If you make this recipe, please come back and let me know how it turned out in the comments—I love hearing about your kitchen wins! Don’t forget to snap a photo and tag me, or better yet, pin this to your favorite dessert board on Pinterest so you can whip it up whenever that sweet tooth strikes.
Happy scooping, and enjoy every single crunchy, creamy bite!