Best Easy No-Churn Chocolate Chip Ice Cream Recipe
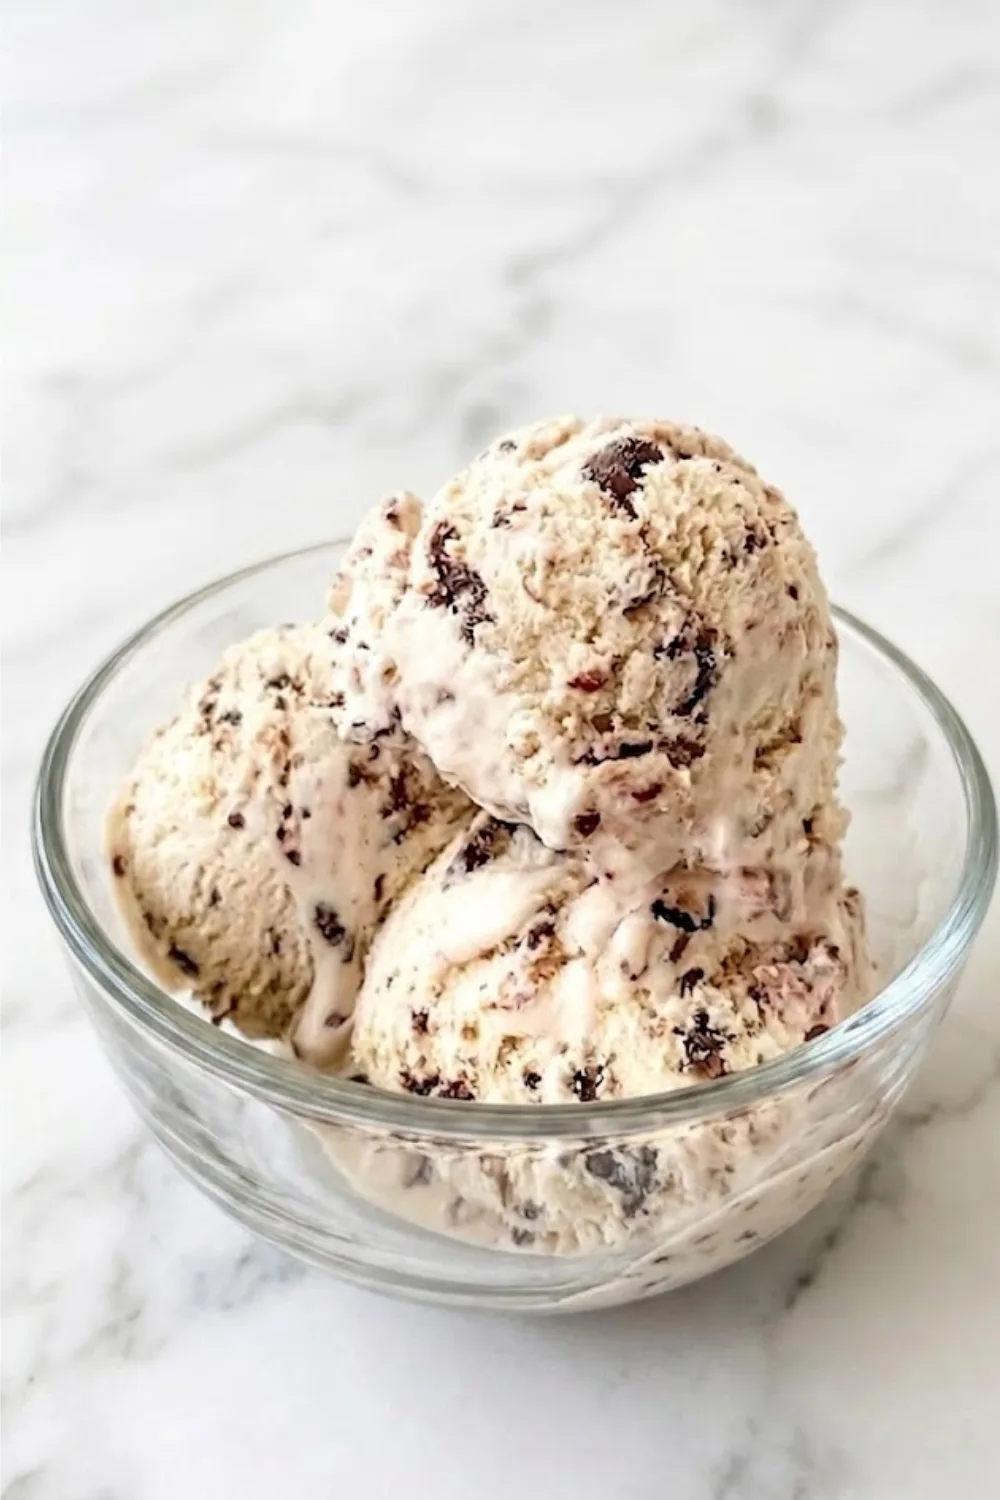
I am so excited to share this one with you because it is a total game-changer for your dessert routine! Imagine diving into a bowl of velvety, rich vanilla cream packed with tons of crunchy chocolate bits, all without ever touching an ice cream maker. This No-Churn Chocolate Chip Ice Cream is incredibly dreamy and takes only minutes to whip up before it heads to the freezer.
You honestly won’t believe how simple it is to get that professional, scoop-shop texture right in your own kitchen. Whether you’re cooling off on a hot afternoon or looking for the perfect topping for a warm brownie, this recipe delivers every single time. It’s my absolute favorite “secret weapon” dessert because it looks and tastes like you spent hours on it, but we’ll keep the three-ingredient secret between us!

More Ice Cream Recipes
- No-Churn Pumpkin Ice Cream Recipe
- Oatmeal Ice Cream with Toasted Walnuts
- Browned Butter Pecan Ice Cream
- Vanilla Ice Cream
- Peach Pie Ice Cream
- Honeycomb Ice Cream Recipe
INGREDIENTS
- 2 cups (480 ml) heavy whipping cream, chilled
- 1 can (14 oz / 400 g) sweetened condensed milk, chilled
- 1 ½ teaspoons (7.5 ml) pure vanilla extract
- 1 cup (170 g) semi-sweet chocolate chips (mini chips work beautifully here!)
- ¼ teaspoon (1.5 g) fine sea salt (optional, to balance the sweetness)
- Extra chocolate chips for topping (optional)
INSTRUCTIONS
- Chill your equipment: Place a 9×5-inch (23×13 cm) loaf pan in the freezer for about 15 minutes before you start. Cold tools help the No-Churn Chocolate Chip Ice Cream set perfectly!
- Whip the cream: Pour the chilled 2 cups (480 ml) of heavy whipping cream into a large bowl. Use a hand mixer or stand mixer to beat the cream on medium-high speed until stiff peaks form. Be careful not to overbeat, or it will turn into butter!
- Mix the base: In a separate medium bowl, stir together the 1 can (400 g) of sweetened condensed milk, 1 ½ teaspoons (7.5 ml) of vanilla extract, and the optional salt until smooth.
- Fold gently: Use a spatula to gently fold about half of the whipped cream into the condensed milk mixture to lighten it up. Once combined, fold in the rest of the whipped cream very slowly. We want to keep all that beautiful air in the mixture!
- Add the crunch: Gently fold in the 1 cup (170 g) of chocolate chips until they are evenly distributed throughout the creamy base.
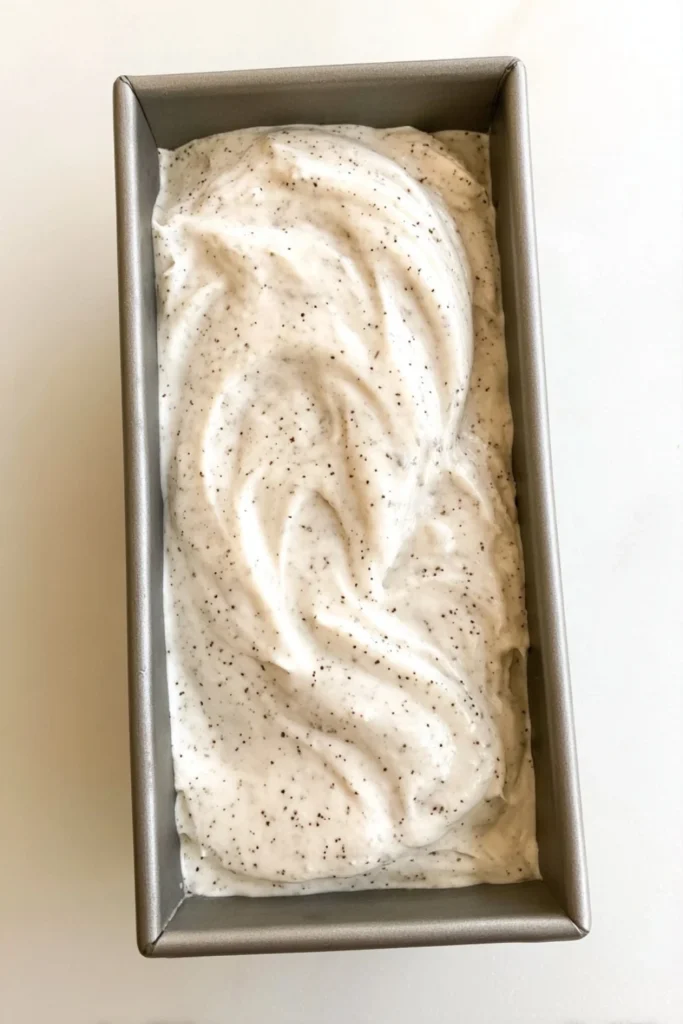
- Freeze: Pour the mixture into your chilled loaf pan and smooth the top with a spatula. Sprinkle extra chocolate chips on top if you’re feeling fancy.
- Set and serve: Cover the pan tightly with plastic wrap or foil. Freeze for at least 6 hours, or ideally overnight, until the ice cream is firm and scoopable.
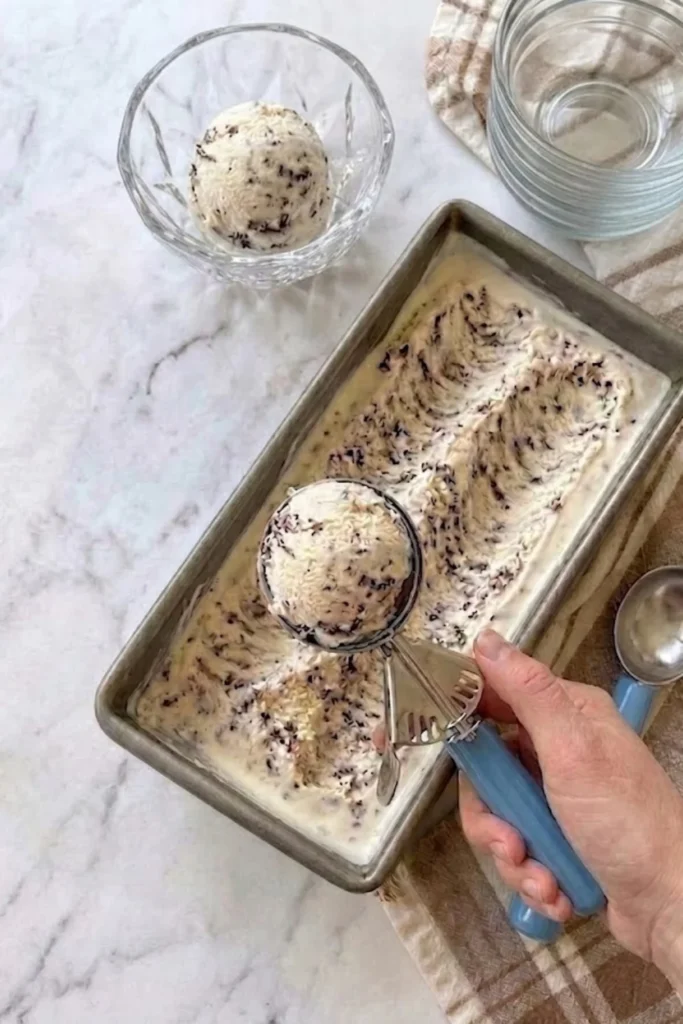
Cooking Tip: If the ice cream is very firm when you take it out, let it sit on the counter for about 5 minutes. This makes getting those perfect, round scoops much easier!
TIPS & VARIATIONS
Pro Cooking Tips:
- Keep it Cold: For the fluffiest texture, ensure your heavy cream and condensed milk come straight from the fridge. Cold cream whips faster and holds more air, which prevents your ice cream from becoming an icy block.
- The “Slow Fold”: When combining the whipped cream and milk, use a “cut and fold” motion. This keeps the No-Churn Chocolate Chip Ice Cream light and airy rather than dense.
Fun Variations:
- Mint Chocolate Chip: Add ½ teaspoon (2.5 ml) of peppermint extract and a drop of green food coloring for a refreshing twist.
- Double Chocolate: Stir in 3 tablespoons (25 g) of unsweetened cocoa powder into the condensed milk before folding in the cream.
- Mocha Chip: Dissolve 1 tablespoon (5 g) of instant espresso powder into the vanilla extract for a coffee-lover’s dream.
Storage & Make-Ahead:
- Store Properly: Keep your ice cream in an airtight container with a piece of plastic wrap pressed directly onto the surface. This prevents freezer burn and keeps it fresh for up to 2 weeks!
- Make-Ahead: This is the perfect party dessert because you can make it 2–3 days in advance and it stays perfectly creamy.
SERVING IDEAS
You are going to love how versatile this No-Churn Chocolate Chip Ice Cream is! Here are a few of my favorite ways to serve it up:
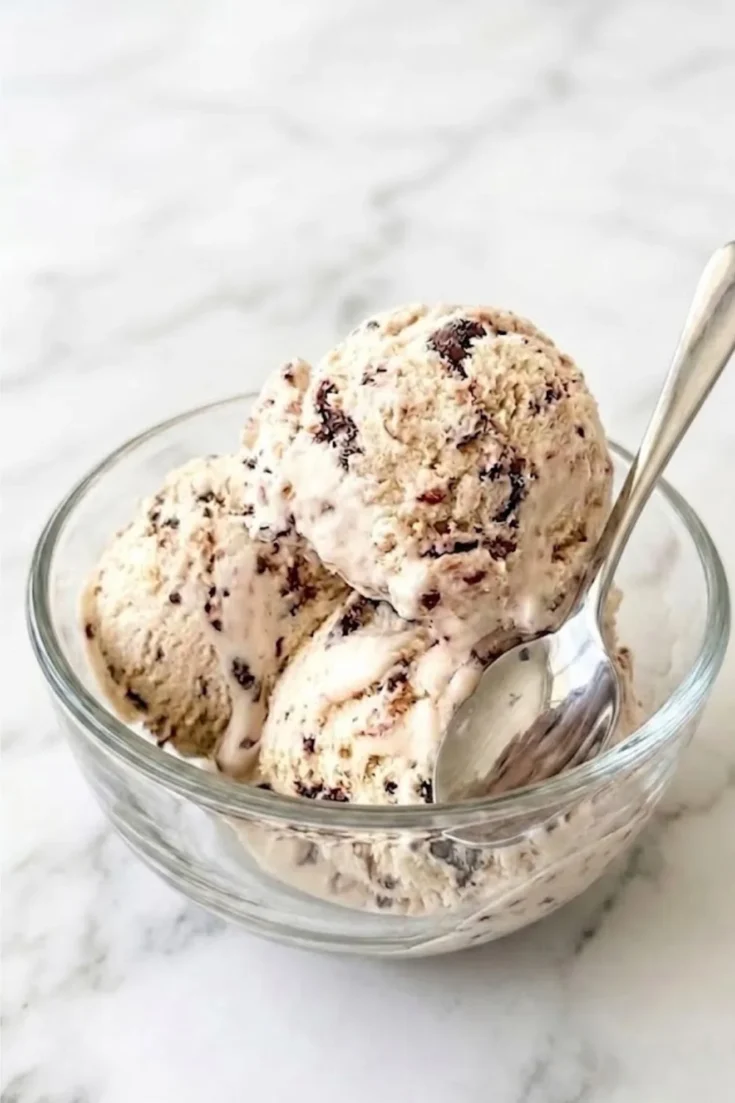
- The Classic Scoop: Serve two generous scoops in a chilled waffle cone or a glass sundae bowl. It’s simple, nostalgic, and always hits the spot.
- The Ultimate Sundae: Drizzle warm chocolate ganache or gooey caramel sauce over the top. Add a dollop of whipped cream and a maraschino cherry for that authentic soda-fountain feel!
- Warm Brownie Pairings: Place a cold scoop right on top of a fudgy, warm brownie or a slice of skillet cookie. The way the ice cream melts into the warm chocolate is pure heaven.
- Ice Cream Sandwiches: Smash a scoop of this No-Churn Chocolate Chip Ice Cream between two homemade chocolate chip cookies for the ultimate handheld summer treat.
- Party Style: Hosting a get-together? Set up an “Ice Cream Bar” with bowls of extra chocolate chips, crushed nuts, and fresh berries so guests can customize their own bowls.

FAQs
- Do I really need an ice cream maker for this? Not at all! That is the magic of this No-Churn Chocolate Chip Ice Cream. By whipping the heavy cream to stiff peaks, we incorporate all the air needed to keep it light and creamy without any churning required.
- Can I use low-fat milk instead of sweetened condensed milk? I wouldn’t recommend it for this specific recipe. The sweetened condensed milk has a low water content and high sugar content, which prevents large ice crystals from forming. This is what gives the ice cream its signature “scoopable” texture.
- How long does it take to freeze? It usually takes about 6 hours to reach a firm consistency, but for the very best results, I recommend leaving it in the freezer overnight.
- What is the best way to prevent freezer burn? To keep your No-Churn Chocolate Chip Ice Cream tasting fresh, press a layer of plastic wrap or wax paper directly onto the surface of the ice cream before sealing the container with a lid. This keeps the air out and the creaminess in!
- Can I use different types of chocolate? Absolutely! While semi-sweet is the classic choice, you can use dark chocolate chunks, milk chocolate chips, or even white chocolate. If you use large bars, just make sure to chop them into small, bite-sized pieces so they are easy to eat when frozen.
Recipe
No-Churn Chocolate Chip Ice Cream
This ultra-creamy, 3-ingredient No-Churn Chocolate Chip Ice Cream is the ultimate hack for homemade dessert lovers. No machine? No problem! You only need a few minutes of prep to create a velvety, scoopable treat that tastes even better than the store-bought versions.
Ingredients
- 2 cups (480 ml) heavy whipping cream, chilled
- 1 can (14 oz / 400 g) sweetened condensed milk, chilled
- 1 ½ teaspoons (7.5 ml) pure vanilla extract
- 1 cup (170 g) semi-sweet chocolate chips (plus extra for topping)
- ¼ teaspoon (1.5 g) fine sea salt (optional)
Instructions
- Prep the Pan: Place a loaf pan in the freezer to chill while you prepare the mixture.
- Whip the Cream: In a large bowl, beat the chilled heavy whipping cream until stiff peaks form.
- Combine Base: In a separate bowl, whisk together the chilled sweetened condensed milk, vanilla extract, and salt.
- Fold: Gently fold the whipped cream into the milk mixture in two batches until just combined, being careful not to deflate the air.
- Mix-ins: Gently stir in the chocolate chips.
- Freeze: Pour into the chilled pan, top with extra chips, cover tightly, and freeze for at least 6 hours or overnight at 0°F (-18°C) or colder.
Notes
For the best results, ensure your heavy cream is very cold before whipping. Use mini chocolate chips if you want a bit of chocolate in every single tiny bite!
Nutrition Information:
Yield: 8 Serving Size: approx. 3/4 cupAmount Per Serving: Calories: 380Total Fat: 26gCarbohydrates: 34gProtein: 5g
Nutrition information is estimated and may vary based on ingredients used.
I really hope you enjoy making (and eating!) this dreamy No-Churn Chocolate Chip Ice Cream as much as I do! It is such a lifesaver for those busy days when you want a special treat without all the extra dishes and equipment. There is just nothing quite like the satisfaction of scooping into your very own homemade batch of velvet-smooth ice cream.
If you give this recipe a try, I’d love to hear how it turned out for you! Don’t forget to save this recipe to your favorite Dessert Board on Pinterest so you can find it every time that sweet tooth kicks in. Happy scooping, and I can’t wait to see your beautiful creations in the comments!