Easy & Moist Vanilla Cup Cakes: The Ultimate Recipe
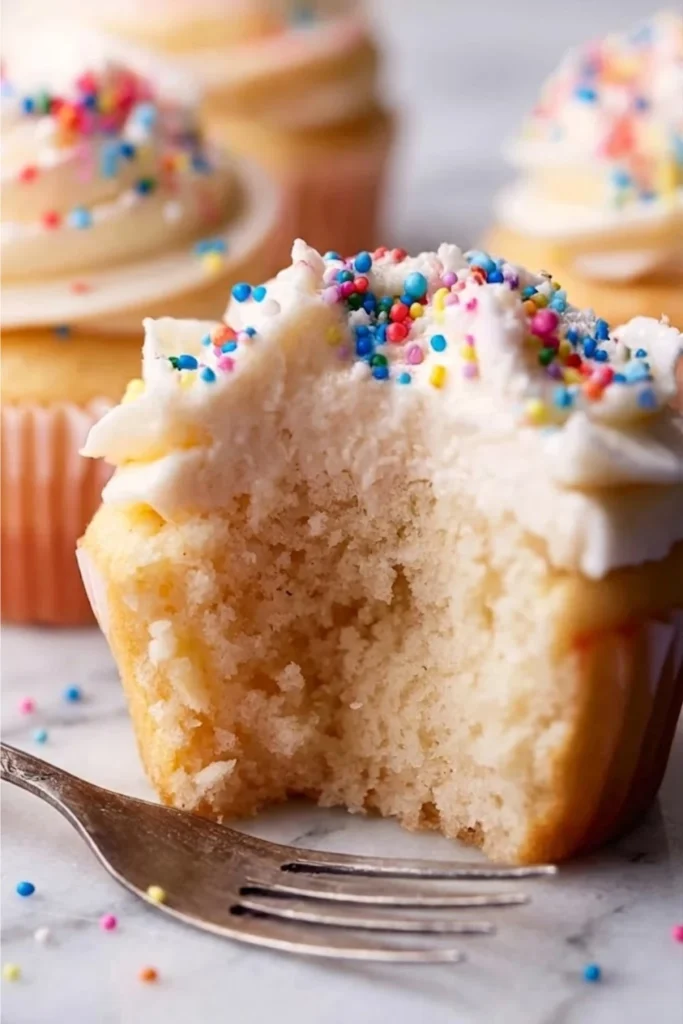
There is something truly magical about a tray of freshly decorated cup cakes sitting on the counter. They instantly turn a regular day into a celebration! Whether you are planning a cozy tea party or a big birthday bash, these sweet treats always steal the show with their fluffy texture and buttery flavor.
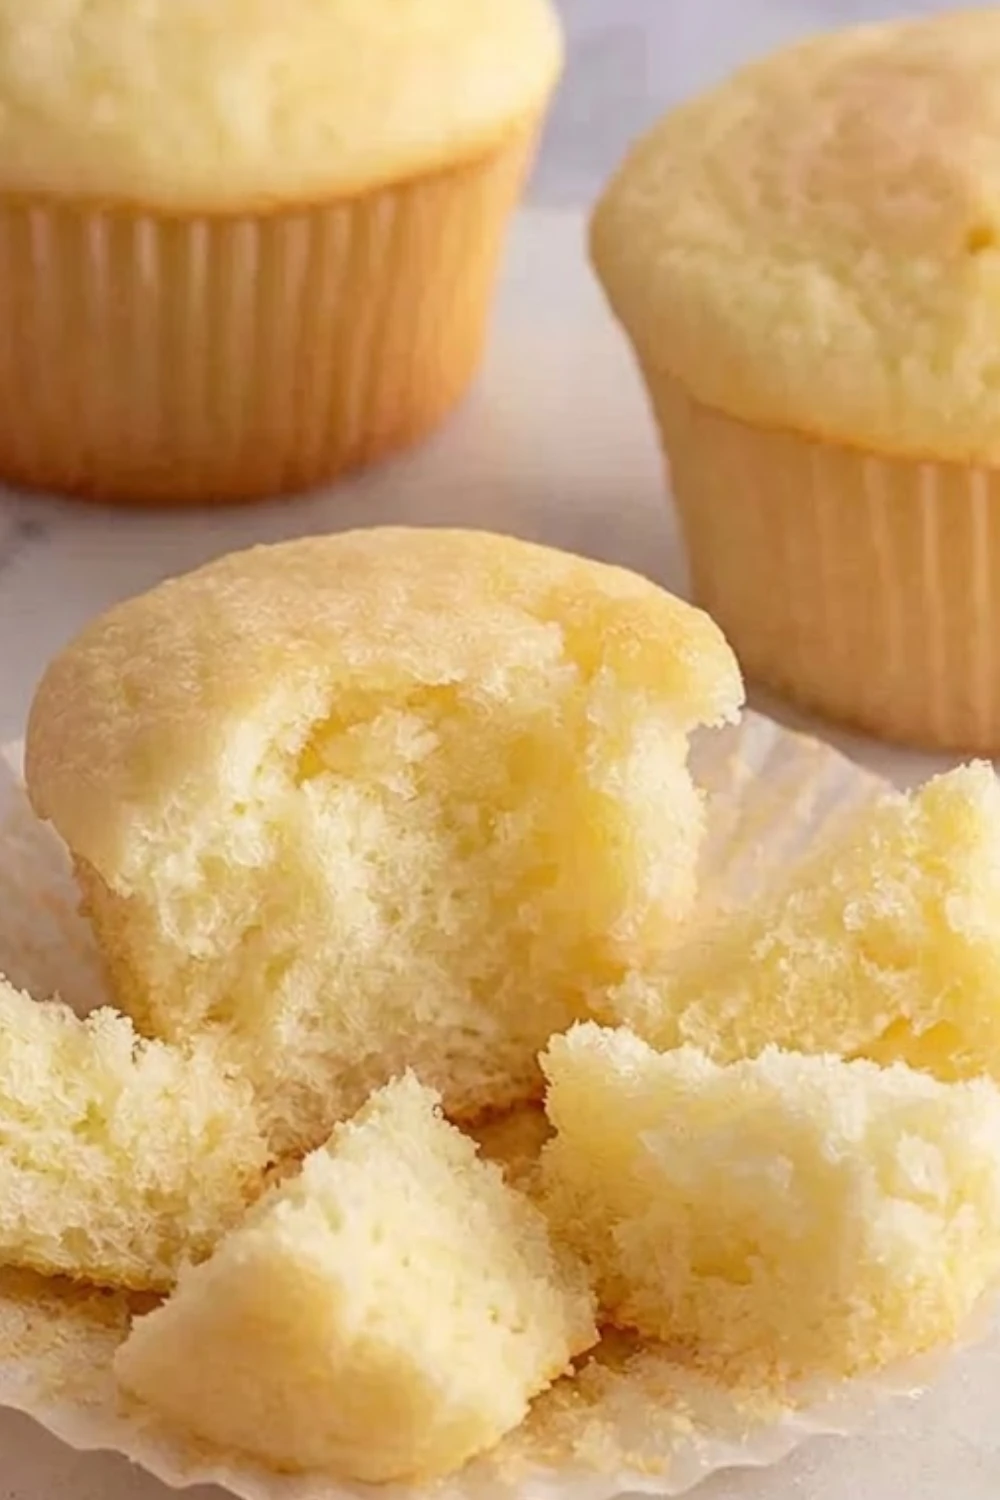
You will absolutely adore how easy this recipe is to pull together. I designed these cup cakes to be completely foolproof, so you get that perfect, moist crumb every single time without any fuss. They pair beautifully with any frosting, making them the most versatile dessert in your baking repertoire.
Put on your favorite apron and let’s start baking! These homemade cup cakes use simple ingredients you likely already have in your pantry. You will love seeing your friends and family reach for seconds as they enjoy these irresistible, melt-in-your-mouth delights.
Irresistible Frosting Pairings for Your Cup Cakes
- Blueberry Marshmallow Frosting
- Strawberry Marshmallow Frosting
- Brown Butter Cream Cheese Frosting
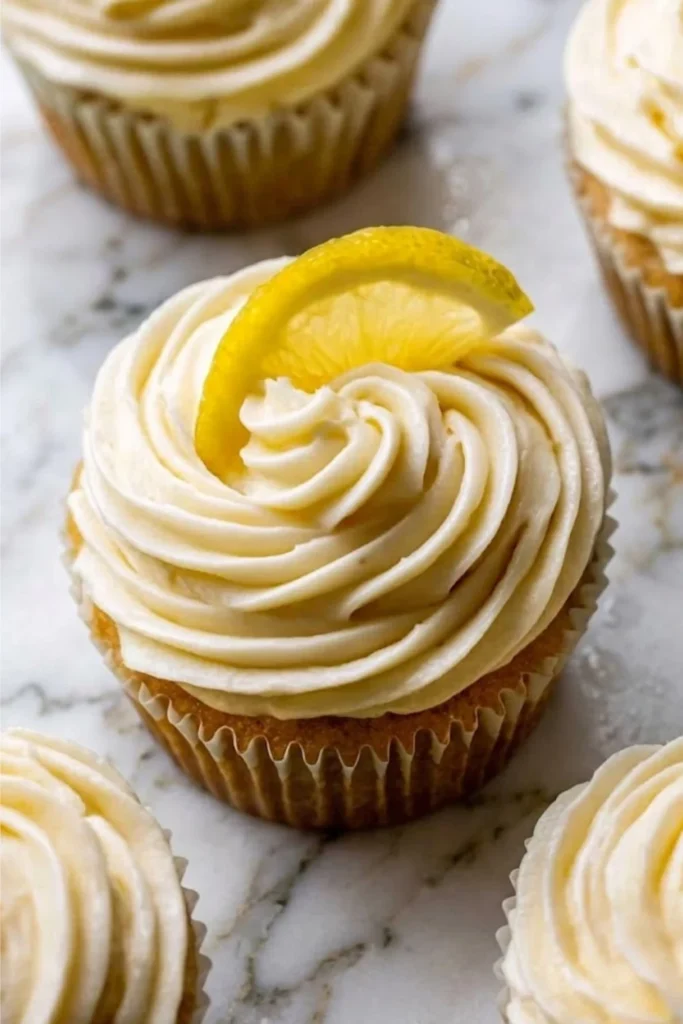
- Lemon Buttercream Frosting
- Fluffy Vanilla Frosting
- Peanut butter frosting
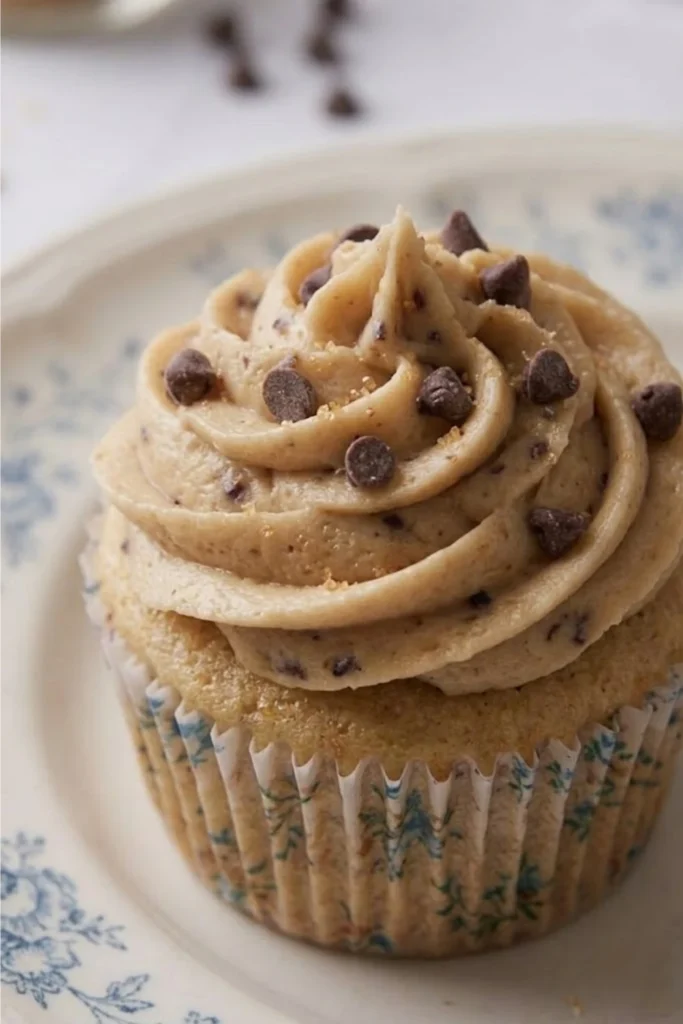
- Cookie Dough Buttercream Frosting
- Chai Spice Buttercream
- Salted Caramel Frosting
- Swiss Meringue Buttercream
- Cream Cheese Frosting
- Strawberry Buttercream Frosting
- Nutella frosting
- Chocolate Swiss Meringue Buttercream
- Chocolate Peanut Butter Frosting
INGREDIENTS
Gather these simple pantry staples to whip up a batch of the fluffiest cup cakes you have ever tasted! I find that using room-temperature ingredients makes the batter come together so much smoother, giving you that professional bakery finish at home.
- All-purpose flour: 1 ½ cups (190 g)
- Granulated sugar: 1 cup (200 g)
- Baking powder: 1 ½ tsp (7 g)
- Salt: ½ tsp (3 g)
- Unsalted butter (softened): ½ cup / 1 stick (115 g)
- Large eggs (room temperature): 2
- Pure vanilla extract: 2 tsp (10 ml)
- Sour cream or Greek yogurt: ½ cup (120 g) — this is my secret for ultimate moisture!
- Whole milk: ¼ cup (60 ml)
Optional Add-ins:
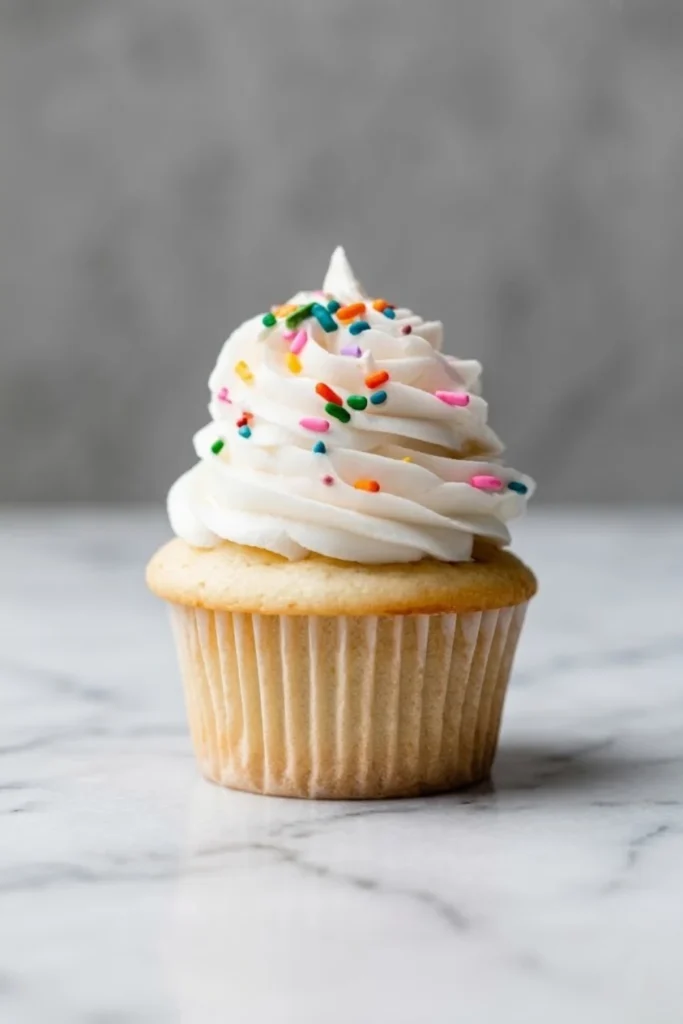
- Rainbow sprinkles: 2 tbsp (30 g) if you want to make them “funfetti” style.
- Lemon zest: 1 tsp (2 g) for a bright, zesty kick.
INSTRUCTIONS
Follow these simple steps to bake the most beautiful, golden-domed cup cakes. Don’t worry—baking from scratch is much easier than you think, and the smell filling your kitchen will be absolutely heavenly!
- Preheat and Prep: Preheat your oven to 350°F (175°C). Line a standard muffin tin with your favorite paper liners so your cup cakes are easy to remove once baked.
- Whisk the Dry Ingredients: In a medium-sized bowl, whisk together the all-purpose flour, baking powder, and salt. Setting this aside now ensures your leavening agents are perfectly distributed.
- Cream the Butter and Sugar: In a large mixing bowl, beat the softened butter and granulated sugar together using a hand mixer or stand mixer. Continue for about 2–3 minutes until the mixture looks pale and fluffy. This step creates the airy base for your cup cakes.
- Incorporate the Eggs and Vanilla: Add the eggs one at a time, beating well after each addition. Stir in the pure vanilla extract.
- Add the Secret Ingredient: Mix in the sour cream (or Greek yogurt). This adds incredible moisture and a slight tang that balances the sweetness beautifully.
- Combine Carefully: Turn your mixer to low speed. Add half of the dry ingredients, followed by the whole milk, and then the remaining dry ingredients. Mix just until the white streaks of flour disappear. Pro Tip: Avoid overmixing here, or your cup cakes might turn out a bit tough!
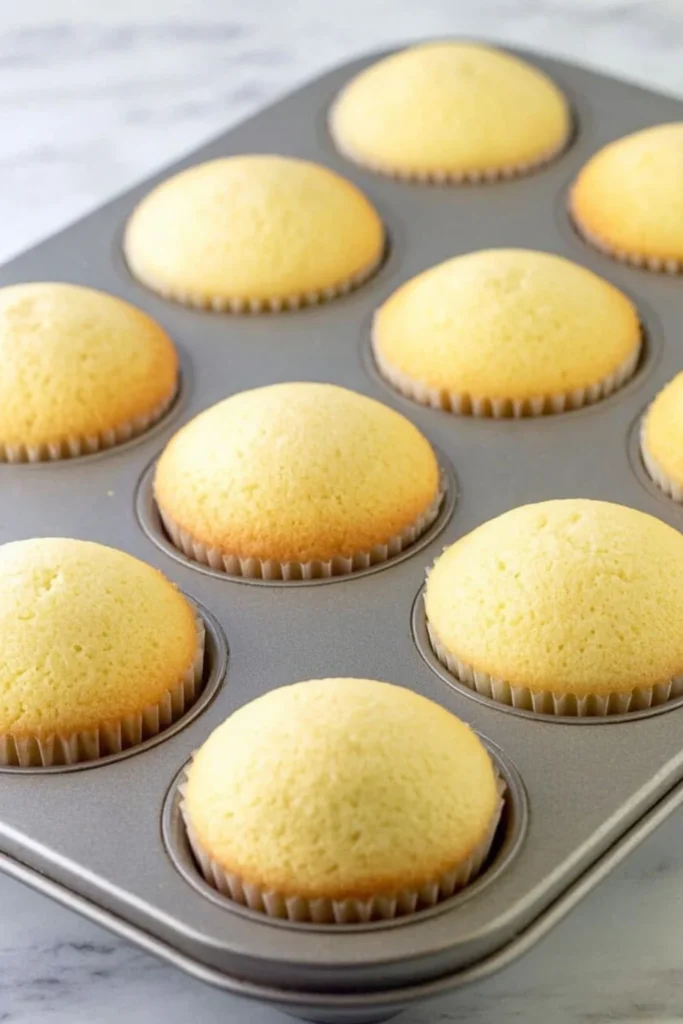
- Fill the Liners: Use an ice cream scoop or a large spoon to fill each liner about 2/3 full. Leaving that extra space allows the batter to rise into a perfect dome without overflowing.
- Bake to Perfection: Place the tin in the center of your oven and bake for 18–22 minutes. You’ll know they are ready when a toothpick inserted into the center comes out clean or with just a few moist crumbs.
- Cool Completely: Let the cup cakes rest in the tin for 5 minutes, then move them to a wire rack. Make sure they are completely cool before you even think about adding frosting!

TIPS & VARIATIONS
Baking the perfect batch of cup cakes is an art, but these little secrets make it so much easier! I love playing around with flavors and textures, so feel free to get creative once you master the base.
Pro Cooking Tips
- Use Room Temperature Ingredients: Take your eggs, butter, and milk out of the fridge at least 30 minutes before you start. Warm ingredients emulsify much better, resulting in a smooth, uniform batter.
- Don’t Peek: Resist the urge to open the oven door too early! Opening it during the first 15 minutes causes the temperature to drop, which might make your cup cakes sink in the middle.
- Check for Doneness: Press the top of a cupcake gently with your finger. If it springs back immediately, it is perfectly baked!
Ingredient Swaps
- Dairy-Free Option: Substitute the whole milk with unsweetened almond or oat milk and use a vegan butter stick. They still turn out wonderfully light.
- Chocolate Twist: Replace ¼ cup (30 g) of the flour with high-quality cocoa powder to transform these into decadent chocolate cup cakes.
- Oil vs. Butter: If you run out of butter, use ½ cup (120 ml) of neutral vegetable oil. Your cup cakes will stay moist for even longer, though they will lose that classic buttery flavor.
Storage & Make-Ahead Tips
- Room Temperature: Keep unfrosted cup cakes in an airtight container for up to 2 days. If you already added frosting, they stay fresh for about 3 days in the fridge.
- Freezing: These freeze beautifully! Wrap individual unfrosted cup cakes in plastic wrap and store them in a freezer bag for up to 3 months. Thaw them at room temperature when you are ready to decorate.
SERVING IDEAS
I truly believe that half the fun of baking cup cakes lies in how you present them! Whether you are hosting a fancy brunch or just treating the kids after school, a little extra flair goes a long way.
Creative Toppings & Pairings
- The Classic Swirl: Pipe a generous swirl of vanilla or chocolate buttercream on top. Add a single fresh raspberry or a sprig of mint for a pop of color that looks stunning on camera.
- A Coffee Companion: Serve these cup cakes alongside a hot vanilla latte or a glass of cold brew. The sweetness of the cake balances the bitterness of the coffee perfectly.
- Ice Cream Sidekick: For a decadent dessert, serve a warm cupcake (just 10 seconds in the microwave!) with a scoop of premium vanilla bean ice cream.
Occasion-Based Ideas
- Weeknight Joy: Keep it simple! Leave them unfrosted and let the kids “dip” their cup cakes into a bowl of whipped cream and sprinkles for a fun, interactive dessert.
- Birthday Parties: Arrange your cup cakes on a tiered stand to create a beautiful focal point. Use different colored liners and frostings to match your party theme perfectly.
- Holiday Cheer: During the holidays, add a pinch of cinnamon to the batter and top them with a tiny gingerbread man cookie or a dusting of “snowy” powdered sugar.
FAQs
You probably have a few questions before you jump into the kitchen, and I am here to help! Here are the most common things I hear about baking the perfect batch of cup cakes.
How should I store my finished cup cakes? Keep your cup cakes in an airtight container at room temperature for up to two days. If you live in a very humid climate or use a cream cheese frosting, store them in the refrigerator instead. Just remember to let them sit on the counter for 20 minutes before serving so the cake softens back up!
Can I make these cup cakes gluten-free? You certainly can! Substitute the all-purpose flour with a high-quality 1:1 gluten-free baking flour blend. Make sure your blend includes xanthan gum to ensure your cup cakes maintain that fluffy, bouncy structure we all love.
Why did my cup cakes sink in the middle? This usually happens if you open the oven door too early or if your baking powder is expired. Always check your labels! Another culprit is over-beating the batter, which traps too much air that eventually collapses. Mix until just combined for the best results.
How do I know if my oven temperature is accurate? Every oven has its own personality! If your cup cakes consistently take much longer or shorter than the recipe suggests, I highly recommend using an internal oven thermometer. It is a tiny investment that makes a massive difference in your baking consistency.
Can I freeze decorated cup cakes? I recommend freezing the cup cakes without frosting for the best texture. However, if you have leftovers that are already decorated, place them in the freezer for an hour to harden the frosting, then wrap them carefully. They will stay delicious for up to a month!
Recipe
Easy & Moist Vanilla cup cakes

A foolproof recipe for the fluffiest, most tender vanilla cup cakes you have ever tasted. Perfect for birthdays, holidays, or a sweet weekend treat!
Ingredients
- 1 ½ cups (190 g) all-purpose flour
- 1 cup (200 g) granulated sugar
- 1 ½ tsp (7 g) baking powder
- ½ tsp (3 g) salt
- ½ cup / 1 stick (115 g) unsalted butter, softened
- 2 large eggs (room temperature)
- 2 tsp (10 ml) pure vanilla extract
- ½ cup (120 g) sour cream
- ¼ cup (60 ml) whole milk
Instructions
- Preheat your oven to 350°F (175°C) and line a 12-cup muffin tin with paper liners.
- Whisk the flour, baking powder, and salt together in a medium bowl until well combined.
- Cream the softened butter and sugar in a large bowl with a mixer for 2–3 minutes until the mixture is light and fluffy.
- Beat in the eggs one at a time, then stir in the vanilla extract and sour cream.
- Mix in half of the dry ingredients, followed by the milk, and then the remaining dry ingredients. Stir just until the batter is smooth.
- Fill each liner about 2/3 full with the batter.
- Bake for 18–22 minutes at 350°F (175°C), or until a toothpick comes out clean.
- Cool completely on a wire rack before adding your favorite frosting.
Notes
Nutrition Information:
Yield: 12 Serving Size: 1 cupcakeAmount Per Serving: Calories: 210Total Fat: 11gCarbohydrates: 26gProtein: 3g
Nutrition information is estimated and may vary based on ingredients used.
CONCLUSION
I really hope you enjoy baking these cup cakes as much as I do! There is nothing quite like the joy of sharing a homemade treat with the people you love. Whether you are prepping for a big birthday bash or just want to brighten up a quiet Tuesday afternoon, these little cakes are sure to bring a smile to everyone’s face.
Don’t forget to save this recipe to your favorite dessert board on Pinterest so you can find it whenever that sweet craving hits. I also love seeing your creations, so if you bake a batch, please leave a comment below and let me know how they turned out! Your feedback makes my day, and it helps other bakers in our community too. Happy baking, and enjoy every single bite!