Easy Pikelets Recipe (Fluffy, Quick & Aussie Approved!)
There’s something so comforting about a fresh batch of warm pikelets—those golden, fluffy little rounds we all grew up with here in Australia and New Zealand. Whether it was after-school treats at Nan’s place or weekend brekkie with the kids, they’ve always had a special spot on our table.
This is my go-to recipe—simple, no fuss, and packed with that classic homemade feel. You don’t need fancy ingredients or equipment. Just a bowl, a whisk, and a few pantry staples, and you’ll be flipping golden rounds in no time.
I’ve included my favourite tips (learned the hard way!), a few fun variations like banana and gluten-free versions, and plenty of ways to make them your own. So grab your apron and let’s get into it—this is the kind of recipe that never fails, and always gets gobbled up.
A Little History – And Why Pikelets Mean So Much to Me
Pikelets have been a part of Aussie and Kiwi kitchens for generations. They’re believed to have originated in the UK, where they were flatter and yeast-based, but when they made their way to Australia and New Zealand, we gave them a softer, fluffier twist. The result? A beloved teatime treat that feels like a warm hug on a plate.
For me, pikelets always remind me of Sunday afternoons at my Nan’s house. She’d make a massive batch and pile them up on a tea towel-covered plate to keep them warm. The smell of melted butter and flour in the air still takes me right back to her floral apron and the clinking sound of the kettle boiling for a cuppa.
I remember standing on a chair at her bench, mixing the batter (probably too much, let’s be honest!) and flipping pikelets that were more “crispy” than golden. But she never minded. She’d just say, “That’s how you learn, love,” and hand me the spatula again.
Now, I make them for my own kids—and the recipe hasn’t changed much. A simple mix of flour, milk, egg, and a bit of sugar, flipped in butter and served with whatever topping we’ve got in the fridge. It’s one of those recipes that brings people together, whether it’s for brekkie, school snacks, or a quick fix for unexpected guests.
So this isn’t just a pikelets recipe—it’s a little slice of family tradition, passed down through sticky fingers and warm plates.
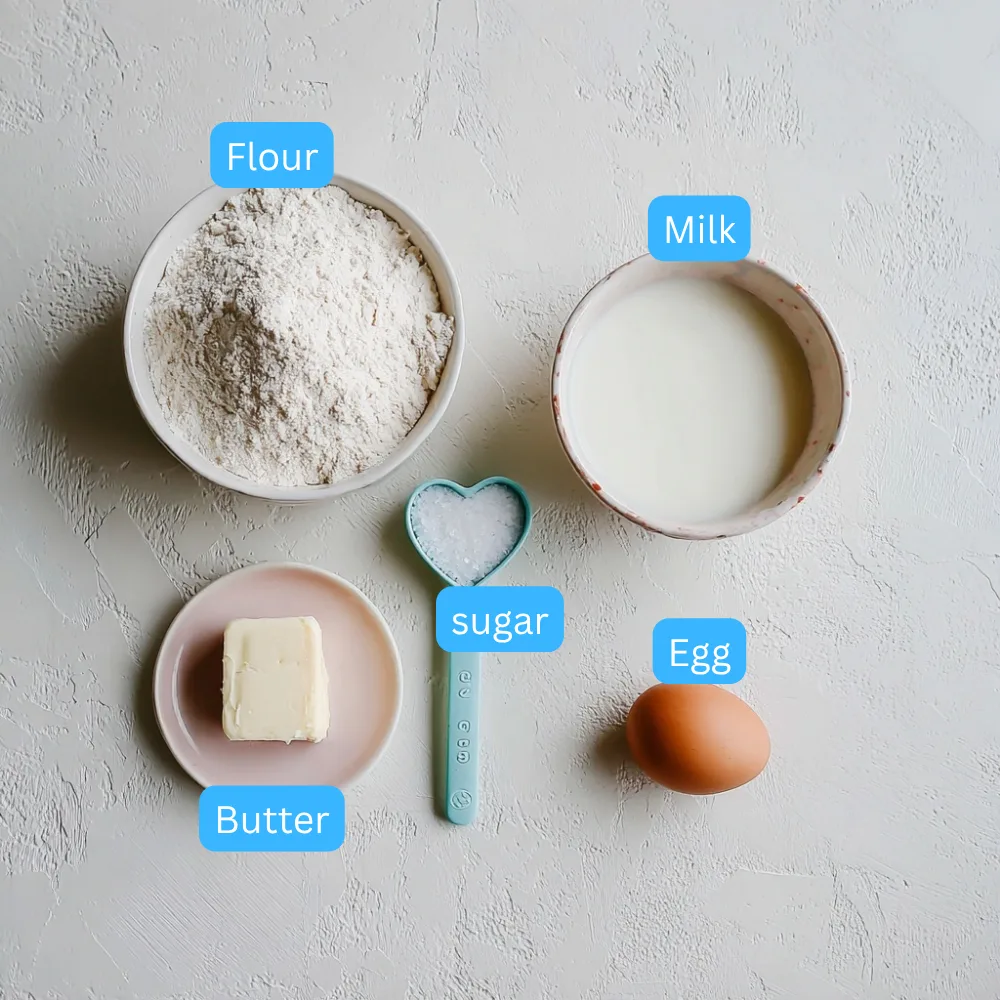
Ingredients You’ll Need
You won’t believe how easy it is to whip up these pikelets. Most of the ingredients are probably already in your pantry. This is why I call this my “just-make-it” pikelets recipe easy—no planning, no stress.
Here’s what you’ll need for a basic batch:
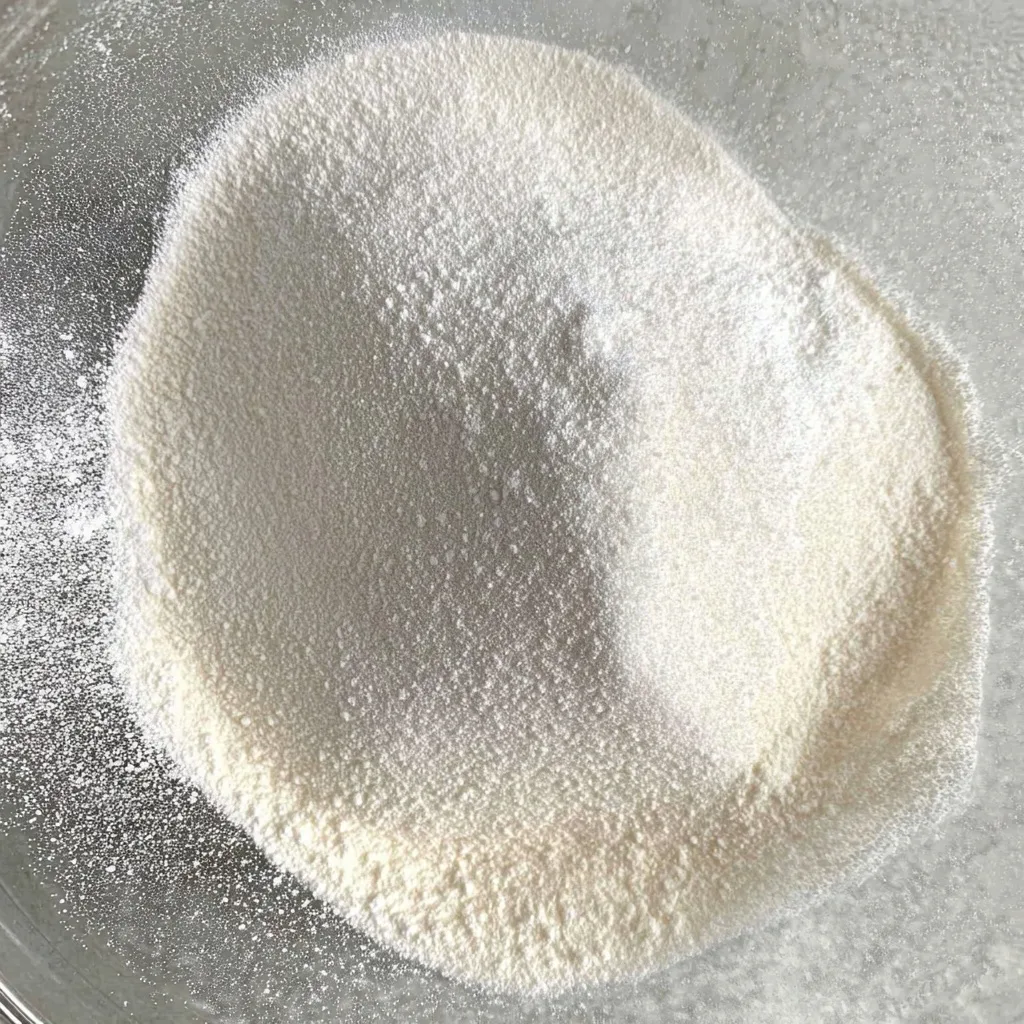
- 1 cup self-raising flour – the key to that fluffy rise
- 2 tablespoons caster sugar – just enough sweetness
- ¾ cup milk – I usually use full cream
- 1 egg – helps bind everything together
- Butter – for greasing the pan (and a little flavour!)
Optional Add-Ins:
- ½ ripe banana (mashed) – perfect for a quick pikelets banana version
- Gluten-free self-raising flour – swap this for regular flour to make pikelets gluten free
This recipe makes about 12 medium pikelets, but it’s easy to double if you’ve got hungry mouths to feed (which, let’s be honest, is always the case).
Equipment I Use
No need for anything fancy here—just a few kitchen basics and you’re good to go. This is one of the reasons I love this recipe so much. It’s easy, quick, and doesn’t leave you with a mountain of washing up.
Here’s what I always reach for:
- Mixing bowl – one big enough to stir everything together
- Whisk or fork – whatever’s on hand to beat the egg and mix the batter
- Measuring cups and spoons – for accurate results every time
- Non-stick frying pan – essential for golden pikelets that don’t stick
- Spatula – to flip without tearing
If you’re making a bigger batch or want to keep them warm while you go, I sometimes pop the cooked ones on a plate in a low oven (around 100°C) until we’re ready to eat.
| Tool | Purpose |
|---|---|
| Mixing bowl | Combine wet and dry ingredients |
| Whisk/fork | Beat egg and mix batter |
| Measuring cups/spoons | Ensure correct ratios |
| Non-stick pan | Even cooking and no sticking |
| Spatula | Flip pikelets gently |
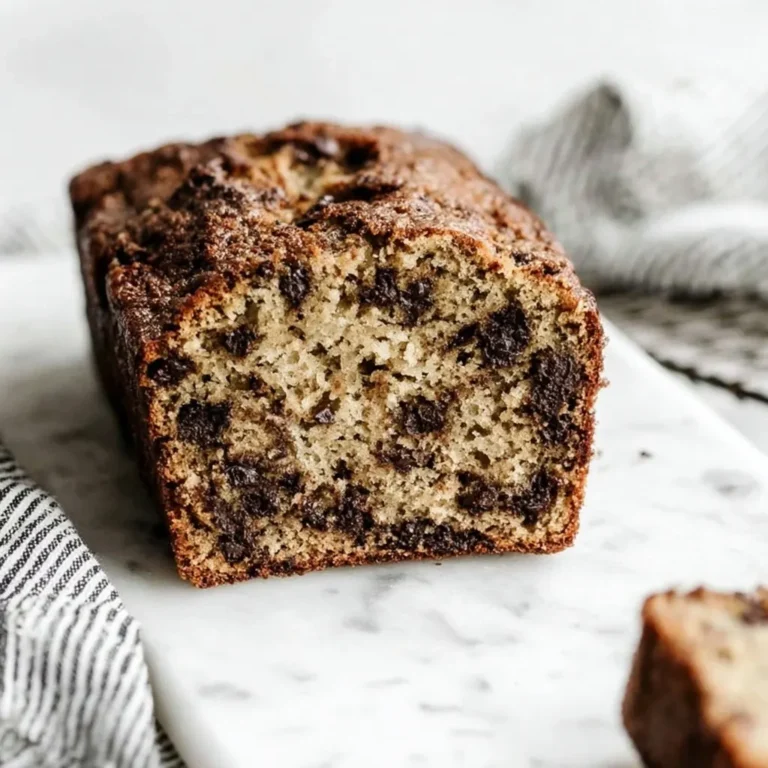
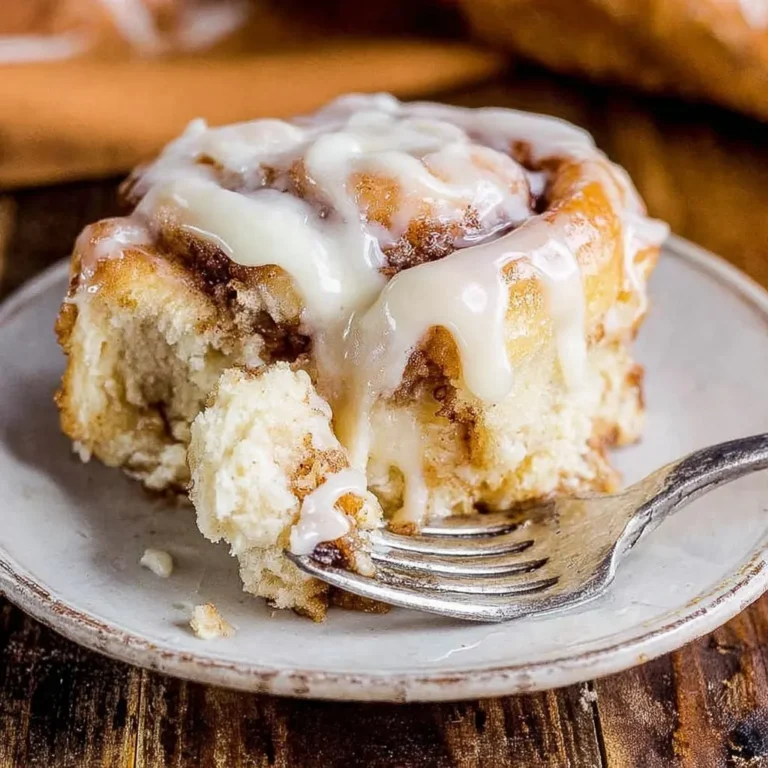
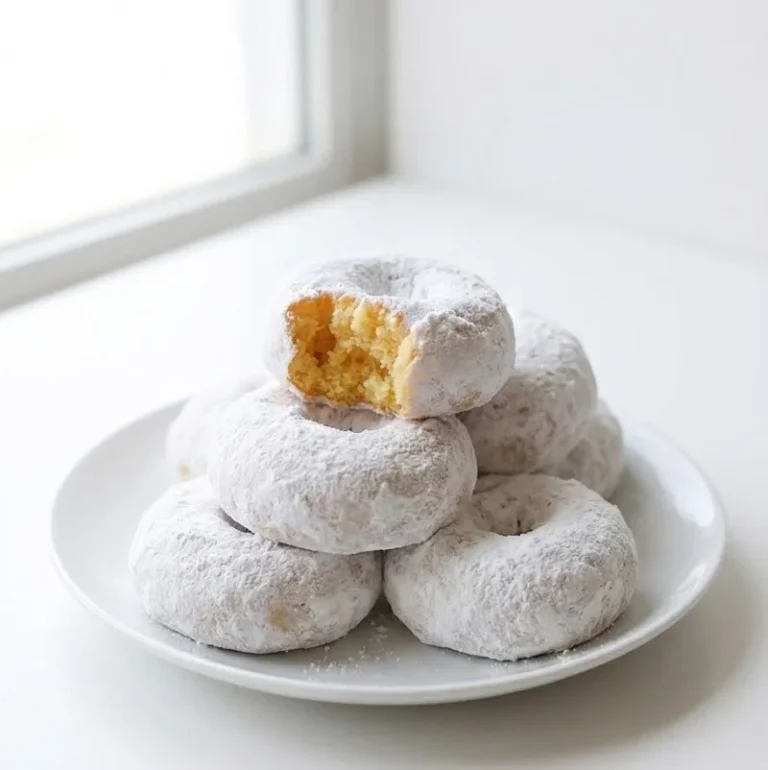
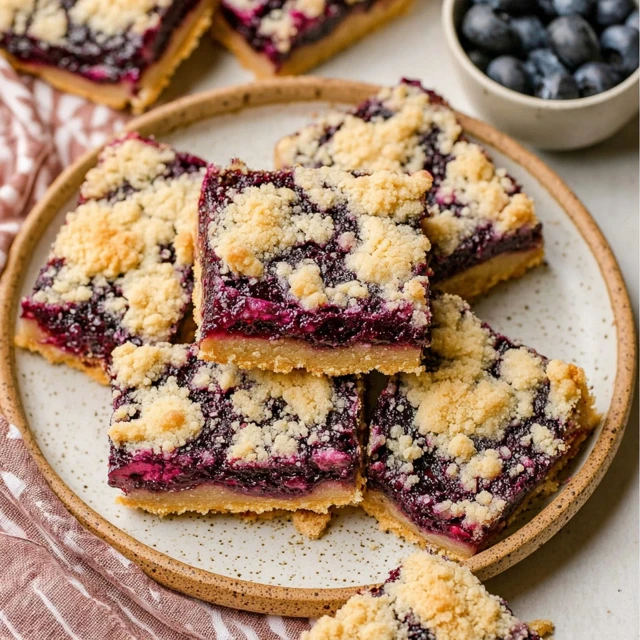
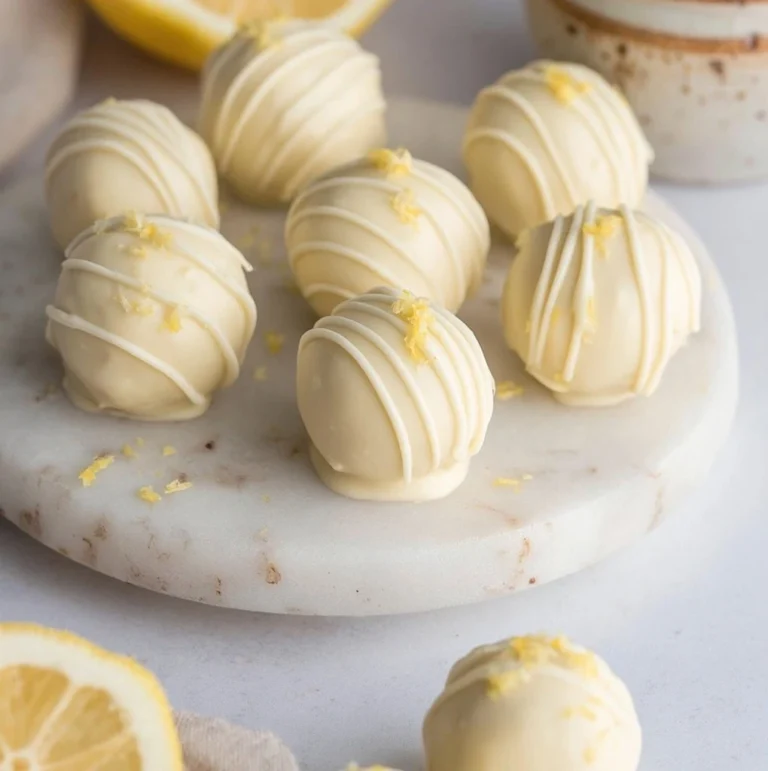
These sweet classics always take me back.
Tap to try them next:
How to Make Pikelets (Step-by-Step)
Making pikelets is honestly one of the easiest and most rewarding things you can do in the kitchen. Whether it’s your first time or your fiftieth, this method works every single time.
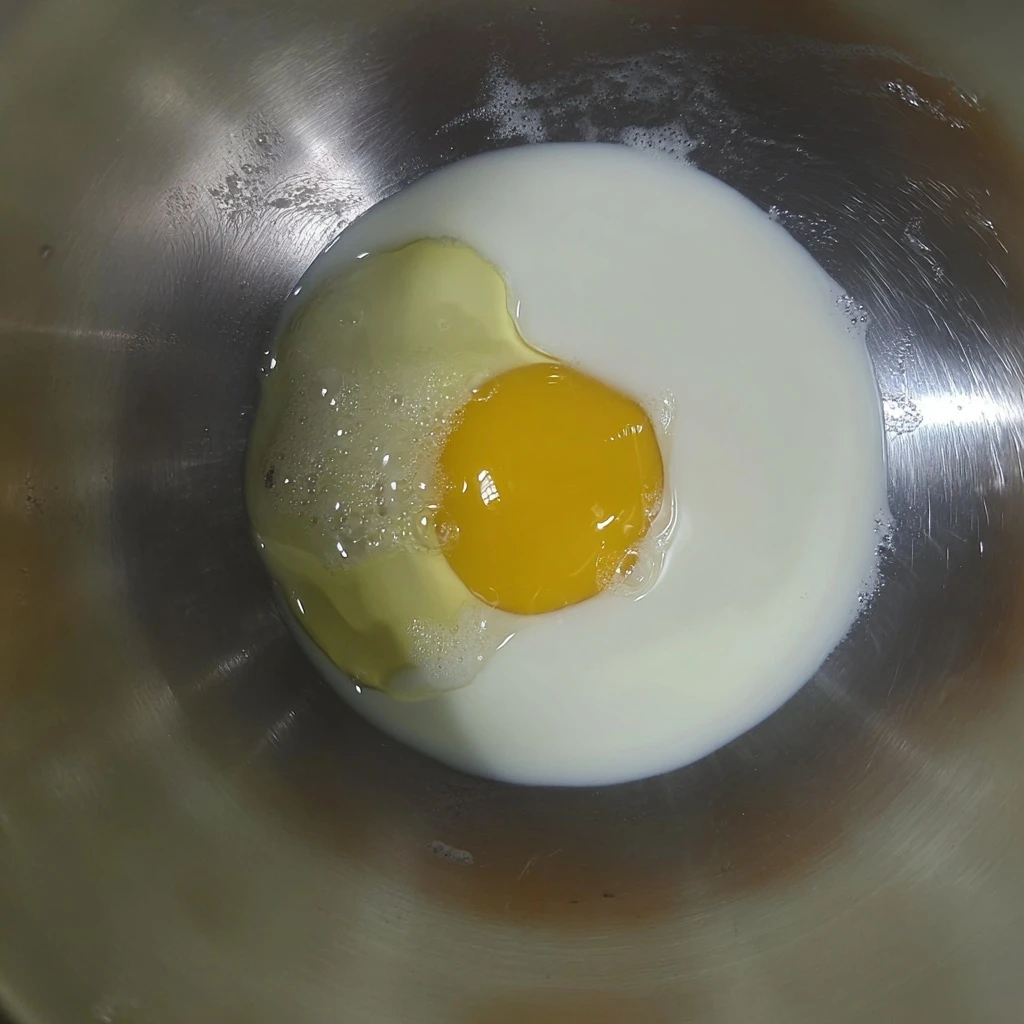
Step 1: Whisk the Wet Ingredients
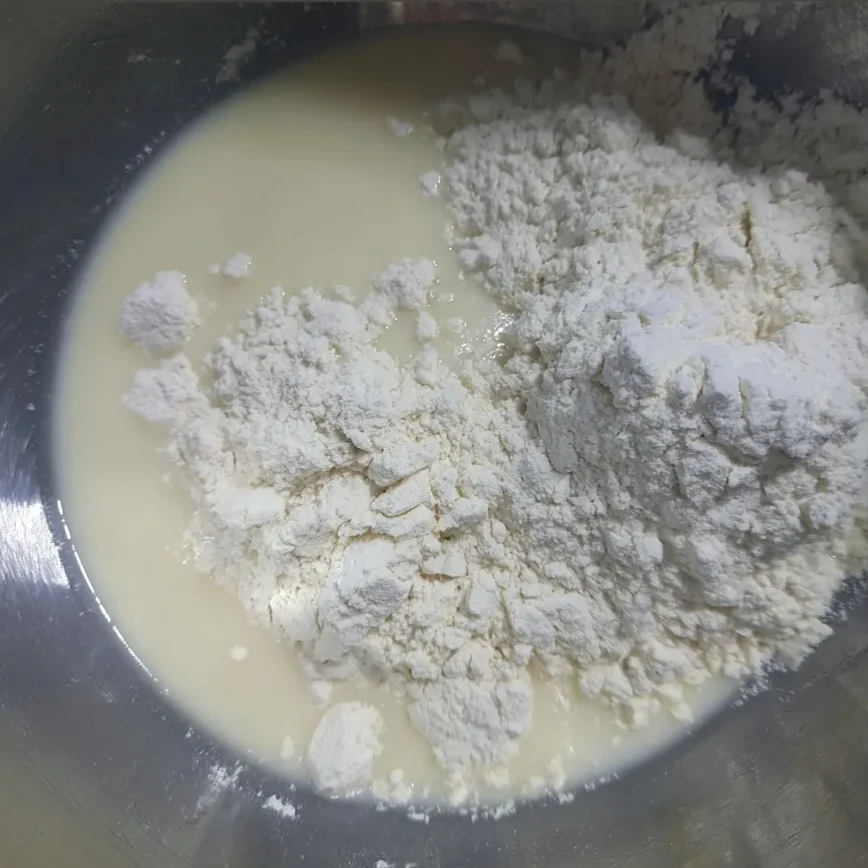
Crack the egg into a mixing bowl, pour in the milk, and give it a good whisk until everything’s nicely combined.
Optional: If you’re making pikelets banana, mash half a ripe banana and whisk it in here too. It adds a lovely natural sweetness.
Step 2: Add the Dry Ingredients
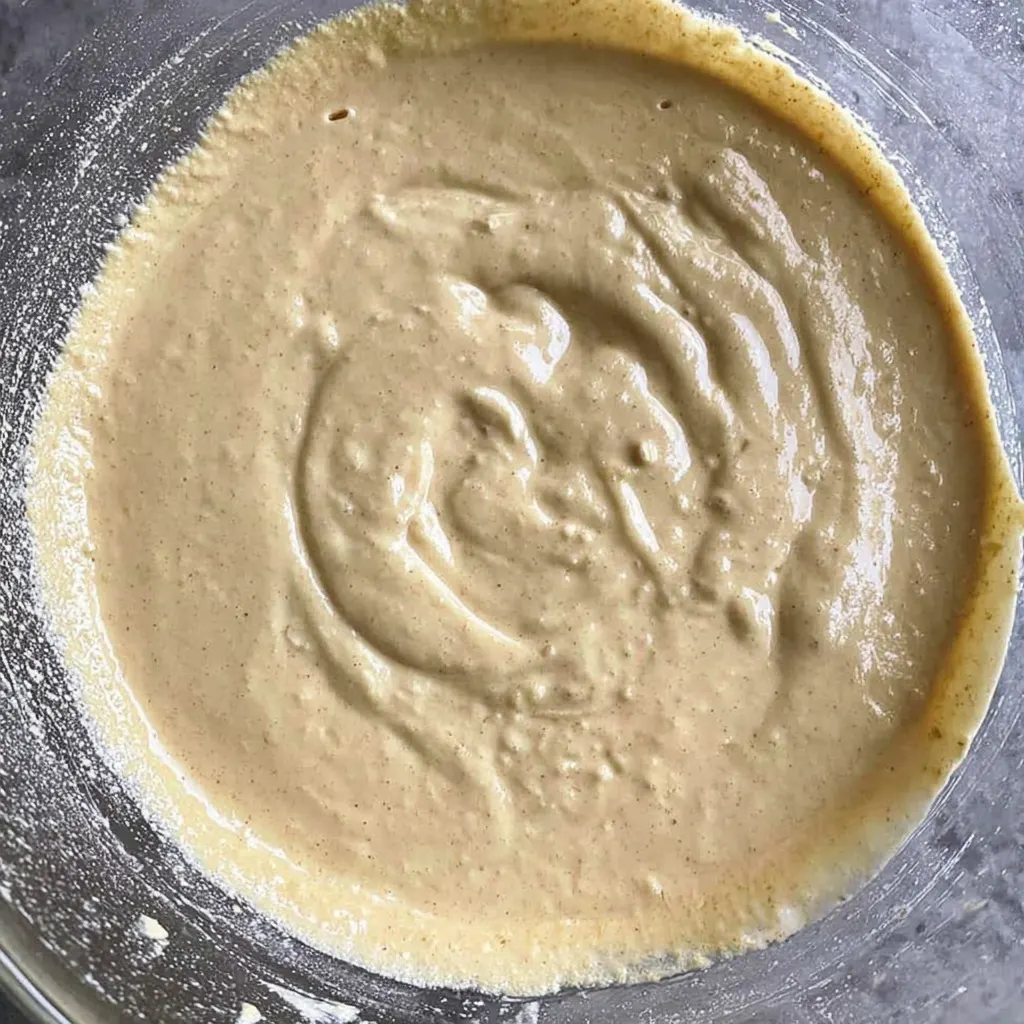
Sift the self-raising flour and caster sugar into the bowl with the wet mixture. Stir gently with a spoon or whisk until just combined. Don’t overmix—it’s okay if it’s a bit lumpy! Overmixing is the enemy of fluffy pikelets.
Step 3: Heat the Pan
Place your non-stick frying pan over medium heat. Once it’s hot, lightly grease it with a bit of butter. I usually swirl the butter around with a bit of paper towel for even coverage.
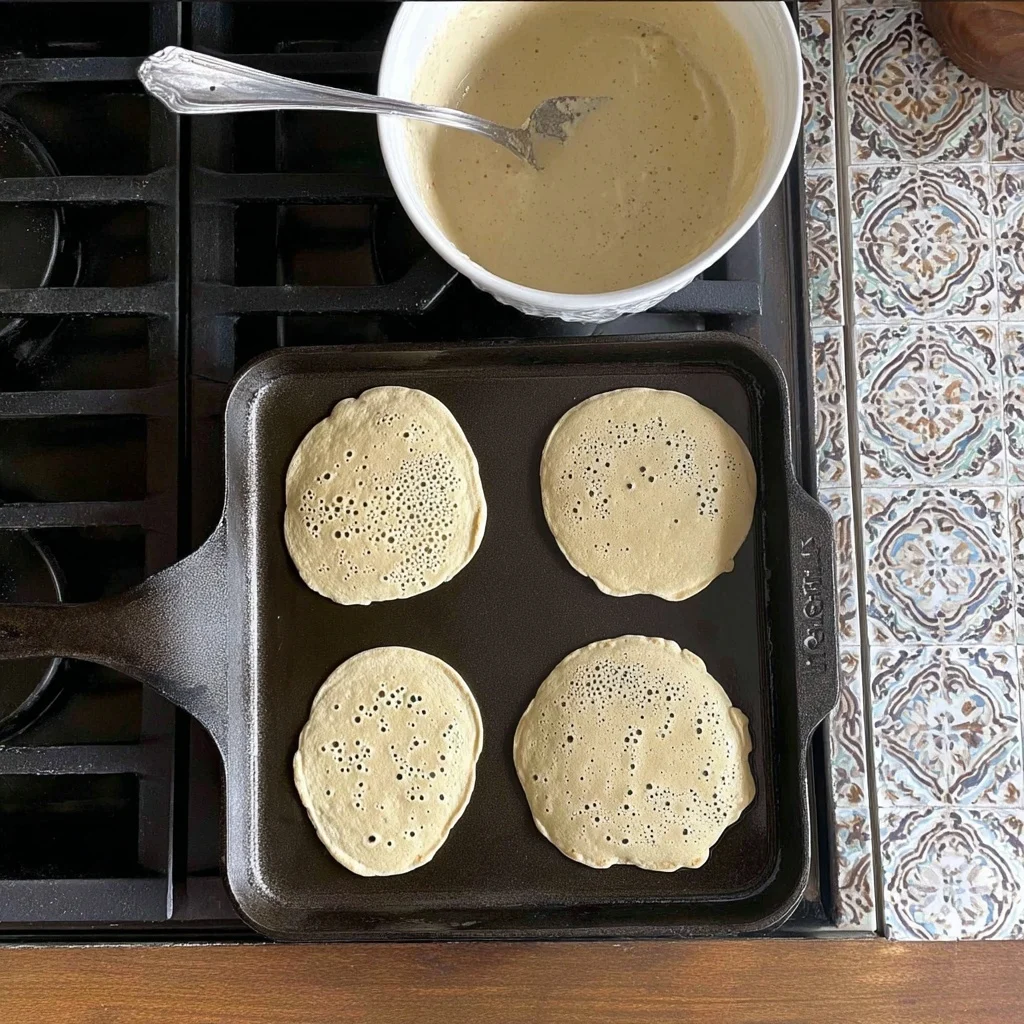
Step 4: Cook the Pikelets
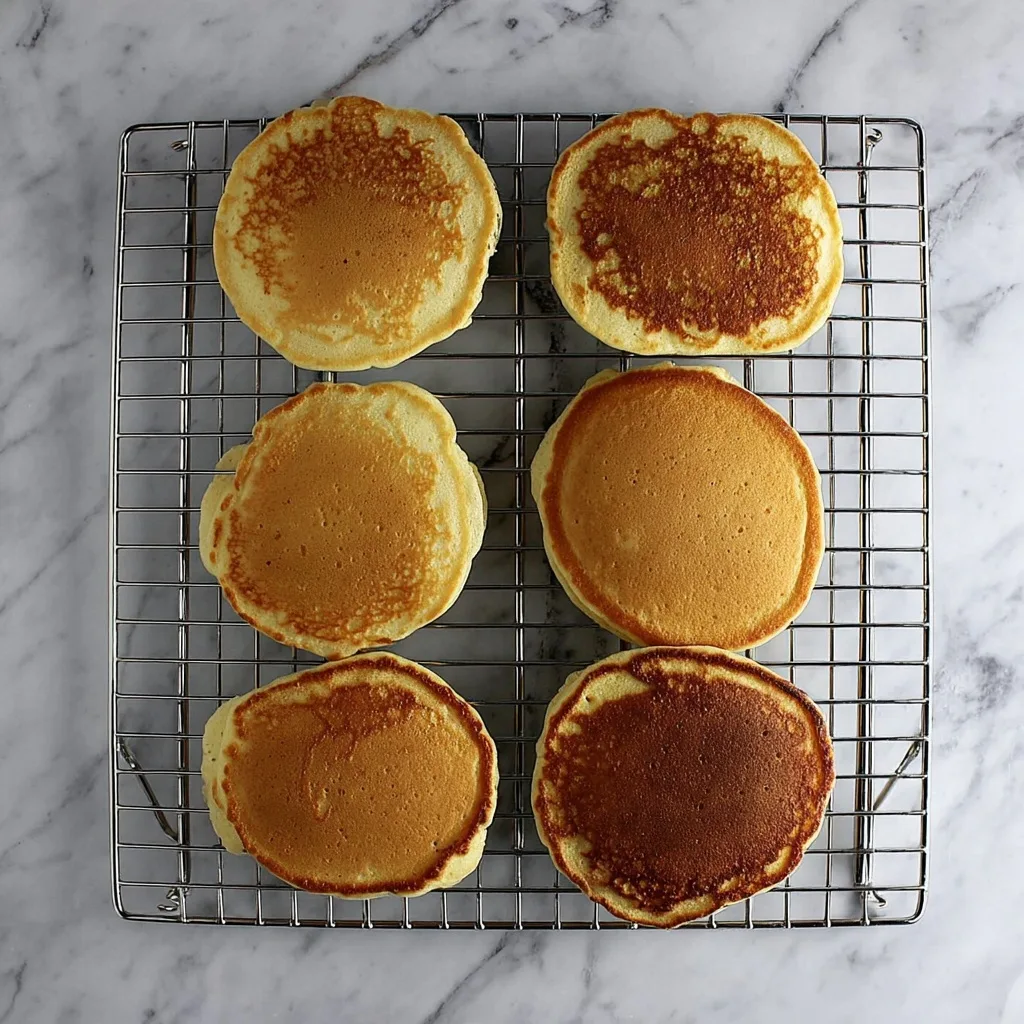
Drop heaped tablespoons of batter into the pan, leaving space for them to spread a little. You’ll see small bubbles forming on top after about 1–2 minutes.
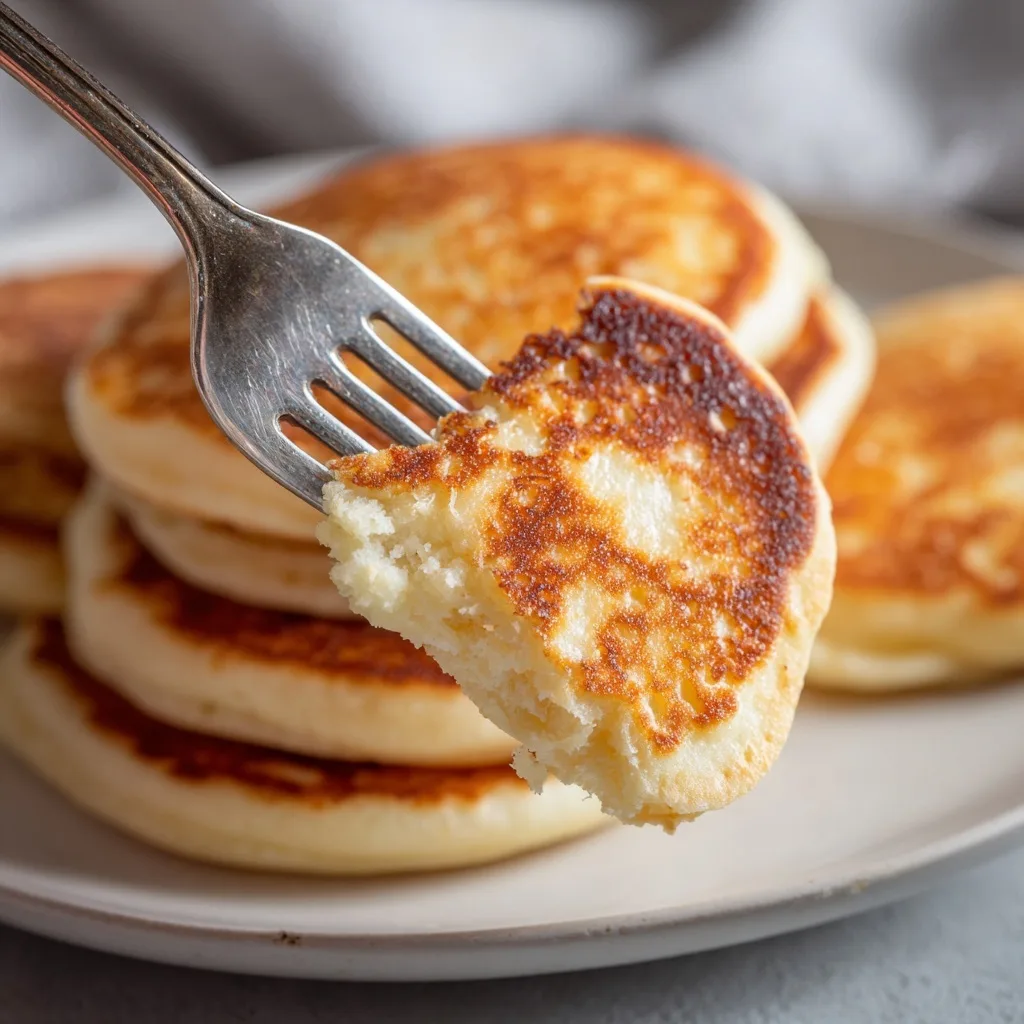
Once those bubbles appear and the edges start to look set, gently flip them over with a spatula. Cook the other side for another 1 minute or so, until golden brown.
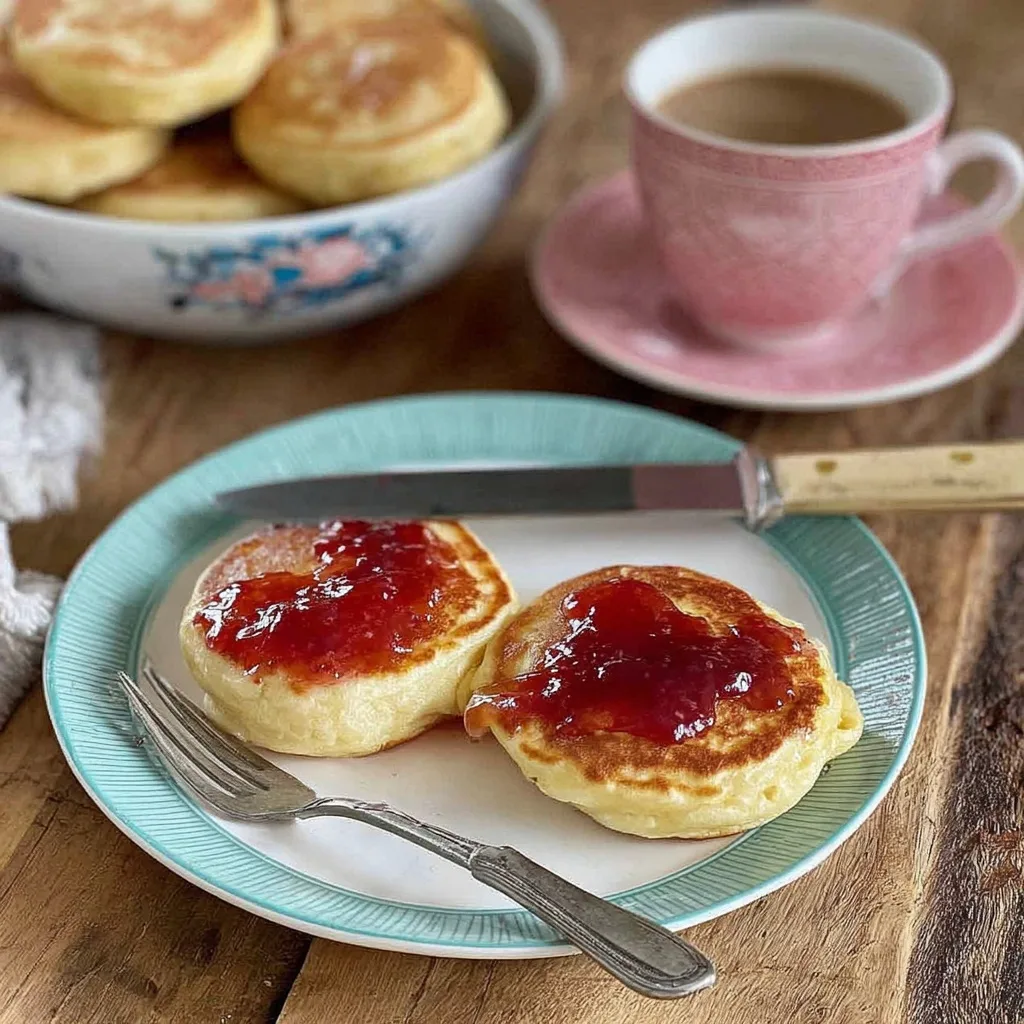
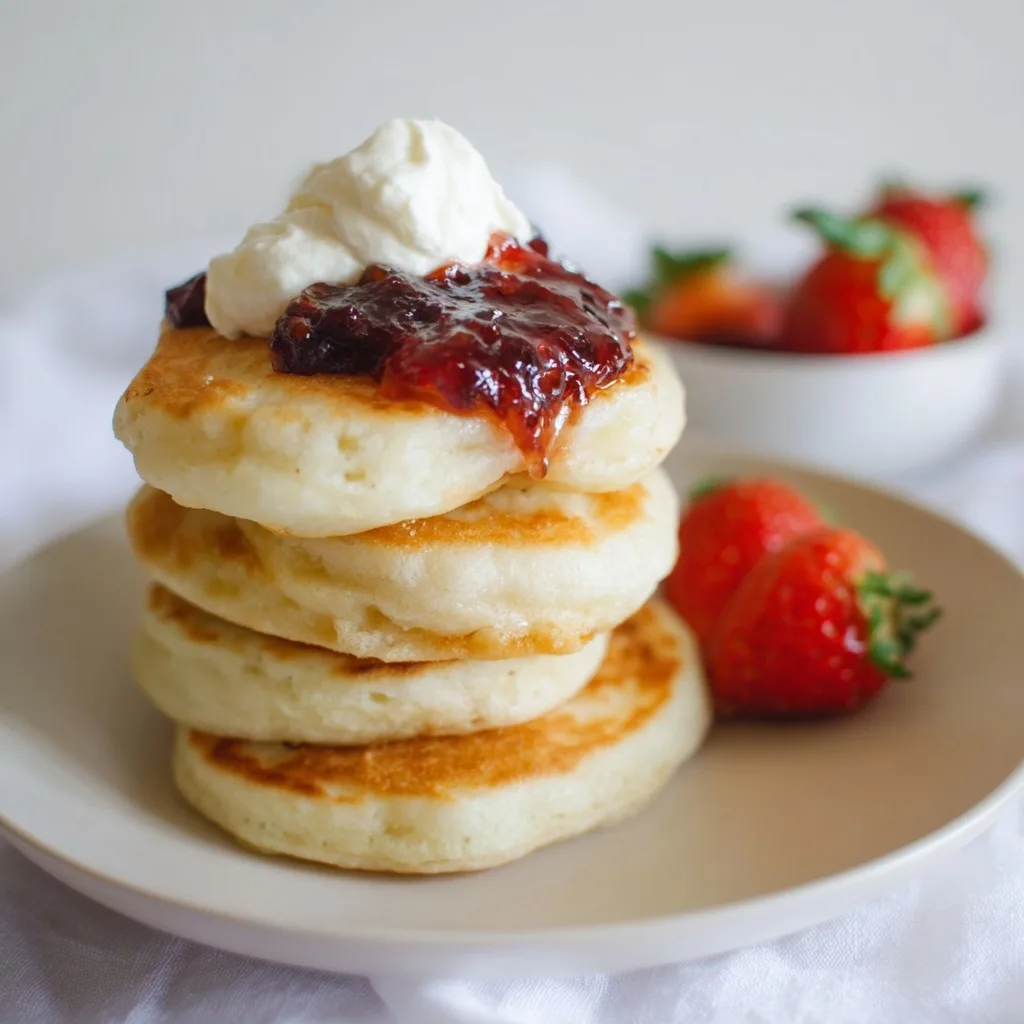
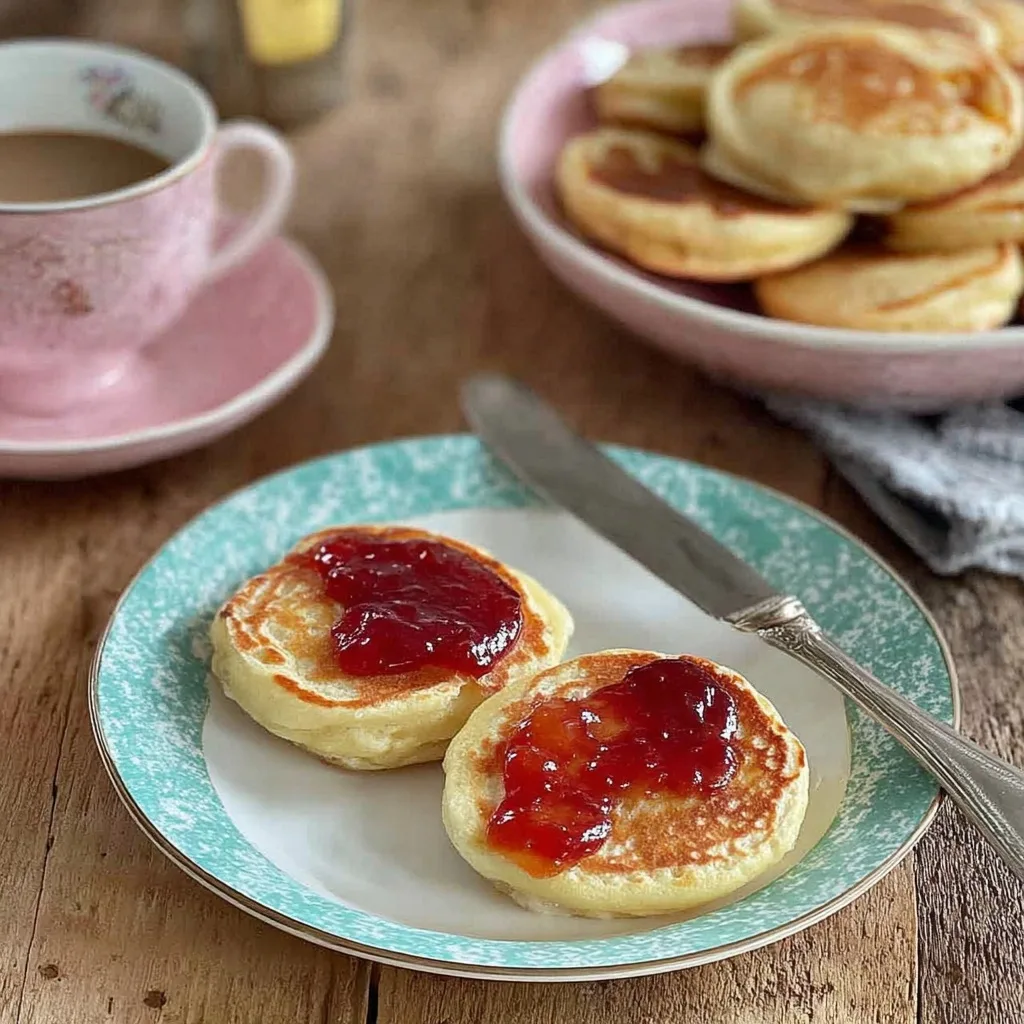
Step 5: Serve Warm and Enjoy
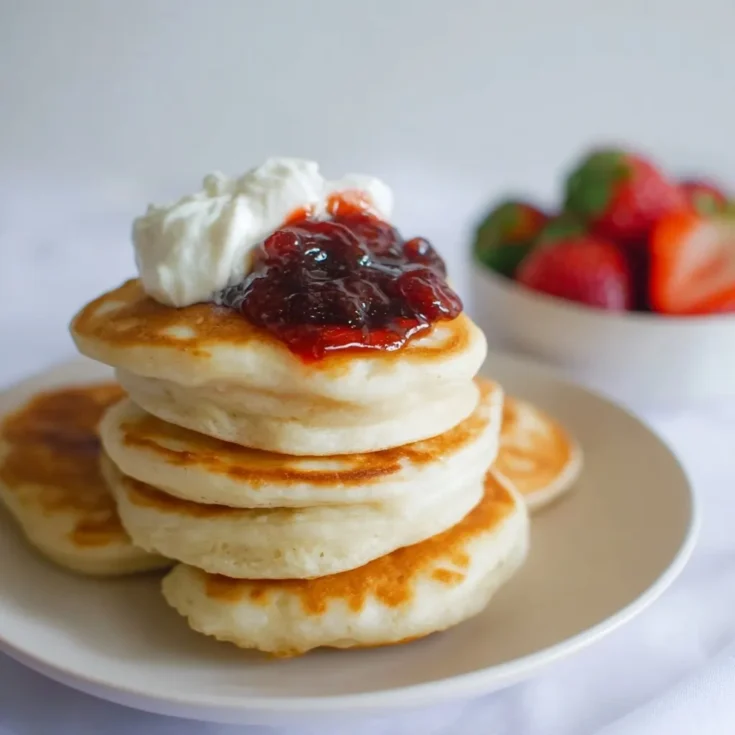
Remove the pikelets and let them cool slightly on a plate or wire rack. Serve them warm with your favourite toppings—jam and cream, butter and honey, fresh fruit, or even a dusting of icing sugar.
If you’re making the pikelets gluten free version, follow the exact same method—just use gluten-free self-raising flour instead. The results are just as soft and fluffy!
Variations to Try
Once you’ve mastered the basic pikelets recipe, you’ll find it super easy to mix things up. I like to keep it interesting depending on what’s in the fruit bowl or pantry—especially when the kids ask for something “different” but I don’t want to start from scratch.
Here are a few favourites we love in our house:
- Banana Pikelets – Mash in ½ a ripe banana with the milk and egg. Adds natural sweetness and the softest texture. This pikelets banana version is a hit with toddlers and grown-ups alike.
- Pikelets Gluten Free – Swap out regular self-raising flour for a gluten-free one (I use the Woolies brand or Orgran). No one even notices the difference.
- Blueberry Burst – Add a few fresh or frozen blueberries into the batter before cooking. They pop and get all juicy—so good!
- Savoury Pikelets – Omit the sugar and mix in chopped chives, grated cheese, or a pinch of paprika. Great for lunchboxes or quick snacks.
- Mini Pikelets – Use a teaspoon of batter for tiny bite-sized versions. Perfect for parties or little fingers!
These tweaks keep things fun without messing up the base recipe. I often let the kids help choose the mix-ins—and they love feeling like mini chefs.
If you’re into nostalgic Aussie snacks, you’ll also love my Honey Joys Recipe—another childhood favourite that’s simple and crowd-pleasing.
Tips for Perfect Pikelets Every Time
I’ve made a lot of pikelets over the years—some fluffy and golden, others… well, let’s just say they didn’t make the photo album. 😅 Here are the little things I’ve learned that really make a difference:
- Let the batter rest. Even 5 minutes helps the flour absorb the liquid and makes the pikelets rise better.
- Use medium heat. Too hot and they’ll burn before they’re cooked through. Keep it steady.
- Don’t overmix the batter. A few lumps are totally fine—over-stirring makes them dense and rubbery.
- Grease lightly. Just a little butter on the pan is enough. Wipe it around with a paper towel if needed.
- Use a non-stick pan. It’s a game-changer. I’ve tried all the pans in the cupboard and this makes the biggest difference.
Also—if you’re trying the pikelets gluten free version, I recommend cooking them slightly longer on the first side to help set them before flipping.
These simple tweaks turn a good batch into a perfect one. And once you get the feel for it, you’ll whip these up with your eyes closed!
Nutrition Information (Per Pikelet)
While I’m not a nutritionist, here’s a rough breakdown of what you’re getting in each standard pikelet when using the basic recipe (without toppings or add-ins):
| Nutrient | Amount (Approx.) |
|---|---|
| Energy | 65–75 kcal |
| Protein | 2.5 g |
| Fat | 2 g |
| Carbohydrates | 11 g |
| Sugar | 2.5 g |
| Fibre | 0.5 g |
| Sodium | 80 mg |
Note: This is based on making around 12 medium-sized pikelets with the classic ingredients. If you add banana, chocolate chips, or go gluten-free, the numbers will change slightly.
For a lighter version, you can reduce the sugar or cook them in a non-stick pan without butter. And if you’re packing them into lunchboxes, pair them with fruit or yogurt to round things out.
Want to understand more about these values? You can check this helpful Australian Nutrition Reference Values guide by the National Health and Medical Research Council.
Frequently Asked Questions
What’s the difference between pikelets and pancakes?
Pikelets are smaller, thicker, and usually eaten warm or at room temperature—often as part of a morning or afternoon tea. Pancakes are typically larger, thinner, and served hot with syrup. Think of pikelets as the more casual, bite-sized cousin!
Can I make pikelets gluten free?
Absolutely. I’ve done it many times for friends and family who can’t have gluten. Just swap out the self-raising flour for a good-quality gluten-free self-raising flour, and you’re good to go. The texture is slightly different but still fluffy and soft.
Can I make banana pikelets?
Yes—and they’re delicious! Just mash half a ripe banana and mix it into the wet ingredients. It adds natural sweetness, which means you can even skip the sugar if you like. Pikelets banana are especially great for toddlers or anyone trying to cut down on refined sugar.
How should I store leftover pikelets?
Let them cool completely, then pop them into an airtight container. They’ll stay fresh for 2–3 days in the fridge. You can also freeze them with baking paper between layers, then defrost and toast as needed.
Can I double the recipe?
Definitely! This recipe doubles (or even triples) really well. I often make a double batch and freeze half—it’s a great way to have lunchbox fillers or quick snacks ready to go.
What are the best toppings for pikelets?
Oh, where do I start? You can’t go wrong with jam and cream (the classic), but we also love honey, sliced bananas with cinnamon, or even peanut butter and chia jam. For savoury versions, try cream cheese and smoked salmon, or cheddar and chutney.
Printable Recipe
Easy Fluffy Pikelets Recipe
This easy pikelets recipe is a fluffy Aussie favourite, perfect for brekkie, lunchboxes, or a quick afternoon tea. Made with simple pantry staples and ready in under 20 minutes, these soft golden pikelets are perfect for all ages—and totally customisable with banana, gluten-free swaps, or sweet and savoury toppings.
Ingredients
- 1 cup self-raising flour
- 2 tbsp caster sugar
- ¾ cup milk
- 1 egg
- Butter (for greasing the pan)
Optional Add-ins:
- ½ ripe banana, mashed (for banana pikelets)
- Gluten-free self-raising flour (for GF version)
Instructions
- In a mixing bowl, whisk together the milk and egg. (Add mashed banana here if using.)
- Sift in the flour and sugar. Gently stir until just combined—don’t overmix!
- Heat a non-stick frypan over medium heat and grease lightly with butter.
- Drop tablespoons of batter into the pan. Cook for 1–2 minutes or until bubbles form.
- Flip and cook another 1–2 minutes until golden.
- Remove and keep warm under a clean tea towel. Serve with your favourite toppings.
Notes
- Let the batter rest for 5 minutes before cooking for fluffier pikelets.
- The banana version is great for kids and naturally sweet.
- These freeze well—just separate layers with baking paper.
- Make mini pikelets with teaspoons of batter for party platters or toddler snacks.
Variations
- Banana Pikelets – Add ½ mashed banana to the wet mix.
- Gluten-Free Pikelets – Swap regular flour for gluten-free self-raising flour.
- Savoury Twist – Omit sugar and add chives, cheese, or herbs.
Serving Ideas
Jam and cream, butter and honey, Greek yogurt and berries, or cheese and chutney if you're going savoury!
Nutrition Information:
Yield: 4 Serving Size: 1Amount Per Serving: Calories: 70Carbohydrates: 11gSugar: 2.5gProtein: 2.5g
Nutrition values are estimates based on the basic recipe using full cream milk and no toppings or add-ins.
Why This Pikelets Recipe Is One You’ll Make Again and Again
There’s just something special about a recipe that’s simple, reliable, and tied to fond memories—and this pikelets recipe is exactly that for me. Whether I’m whipping them up for Sunday brekkie, school lunchboxes, or a quick treat with a cuppa, they never let me down.
I hope this step-by-step guide helps you make your own batch of soft, golden pikelets—whether it’s your first time or your hundredth. Don’t forget, you can always tweak it to suit your crew: try pikelets banana for a naturally sweet twist, or go pikelets gluten free without losing that fluffy texture.
So go ahead—grab your bowl, warm up that pan, and make some magic. And if you do give them a go, I’d love to see your results! Tag me on socials or drop a comment below. Happy cooking! 💛