The Best Easy Chocolate Swiss Meringue Buttercream
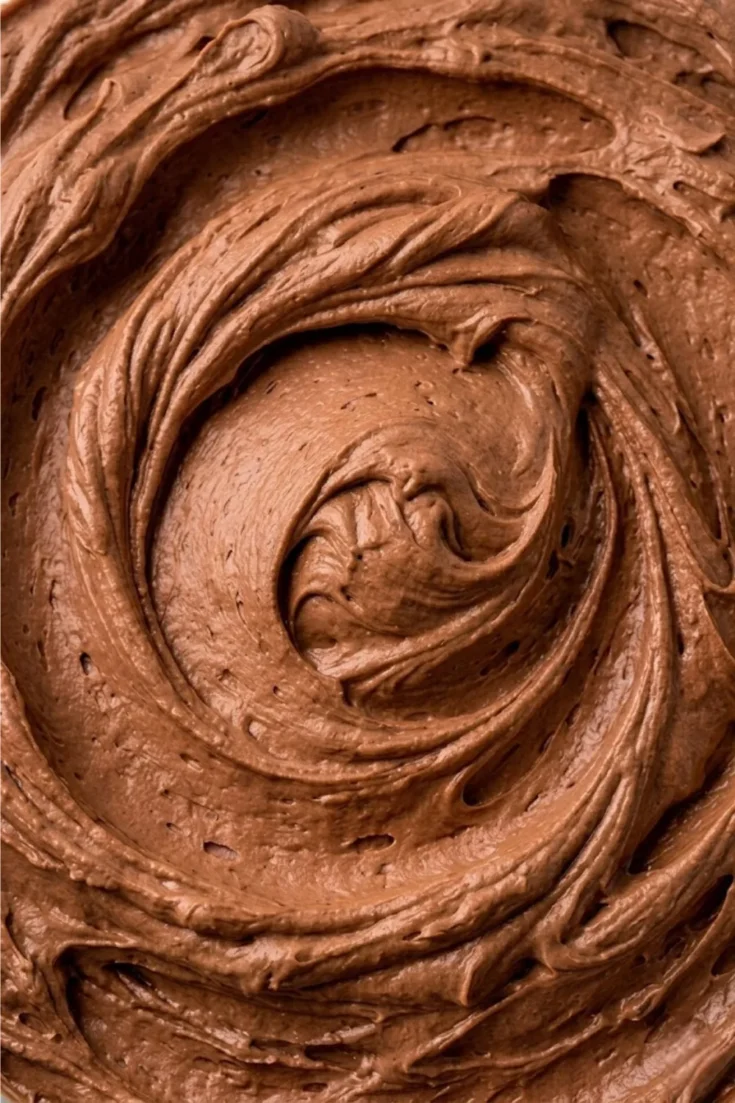
I am so excited for you to try this recipe! If you’ve ever felt intimidated by meringue-based frostings, take a deep breath because we are making this absolutely foolproof together. This Chocolate Swiss Meringue Buttercream is the ultimate “goldilocks” of frostings—it’s not too sweet, it’s incredibly stable, and it has a luxurious, velvety texture that feels like eating a silk cloud.
Whether you are frosting a birthday layer cake or piping delicate swirls onto cupcakes, this recipe delivers a professional finish every single time. It holds its shape beautifully even in warmer weather, making it my absolute go-to for special occasions. Plus, that deep cocoa flavor pairs perfectly with everything from classic vanilla to rich espresso sponges.
You’ll love how this Chocolate Swiss Meringue Buttercream transforms any dessert into a masterpiece without the gritty sugar texture of traditional American buttercream. Grab your whisk and let’s get started on creating the smoothest frosting you’ve ever tasted!

More Frosting Recipes
- Lemon Buttercream Frosting
- peanut butter frosting
- Cookie Dough Buttercream Frosting
- Chai Spice Buttercream
- Chocolate Peanut Butter Frosting
- Salted Caramel Frosting
- Swiss Meringue Buttercream
- Cream Cheese Frosting
- Strawberry Buttercream Frosting
- Nutella frosting
- Fluffy Vanilla Frosting
- Brown Butter Cream Cheese Frosting
Ingredients
- 5 large Egg Whites (approx. 150 g), room temperature
- 1 ½ cups (300 g) Granulated Sugar
- 2 cups (450 g) Unsalted Butter, softened but still cool to the touch and cut into cubes
- 1 cup (170 g) Semi-sweet or Bittersweet Chocolate, melted and cooled to room temperature
- ¼ cup (25 g) Dutch-processed Cocoa Powder, sifted
- 2 tsp (10 ml) Pure Vanilla Extract
- ½ tsp (3 g) Fine Sea Salt
- Optional: 1 tsp (2 g) Espresso Powder (to intensify the chocolate flavor)
Instructions
- Prep the Chocolate: Melt your chocolate in a microwave-safe bowl or over a double boiler. Set it aside to cool completely to room temperature. You want it fluid but not warm to the touch.
- Combine Egg Whites and Sugar: Place your egg whites and granulated sugar into the clean bowl of a stand mixer. Whisk them together by hand briefly to combine.
- Heat the Mixture: Set the bowl over a saucepan filled with about 1 inch (2.5 cm) of simmering water (the double boiler method). Ensure the bottom of the bowl does not touch the water. Whisk constantly until the sugar completely dissolves and the mixture reaches 160°F (71°C).
- Whip the Meringue: Move the bowl to your stand mixer fitted with the whisk attachment. Start on low speed and gradually increase to high. Whip the mixture for 10–15 minutes until it forms stiff, glossy peaks and the bowl feels completely cool to the touch.
- Add the Butter: Switch to the paddle attachment. With the mixer on medium-low, add the softened butter one cube at a time. Ensure each piece incorporates before adding the next. Don’t panic if it looks curdled or soupy—just keep beating and it will come together!
- Flavor and Color: Pour in the cooled melted chocolate, sifted cocoa powder, vanilla extract, salt, and optional espresso powder. Mix on low until the color is uniform and the frosting is perfectly smooth.
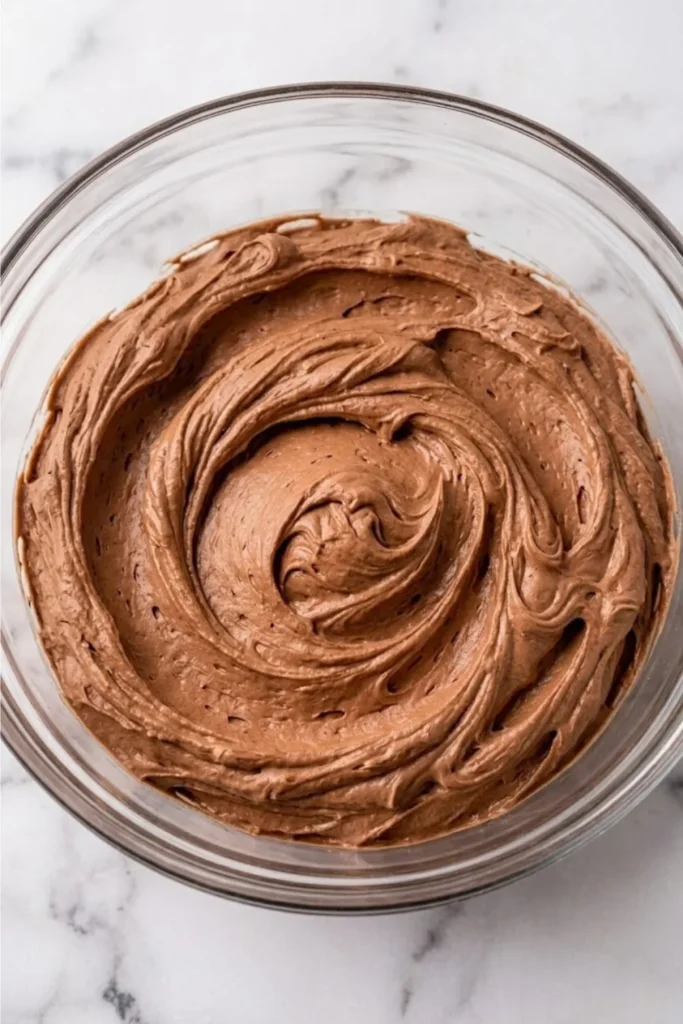
- Remove Air Bubbles: Switch the mixer to the lowest setting and let it run for 2–3 minutes. This pushes out excess air bubbles, leaving you with that signature Chocolate Swiss Meringue Buttercream silkiness.
Kitchen Tip: If your frosting stays soupy after adding the butter, your meringue was likely still too warm. Pop the bowl in the fridge for 15 minutes, then beat it again!
Tips & Variations
Pro Success Tips
- Keep it Grease-Free: Wipe your mixer bowl and whisk with a little lemon juice or white vinegar before starting. Any trace of fat can prevent your egg whites from whipping into those beautiful stiff peaks.
- The Temperature Sweet Spot: Ensure your butter is slightly cool to the touch (around 65°F or 18°C). If the butter is too melty, the buttercream will turn into soup; if it’s too cold, it will stay chunky.
- The “Patience” Phase: If the mixture looks curdled or “broken” halfway through adding the butter, don’t throw it out! This is totally normal. Just keep beating on medium-high speed, and it will magically transform into smooth clouds.
Delicious Variations
- Mocha Buttercream: Increase the espresso powder to 2 tsp (4 g) for a rich coffee-chocolate punch.
- Salted Dark Chocolate: Use a very dark chocolate (70% cocoa) and increase the sea salt to ¾ tsp (4 g) for a sophisticated, less-sweet finish.
- Chocolate Hazelnut: Fold in ½ cup (150 g) of Nutella at the very end for a decadent twist.
Storage & Make-Ahead
- Room Temperature: You can keep this Chocolate Swiss Meringue Buttercream at room temperature for up to 2 days in a cool kitchen.
- Fridge/Freezer: Store it in an airtight container in the fridge for 1 week or freeze for up to 2 months.
- Re-whipping: If refrigerated or frozen, let it come completely to room temperature first, then beat it with the paddle attachment until it regains its silky texture.
Serving Ideas
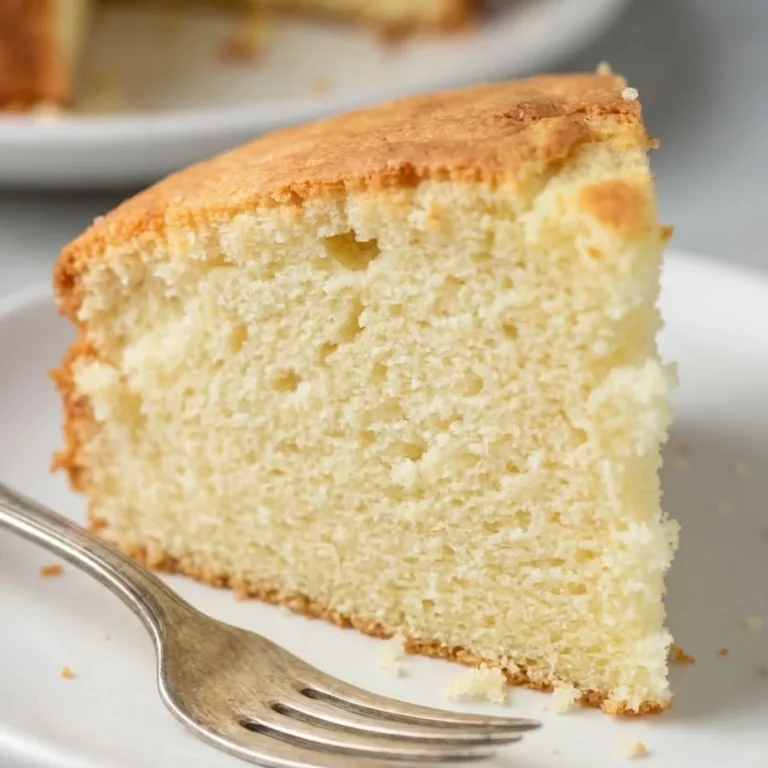
- The Ultimate Layer Cake: Slather this Chocolate Swiss Meringue Buttercream between layers of moist dark chocolate cake or a light yellow sponge. It provides a clean, sharp finish that makes “naked” cakes or fully frosted masterpieces look professional.
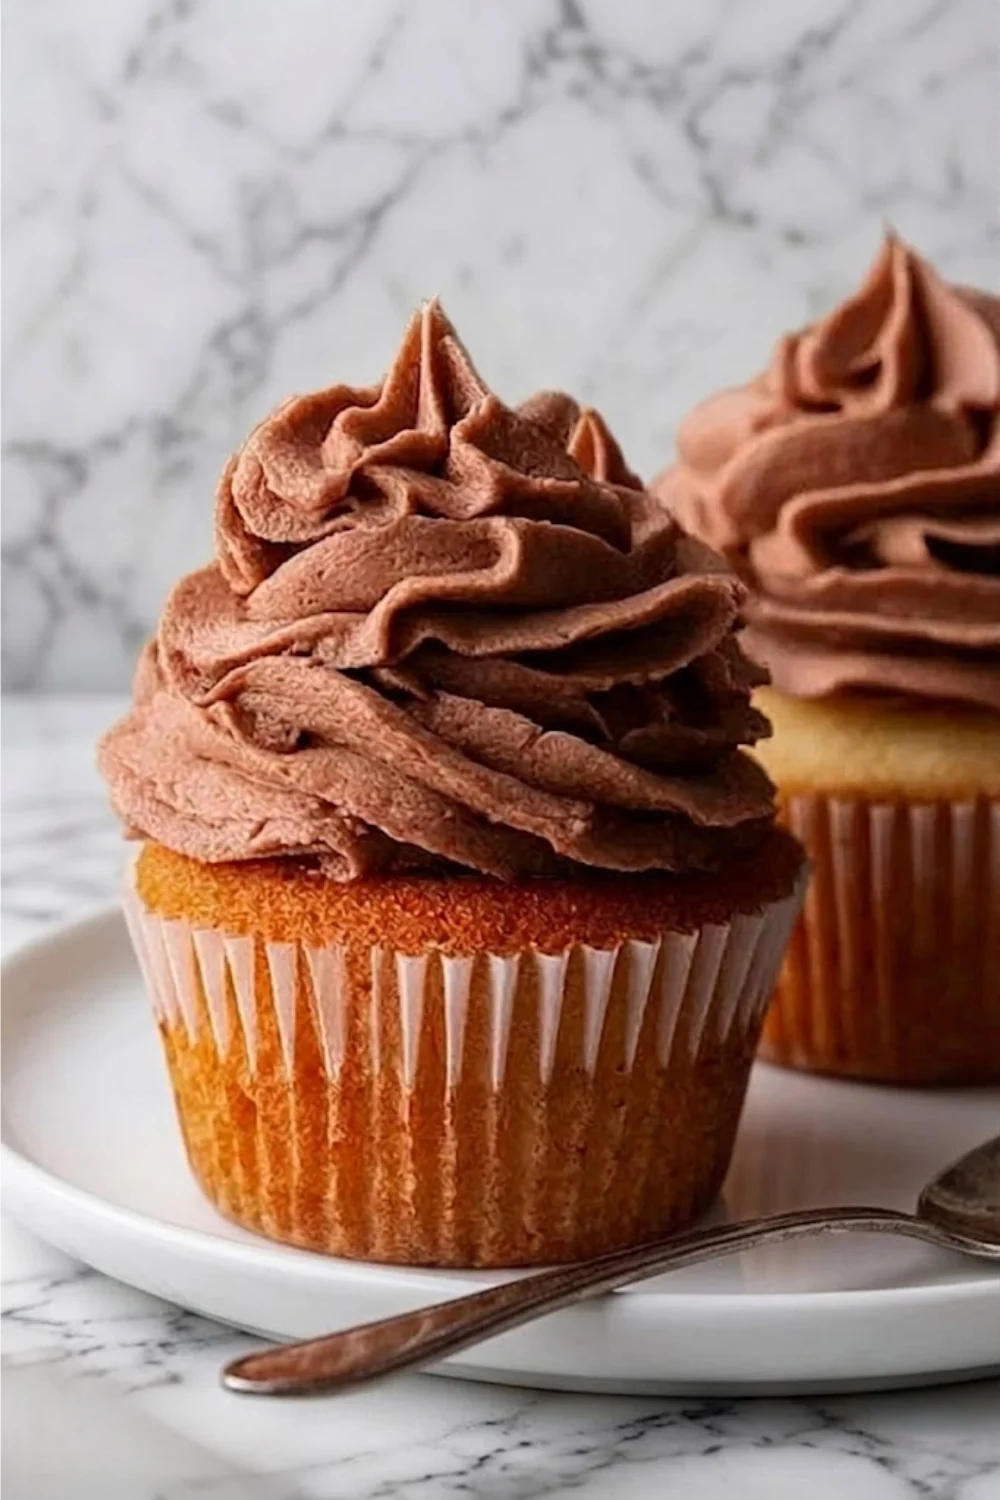
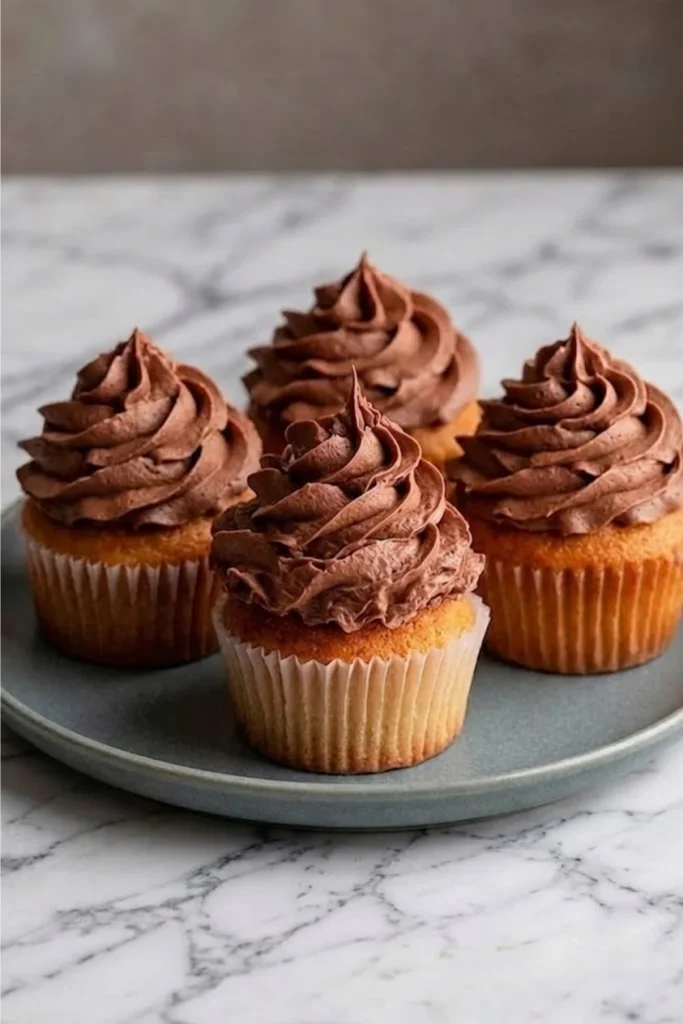
- Perfectly Piped Cupcakes: Use a large star tip to create high, bakery-style swirls on vanilla, raspberry, or peanut butter cupcakes. Because it stays stable at room temperature, your swirls will keep their shape all through the party.
- The Ultimate Cookie Sandwich: Take two chewy oatmeal or double chocolate chip cookies and pipe a thick layer of buttercream in the middle. It creates a decadent treat that feels like something from a high-end boutique.
- Holiday Dessert Table: This frosting is elegant enough for Christmas Yule logs or elegant Easter nests. Pair it with fresh berries or a drizzle of salted caramel for an extra “wow” factor.
- Fruit Dipping: If you have any leftovers (though that’s rare!), use it as a dip for fresh strawberries or banana slices. It’s a total crowd-pleaser for a casual brunch or weeknight treat.
FAQs
How long does Chocolate Swiss Meringue Buttercream last? You can keep this frosting in an airtight container at room temperature for up to 2 days (if your kitchen is cool!). For longer storage, it lasts 1 week in the fridge or up to 2 months in the freezer. Just remember to bring it to room temperature and re-whip it before using!
Why is my buttercream soupy or runny? This usually happens if your meringue was still warm when you added the butter, or if your butter was too soft. Don’t worry! Put the bowl in the fridge for about 20 minutes, then beat it again on medium-high speed. It will come together!
Can I use granulated sugar or does it have to be powdered? We actually use granulated sugar for this recipe! By heating the sugar with the egg whites over a double boiler, the sugar dissolves completely. This is exactly what gives Chocolate Swiss Meringue Buttercream its signature smooth texture—no grit at all.
Is it safe to eat the egg whites? Yes! Because we heat the egg whites and sugar to 160°F (71°C), the egg whites are pasteurized and perfectly safe to consume.
Why does my buttercream look curdled? If it looks like cottage cheese, stay calm! This is a completely normal stage that happens when the temperatures of the butter and meringue are adjusting to each other. Just keep the mixer running, and within a few minutes, it will smooth out into a velvety dream.
Can I make this without a stand mixer? While you can use a hand mixer, be prepared for a workout! Wiping the meringue to stiff peaks and a cool temperature takes about 10–15 minutes of continuous high-speed mixing, so a stand mixer is much easier.
Recipe
Chocolate Swiss Meringue Buttercream
This Chocolate Swiss Meringue Buttercream is the ultimate frosting for bakers who want a professional, silky-smooth finish. It is perfectly stable, not too sweet, and features a deep, luxurious chocolate flavor that pairs beautifully with any cake.
Ingredients
- 5 large Egg Whites (approx. 150 g), room temperature
- 1 ½ cups (300 g) Granulated Sugar
- 2 cups (450 g) Unsalted Butter, softened but cool, cut into cubes
- 1 cup (170 g) Semi-sweet or Bittersweet Chocolate, melted and cooled
- ¼ cup (25 g) Dutch-processed Cocoa Powder, sifted
- 2 tsp (10 ml) Pure Vanilla Extract
- ½ tsp (3 g) Fine Sea Salt
Optional:
- 1 tsp (2 g) Espresso Powder
Instructions
- Melt Chocolate: Melt the chocolate and let it cool completely to room temperature.
- Heat Egg Base: Whisk egg whites and sugar in a stand mixer bowl over a water bath until the mixture reaches 160°F (71°C) and the sugar dissolves.
- Whip Meringue: Using the whisk attachment, whip on high for 10–15 minutes until stiff, glossy peaks form and the bowl is cool.
- Incorporate Butter: Switch to the paddle attachment. Add butter one cube at a time on medium-low speed until incorporated.
- Add Flavor: Pour in the cooled chocolate, cocoa powder, vanilla, and salt. Mix until smooth.
- Smooth It Out: Run the mixer on the lowest speed for 2 minutes to remove air bubbles.
Notes
Nutrition Information:
Yield: 24 Serving Size: 1/4 cupAmount Per Serving: Calories: 265Total Fat: 22gCarbohydrates: 16gProtein: 1g
Nutrition information is estimated and may vary based on ingredients used.
I am so incredibly proud of you for tackling this recipe! Once you see how beautifully this Chocolate Swiss Meringue Buttercream glides onto your cakes, you’ll never want to go back to any other frosting. It truly is the secret weapon of professional bakers, and now you have it right in your own kitchen!
I can’t wait to hear how your baking projects turn out. Please leave a comment below and let me know what flavor of cake you paired this with—I’m always looking for new inspiration!
If you loved this recipe, don’t forget to save it to your favorite dessert board on Pinterest so you always have it handy for your next celebration. Happy baking, and enjoy every silky, chocolatey bite!