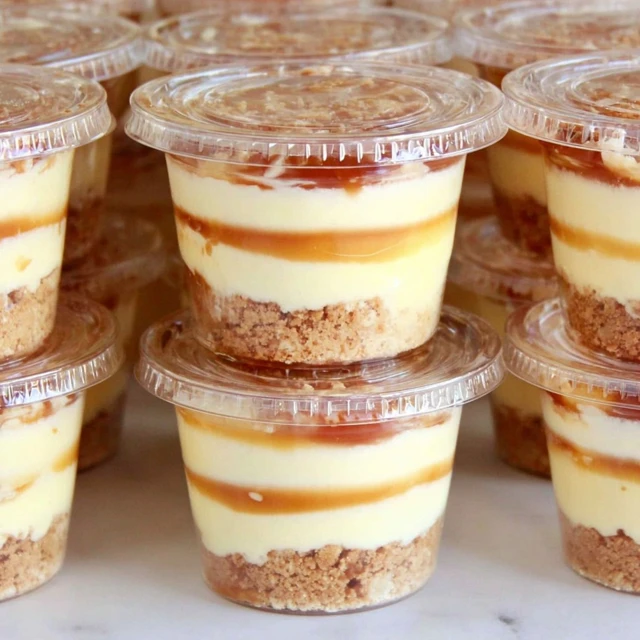
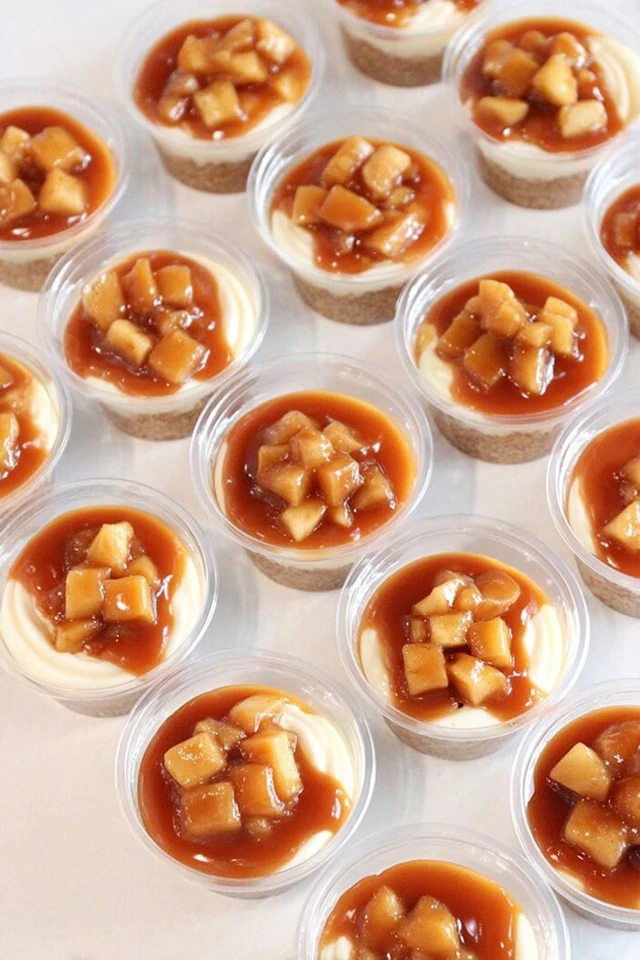
Caramel Apple Dessert Cups (Easy No-Bake Treat)
Some days, you just want a dessert that feels warm, cozy, and a little indulgent—without spending hours in the kitchen. That’s exactly why I love making Caramel Apple Dessert Cups. They bring together tender apples, rich caramel, and creamy layers in the easiest way possible, all served in adorable individual cups.
These caramel apple dessert cups fit beautifully into fall gatherings, family dinners, or those moments when you crave something sweet after a long day. They’re simple, comforting, and endlessly customizable. Once you try them, you’ll see just how easy it is to turn everyday ingredients into a dessert that feels special.
Why You’ll Love These Caramel Apple Dessert Cups
- You make them quickly with simple, everyday ingredients
- You skip the oven completely because this is a no-bake dessert
- You get the perfect mix of sweet caramel, soft apples, and creamy layers
- You serve them in individual cups, which makes them great for guests
- You customize them easily with your favorite toppings or add-ins
- You enjoy a dessert that feels cozy, comforting, and homemade
- You follow clear, stress-free steps, even if you’re a beginner
These dessert cups work beautifully for fall gatherings, holidays, or casual family treats. They look impressive, but they stay incredibly easy to make—exactly the kind of recipe I love sharing.
Ingredients You’ll Need
You only need a few simple ingredients to make these caramel apple dessert cups, and you can find everything at a regular grocery store.
Main Ingredients
- Apples – choose crisp apples like Granny Smith or Honeycrisp
- Caramel sauce – store-bought or homemade both work
- Whipped topping or whipped cream – for light, creamy layers
- Crushed cookies or biscuits – graham crackers, vanilla wafers, or shortbread
- Ground cinnamon – optional, but adds cozy flavor
Optional Add-Ins
- Chopped nuts for extra crunch
- Chocolate drizzle for a sweeter finish
- Cream cheese for a richer layer
How to Prepare the Apples
Preparing the apples correctly makes a big difference in flavor and texture. Keep it simple and you’ll get soft, flavorful apples that still hold their shape.
Simple Apple Prep Steps
- Peel the apples and cut them into small, even pieces
- Add the apples to a skillet over medium heat
- Sprinkle with cinnamon if you like extra warmth
- Cook for a few minutes until the apples soften slightly
- Stir often so they don’t stick or burn
- Remove from heat and let the apples cool completely
Letting the apples cool helps keep the dessert cups neat and creamy when you start layering.
How to Assemble the Dessert Cups
This is the fun part. Layering the dessert cups takes just a few minutes and makes them look beautiful.
Step-by-Step Layering
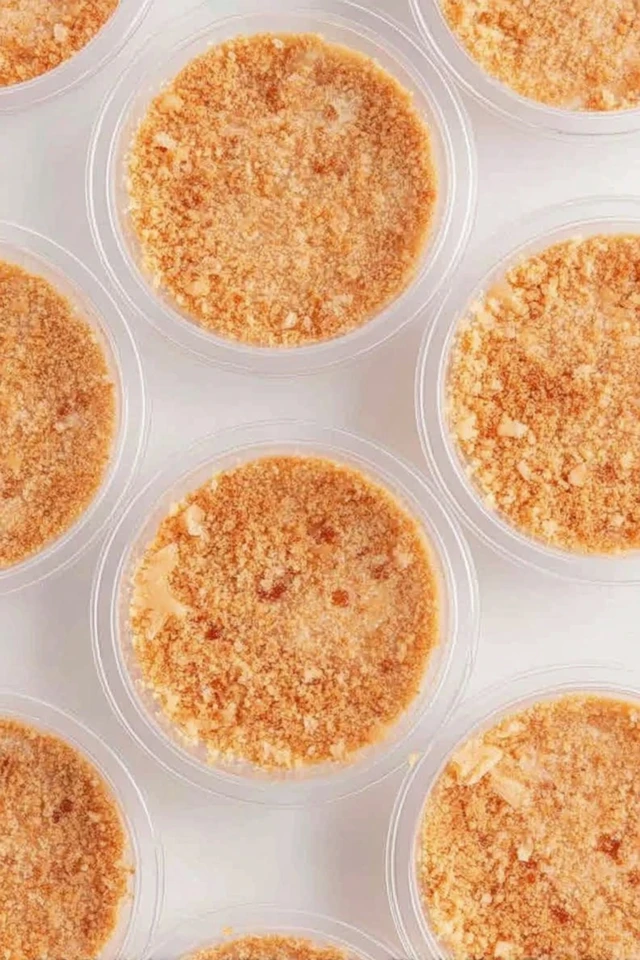
- Start with a spoonful of crushed cookies at the bottom of each cup
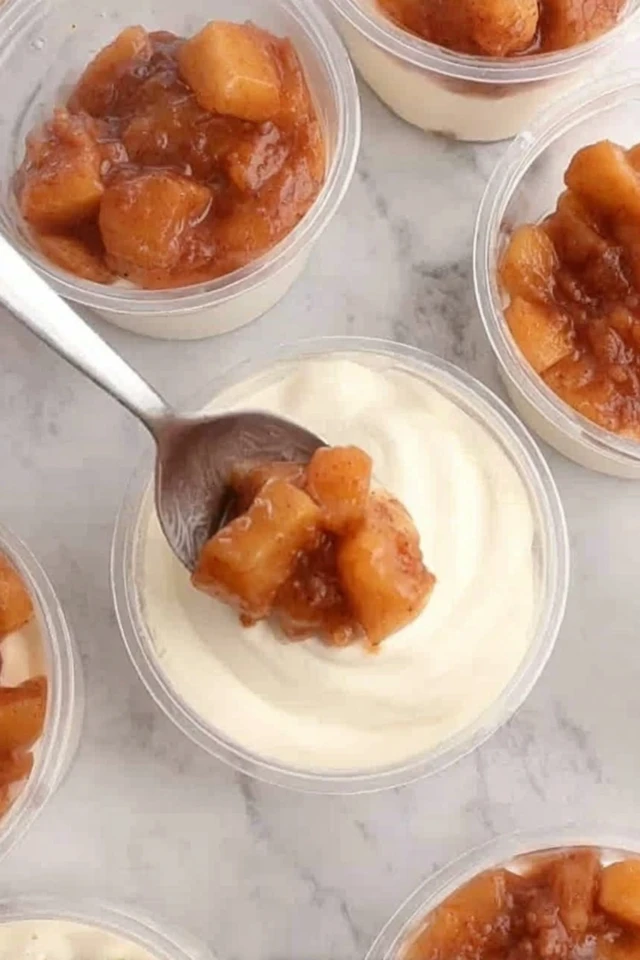
- Add a layer of prepared apples and spread them evenly
- Drizzle caramel sauce over the apples
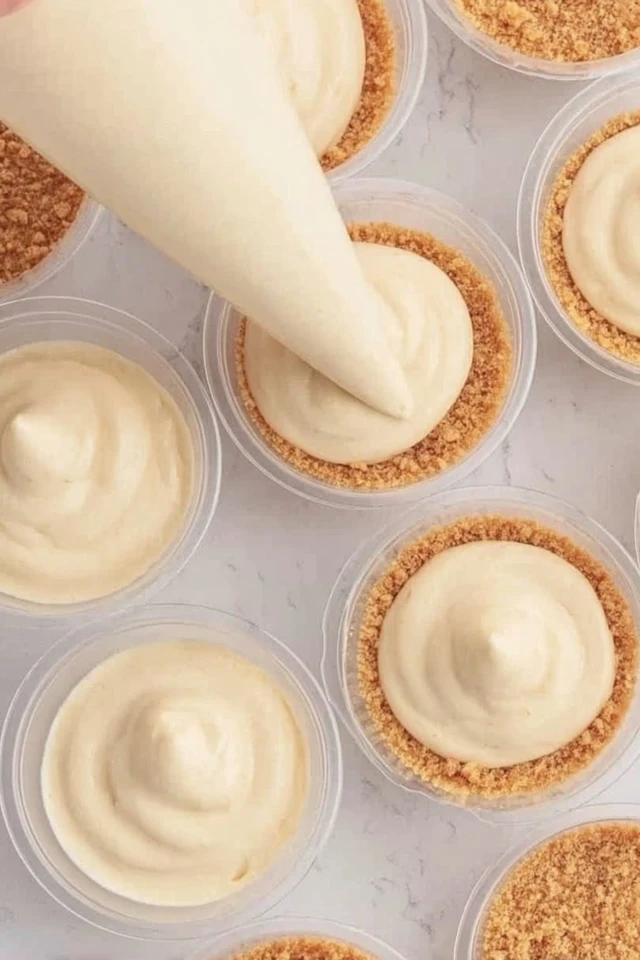
- Add a layer of whipped topping or cream
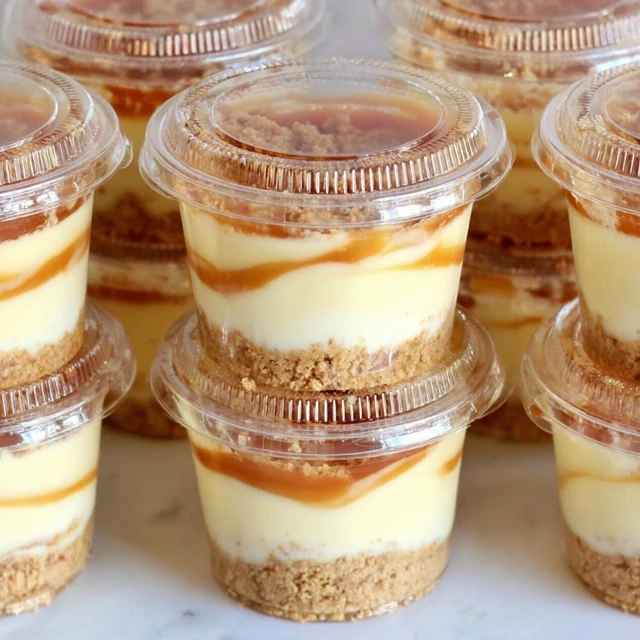
- Repeat the layers until you fill the cup
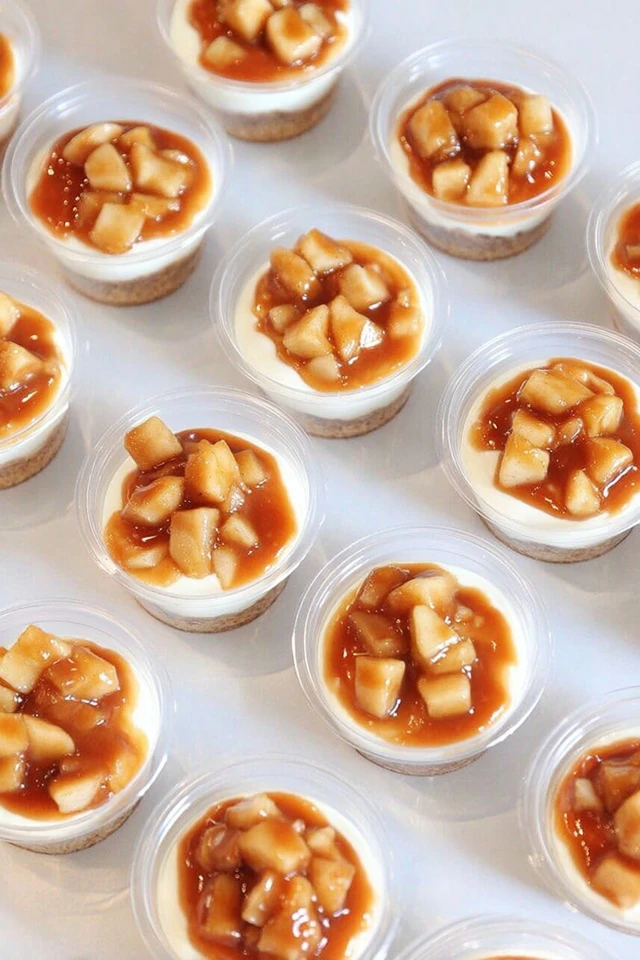
- Finish with extra caramel on top
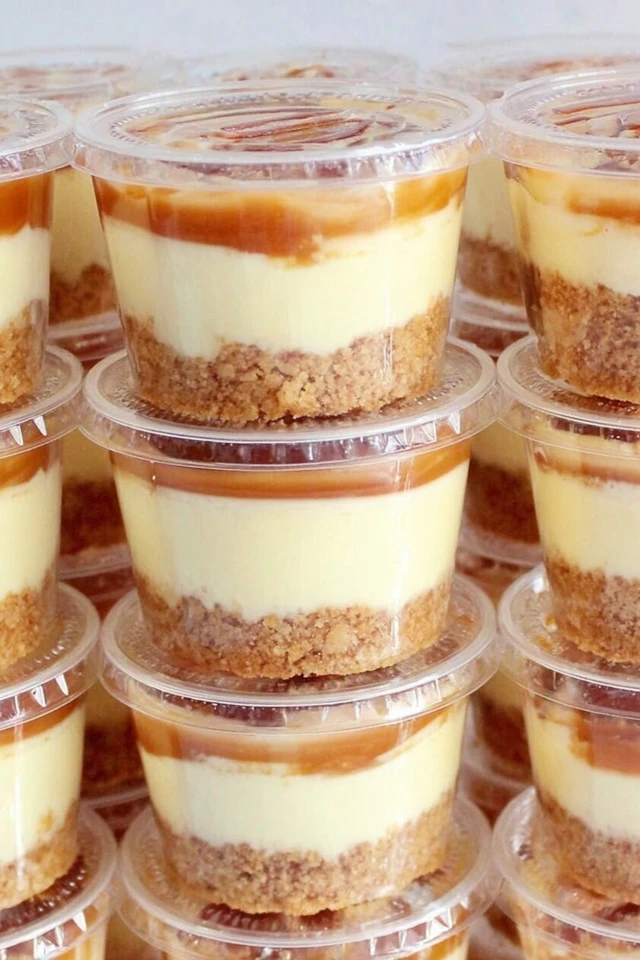
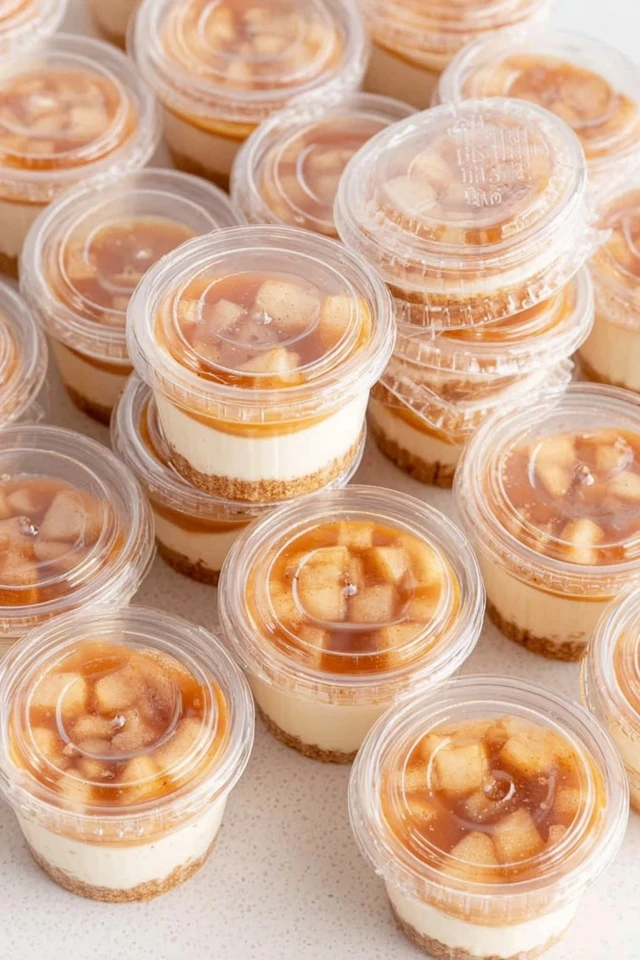
You can use clear cups to show off the layers and make the dessert feel extra special.
Tips for Perfect Caramel Apple Dessert Cups
- Choose crisp apples so they keep their shape
- Cut the apples into small, even pieces for better layering
- Let the apples cool completely before assembling
- Use thick caramel sauce to avoid runny layers
- Chill the cups for 20–30 minutes before serving
- Serve in clear cups to show off the layers
- Add caramel right before serving for the prettiest finish
These simple tips help your dessert cups look neat, taste balanced, and feel bakery-worthy without extra effort.
Flavor Variations & Easy Add-Ins
You can switch things up easily and make these caramel apple dessert cups your own. Try one or mix a few ideas together.
- Add chopped walnuts or pecans for extra crunch
- Drizzle melted chocolate over the caramel layer
- Swap cookies for granola for a different texture
- Add a cream cheese layer for a richer dessert
- Sprinkle apple pie spice instead of cinnamon
- Use salted caramel for a sweet-and-salty twist
These little changes keep the recipe exciting and perfect for different tastes or occasions.
How to Store & Make Ahead
These caramel apple dessert cups work well when you want to prepare dessert in advance.
- Store the assembled cups covered in the refrigerator
- Keep them fresh for up to 24–48 hours
- Prepare the apples a day ahead and store them separately
- Assemble the cups a few hours before serving for best texture
- Add extra caramel right before serving to keep layers clean
Making them ahead saves time and keeps dessert stress-free, especially when guests are coming.
FAQs
Can I make caramel apple dessert cups ahead of time?
Yes, you can make them ahead. Prepare and assemble the cups, then store them covered in the fridge. For the best texture, enjoy them within 24 hours.
What apples work best for this recipe?
Crisp apples like Granny Smith or Honeycrisp work best. They hold their shape and balance the sweetness of the caramel perfectly.
Can I serve these for parties or holidays?
Absolutely. Individual cups make serving easy and mess-free, and they look beautiful on a dessert table.
More Desserts to Try
- No Bake Peanut Butter Bars
- Chocolate Cream Pie
- Football Rice Krispie Treats Recipe
- Strawberry Rice Krispies
Recipe
Caramel Apple Dessert Cups
These caramel apple dessert cups combine tender apples, rich caramel, and creamy layers in an easy, no-bake dessert. Perfect for fall, parties, or a quick sweet treat.
Ingredients
- 3 medium apples, peeled and diced
- 1 teaspoon ground cinnamon (optional)
- 1 cup caramel sauce
- 1½ cups whipped topping or whipped cream
- 1 cup crushed cookies or biscuits (graham crackers or vanilla wafers)
Optional Add-Ins
- Chopped nuts
- Chocolate drizzle
- Cream cheese layer
Instructions
- Peel and dice the apples into small, even pieces.
- Add the apples to a skillet over medium heat and sprinkle with cinnamon if using.
- Cook for a few minutes until the apples soften slightly, then remove from heat and let them cool completely.
- Spoon crushed cookies into the bottom of each dessert cup.
- Add a layer of cooked apples over the crumbs.
- Drizzle caramel sauce generously over the apples.
- Add a layer of whipped topping.
- Repeat the layers until the cups are full.
- Finish with extra caramel on top.
- Chill for 20–30 minutes before serving for best flavor.
Notes
Nutrition Information:
Yield: 6 Serving Size: 1Amount Per Serving: Calories: 280Total Fat: 14gCarbohydrates: 38g
The nutrition information provided is an estimate and may vary based on the ingredients used, portion sizes, and preparation methods.
These Caramel Apple Dessert Cups make dessert feel special without making it complicated. You get cozy flavors, creamy layers, and just the right amount of sweetness in every bite, all with simple ingredients and easy steps. Whether you make them for a fall gathering, a family dinner, or a quiet night at home, they always feel like a treat worth slowing down for.
Save this recipe, share it with someone who loves apple desserts, and enjoy every cozy spoonful.