Pickled Garlic Recipe – Easy Step-by-Step Guide
Have you ever tried pickled garlic? It’s one of those simple little kitchen tricks that turns an everyday ingredient into something totally irresistible. The cloves mellow out, losing their sharp bite, and take on a tangy, slightly sweet flavor that’s downright addictive. Whether you’re vegan, love experimenting with homemade recipes, or just looking for a new way to jazz up your meals, this recipe is a must-try.
The best part? Making pickled garlic at home is easier than you think. With just a few basic ingredients — garlic, vinegar, water, and spices — you can create a jar of garlicky goodness that adds flavor to salads, sandwiches, bowls, or even straight off the fork (no judgment here!). Plus, it keeps beautifully in the fridge, so you’ll always have a burst of flavor ready to go.
In this step-by-step guide, I’ll show you exactly how to pickle garlic, share some tips to get it just right, and answer the most common questions so you can feel confident trying it yourself. Let’s get started!
Why You’ll Love Pickled Garlic
Pickled garlic isn’t just delicious — it’s one of those versatile little gems that you’ll find yourself reaching for again and again. Here’s why:
- Vegan & naturally gluten-free – perfect for plant-based meals.
- Adds instant flavor – tangy, mellow garlic elevates salads, pasta, and sandwiches.
- Budget-friendly & easy – simple pantry staples turn into something gourmet.
- Lasts for weeks – make one jar and enjoy it again and again.
- Totally customizable – add chili flakes, dill, or peppercorns to suit your taste.
Ingredients You’ll Need
You only need a handful of simple ingredients to make pickled garlic at home. Feel free to adjust the spices to match your taste.
- 2 cups fresh garlic cloves, peeled
- 1 cup white vinegar (or apple cider vinegar for a softer flavor)
- 1 cup water
- 1 tablespoon salt
- 1 tablespoon sugar (optional, balances the tang)
- 1 teaspoon whole peppercorns
- ½ teaspoon chili flakes (optional, for heat)
- A few sprigs of fresh dill or thyme (optional)
Quick Ingredient Table
| Ingredient | Amount | Notes |
|---|---|---|
| Garlic cloves | 2 cups | Fresh, firm, peeled |
| Vinegar | 1 cup | White or apple cider vinegar |
| Water | 1 cup | Filtered preferred |
| Salt | 1 tbsp | Non-iodized (pickling salt) |
| Sugar (optional) | 1 tbsp | Balances acidity |
| Peppercorns | 1 tsp | Whole, black or mixed |
| Chili flakes (opt.) | ½ tsp | For a spicy kick |
| Fresh herbs (opt.) | Few sprigs | Dill, thyme, or rosemary |
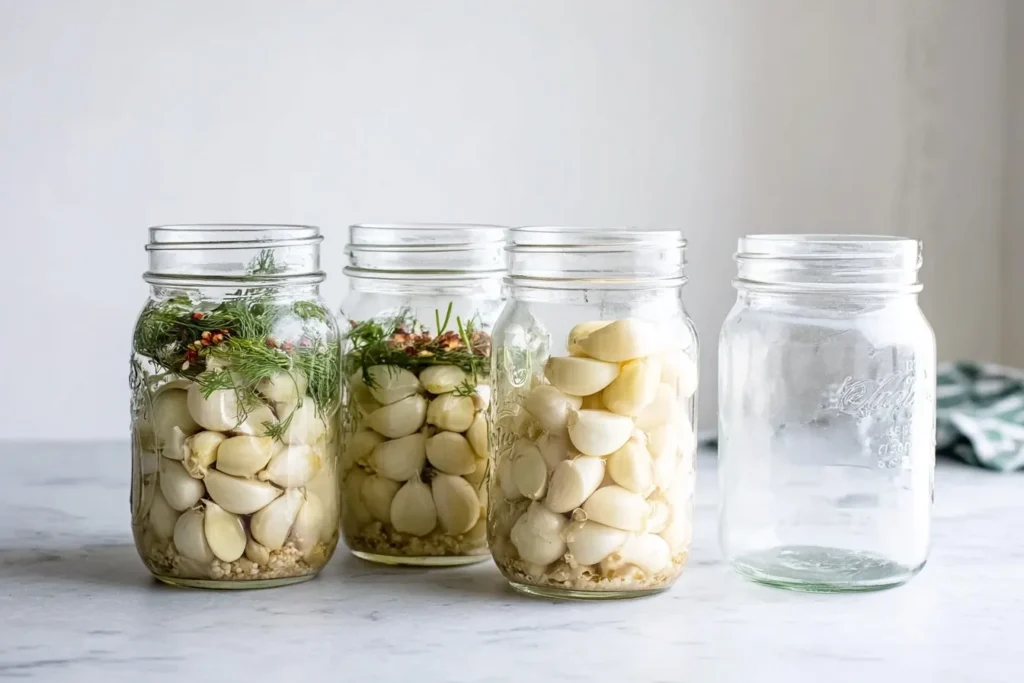
Step-by-Step: How to Make Pickled Garlic
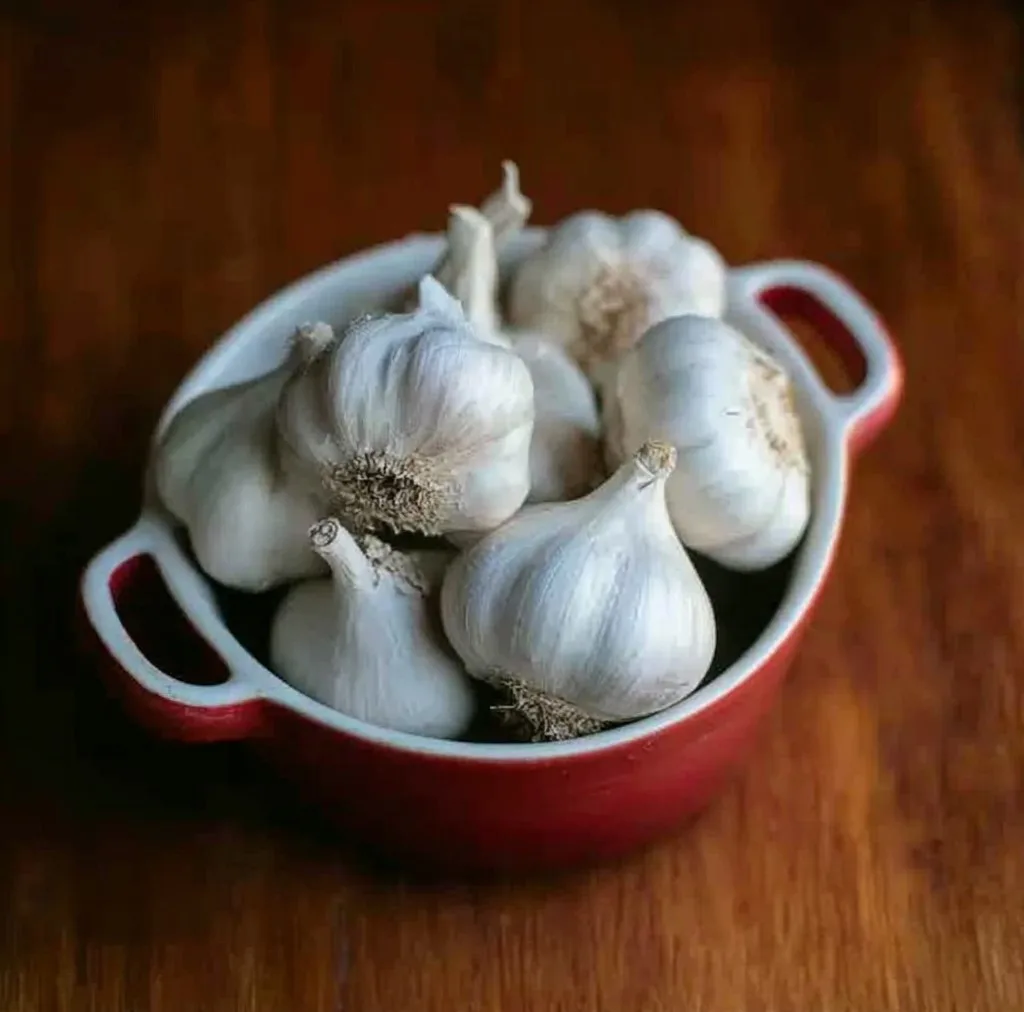
Step 1: Prepare the Garlic
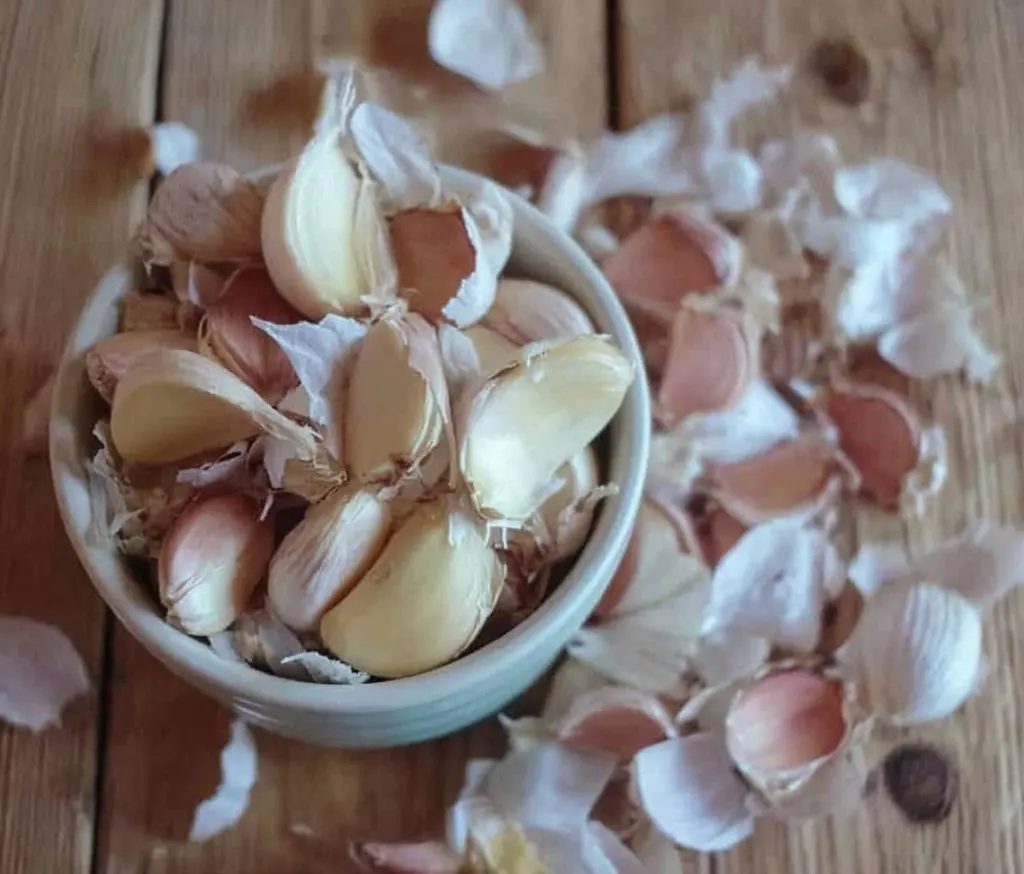
- Peel your garlic cloves (about 2 cups).
- Rinse them well and pat dry with a clean towel.
- Pro tip: To peel quickly, lightly smash the cloves with the flat side of a knife.
Step 2: Make the Brine
- In a small saucepan, combine 1 cup vinegar, 1 cup water, 1 tbsp salt, and 1 tbsp sugar (if using).
- Heat until the salt and sugar dissolve, then remove from heat.

Step 3: Add Flavor
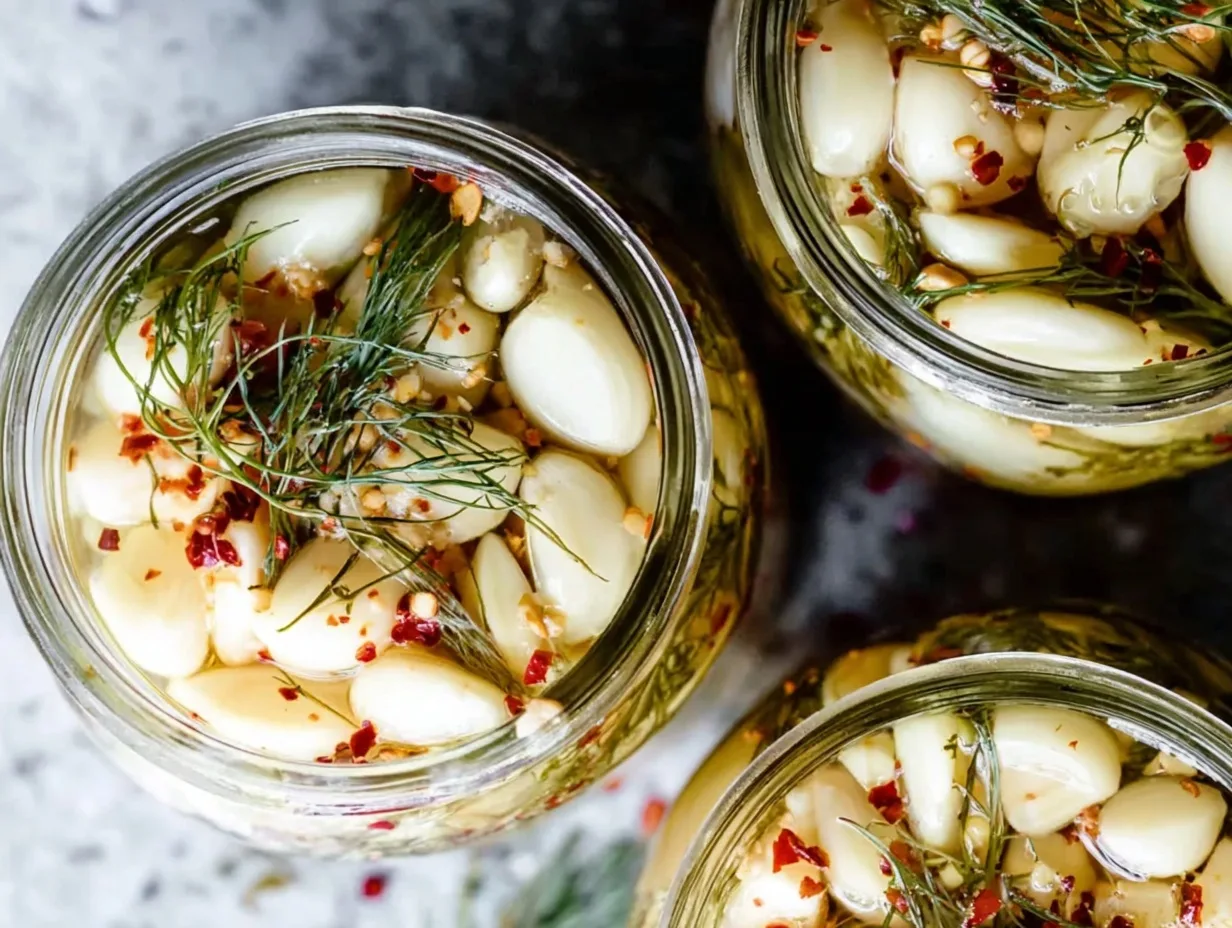
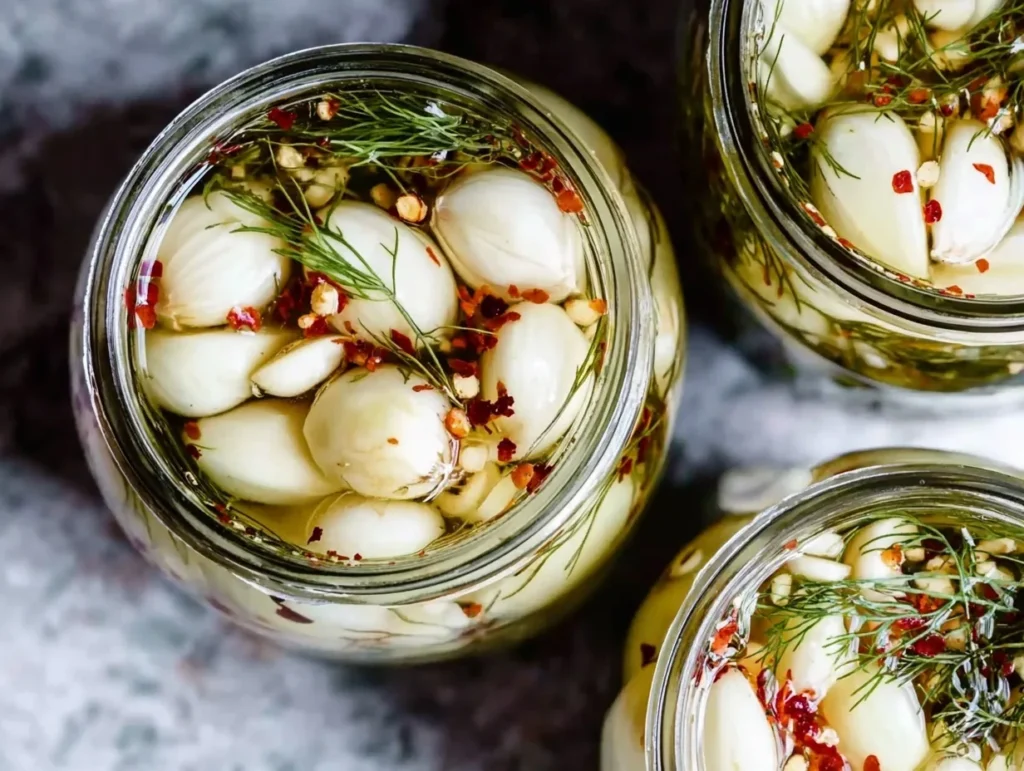
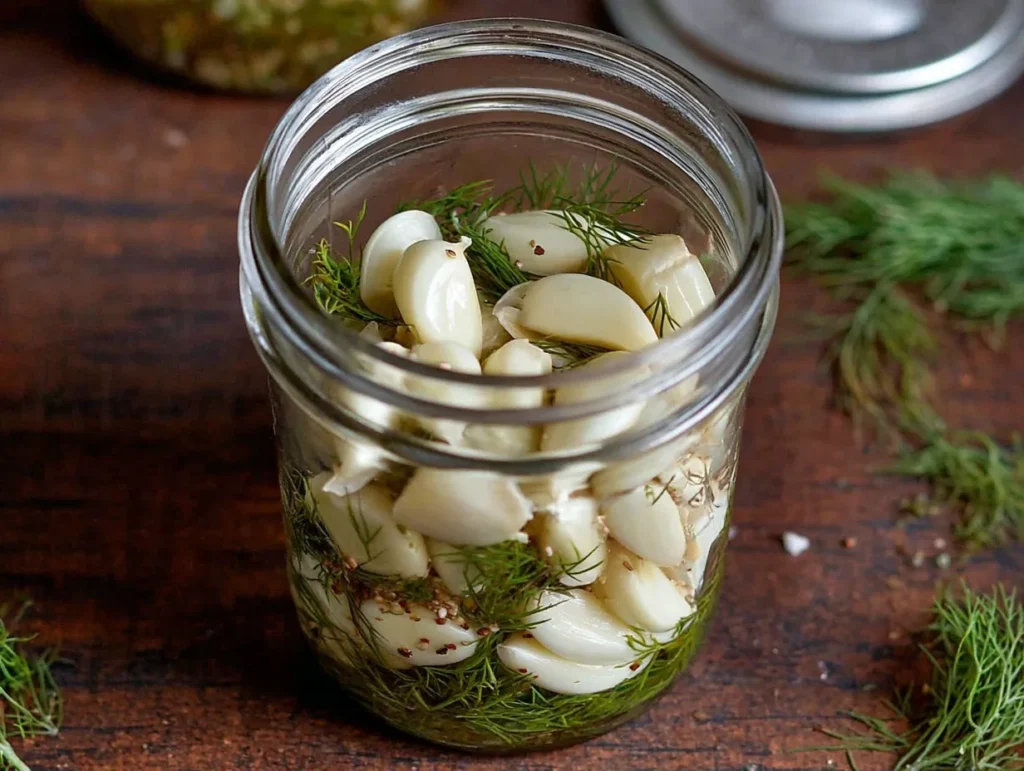
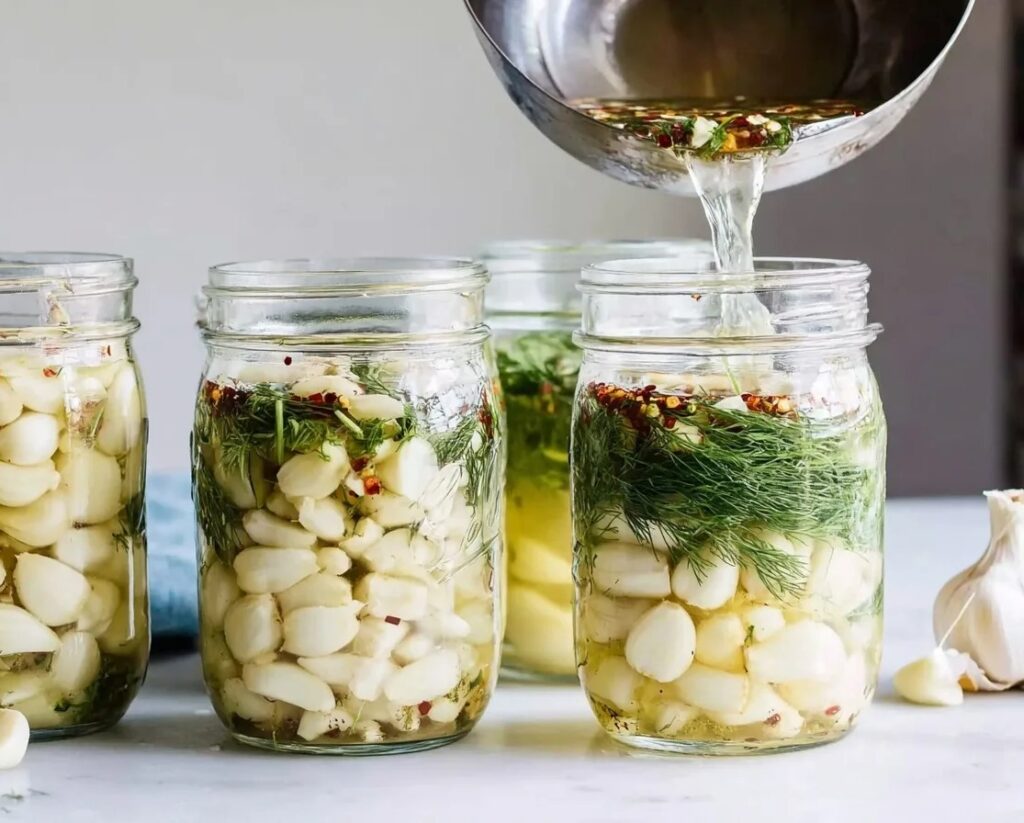
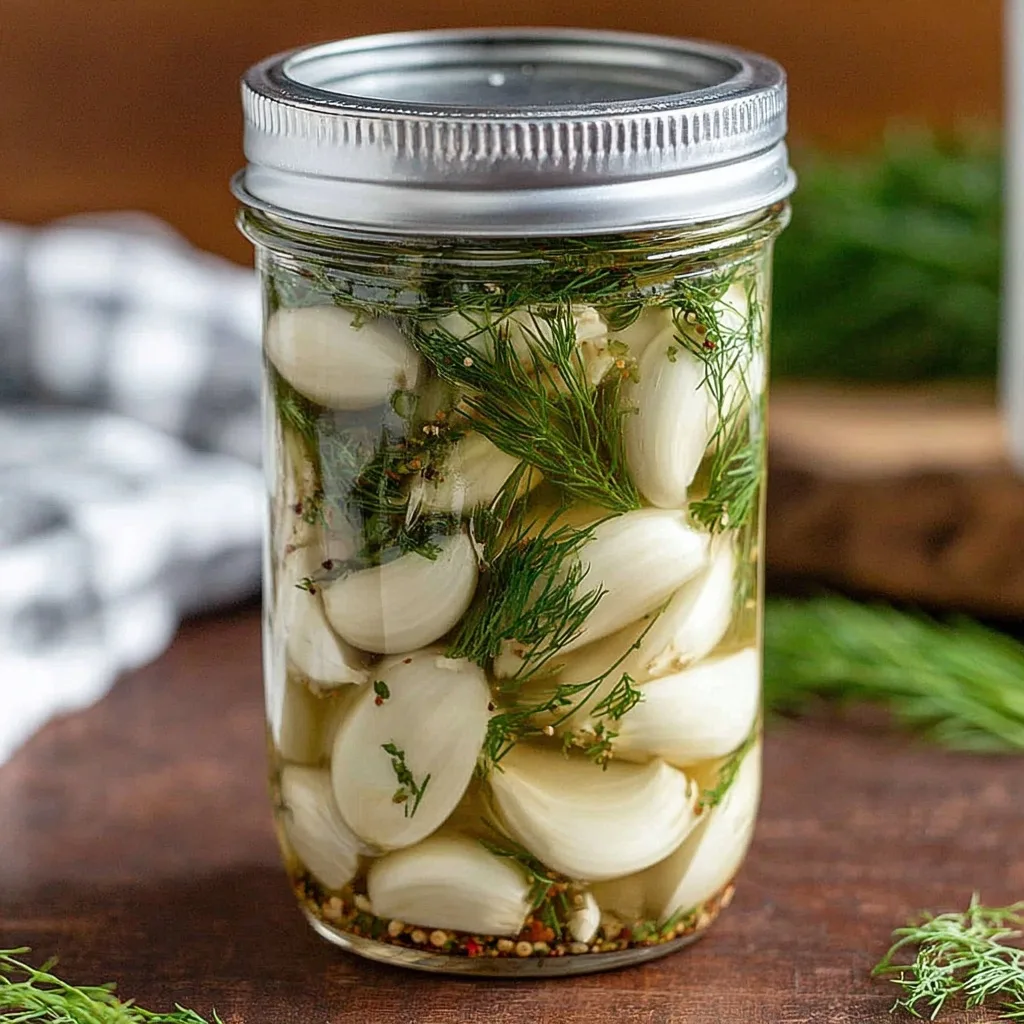
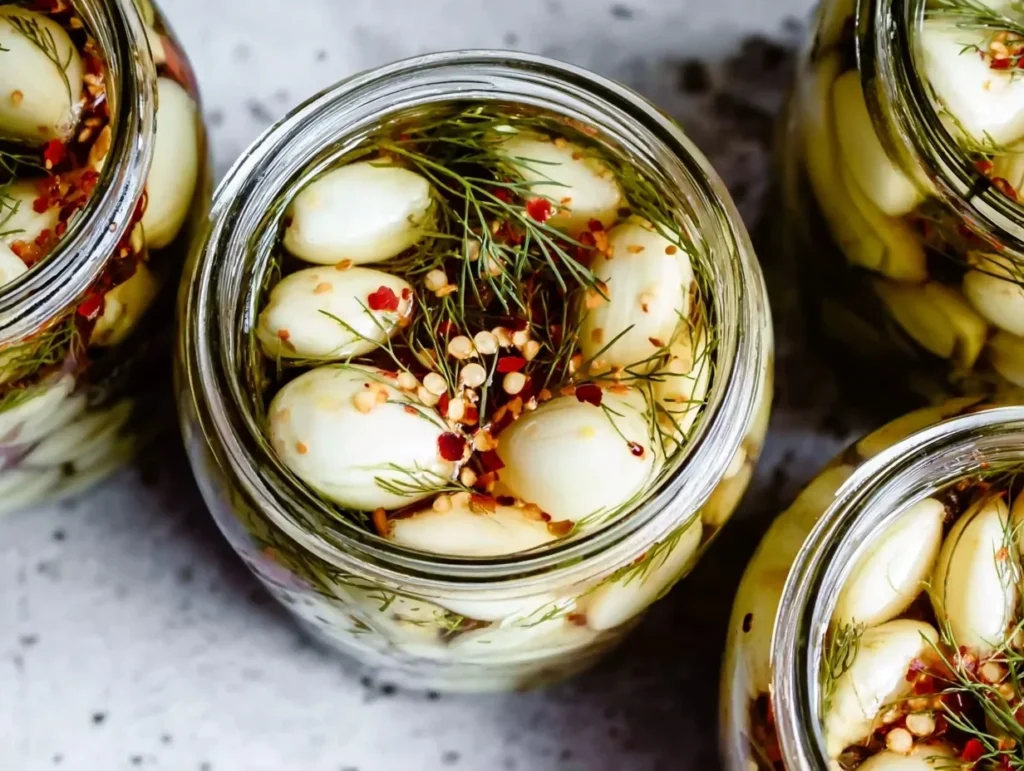
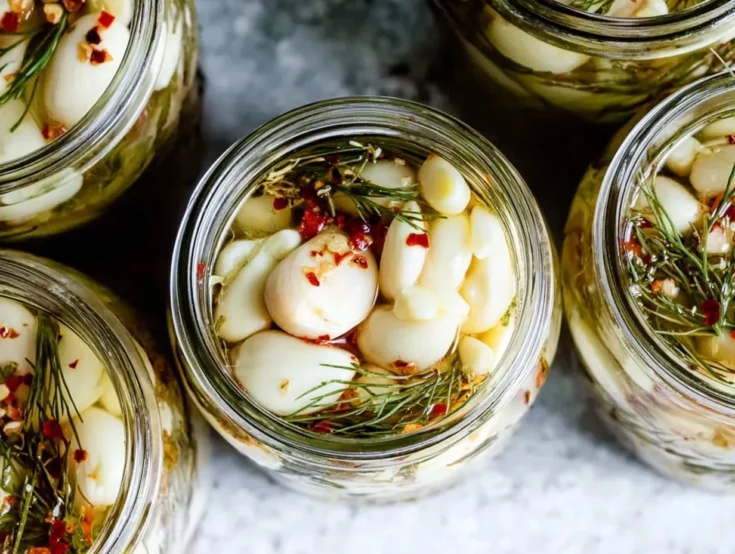
- Place peeled garlic, peppercorns, chili flakes, and herbs into a clean glass jar.
- Carefully pour the hot brine over the garlic until fully submerged.
Step 4: Seal & Store
- Seal the jar tightly and let it cool to room temperature.
- Once cooled, refrigerate the jar.
- Allow at least 3 days for the flavors to develop (though it gets better over time).
Tips & Tricks for Perfect Pickled Garlic
- Choose fresh, firm garlic – soft or sprouting cloves won’t pickle well.
- Don’t panic if garlic turns blue or green – it’s completely safe! The color change happens when natural compounds in garlic react with trace minerals in the vinegar.
- Spice it your way – add more chili flakes for heat, or try bay leaves, mustard seeds, or coriander for extra flavor.
- Use the right salt – non-iodized salt (like pickling or kosher salt) works best, as iodized salt can cloud the brine.
- Let it rest before tasting – the longer it sits, the deeper the flavor. Give it at least 3 days.
- Storage matters – always store in the fridge. Your pickled garlic will keep for up to 1 month.
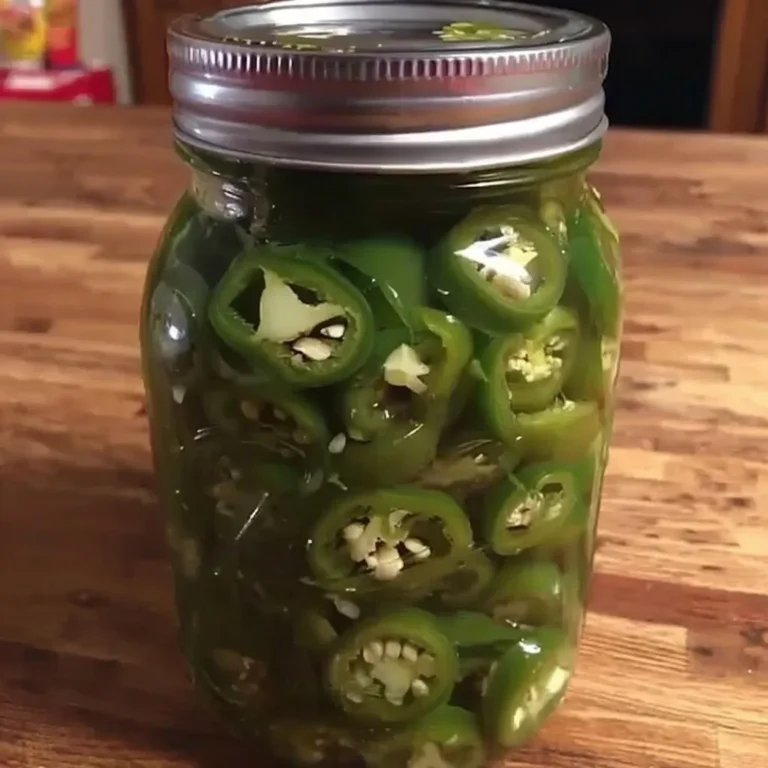
If you love adding a little heat to your pickles, try pairing this recipe with my Pickled Jalapeños Recipe. The combination of tangy garlic and spicy jalapeños is irresistible — perfect for tacos, grain bowls, or even topping homemade pizza.
How to Serve Pickled Garlic
Pickled garlic is one of those condiments that can instantly elevate simple dishes. Here are a few tasty ways to enjoy it:
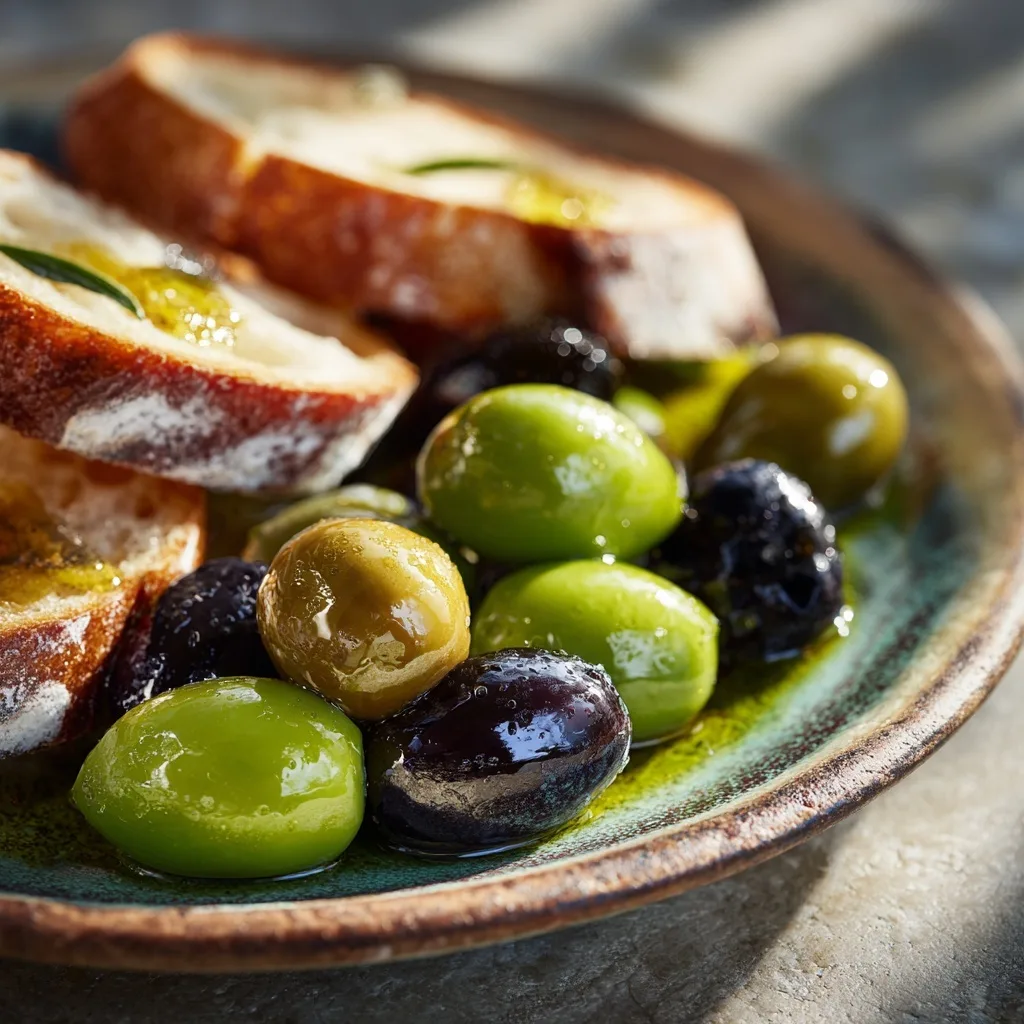
- With bread & dips – serve alongside hummus, olive tapenade, or a crusty baguette.
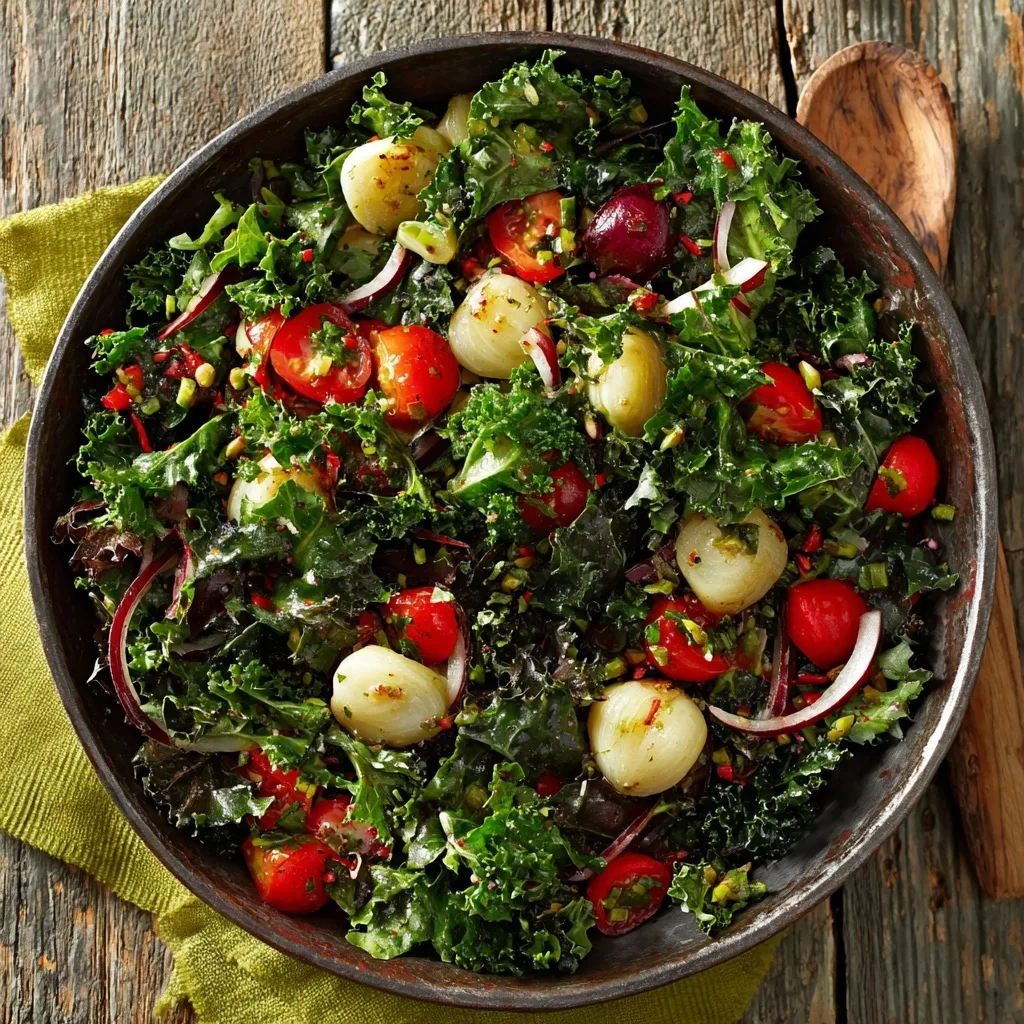
- In salads & bowls – chop and toss into grain bowls, pasta salads, or leafy greens for a tangy kick.
- With sandwiches & wraps – add a few cloves to vegan wraps, falafel pita, or veggie subs.
- On a charcuterie or mezze board – pairs beautifully with olives, pickles, and roasted veggies.
- As a quick snack – if you love bold flavors, enjoy a clove or two straight from the jar.
Tip: The mellow tang of pickled garlic pairs especially well with Mediterranean and Middle Eastern dishes.
Common Mistakes to Avoid When Pickling Garlic
Even though making pickled garlic is simple, a few little slip-ups can affect the flavor or shelf life:
- Using iodized salt – this can make your brine cloudy. Stick with pickling salt or kosher salt.
- Not fully submerging the garlic – any cloves sticking out of the brine may spoil faster.
- Opening too soon – it’s tempting, but garlic needs at least 3 days in the fridge to develop that perfect tang.
- Skipping clean jars – always use sterilized or freshly washed jars to keep your garlic fresh longer.
Storage & Shelf Life
Pickled garlic made this way is a refrigerator pickle, which means it’s not shelf-stable like canned pickles.
- Fridge storage: Lasts up to 1 month in a tightly sealed jar.
- Pantry storage: Only possible if you follow proper USDA canning methods with sterilized jars.
- Best practice: Always use a clean utensil to scoop out cloves — it prevents bacteria from getting in.
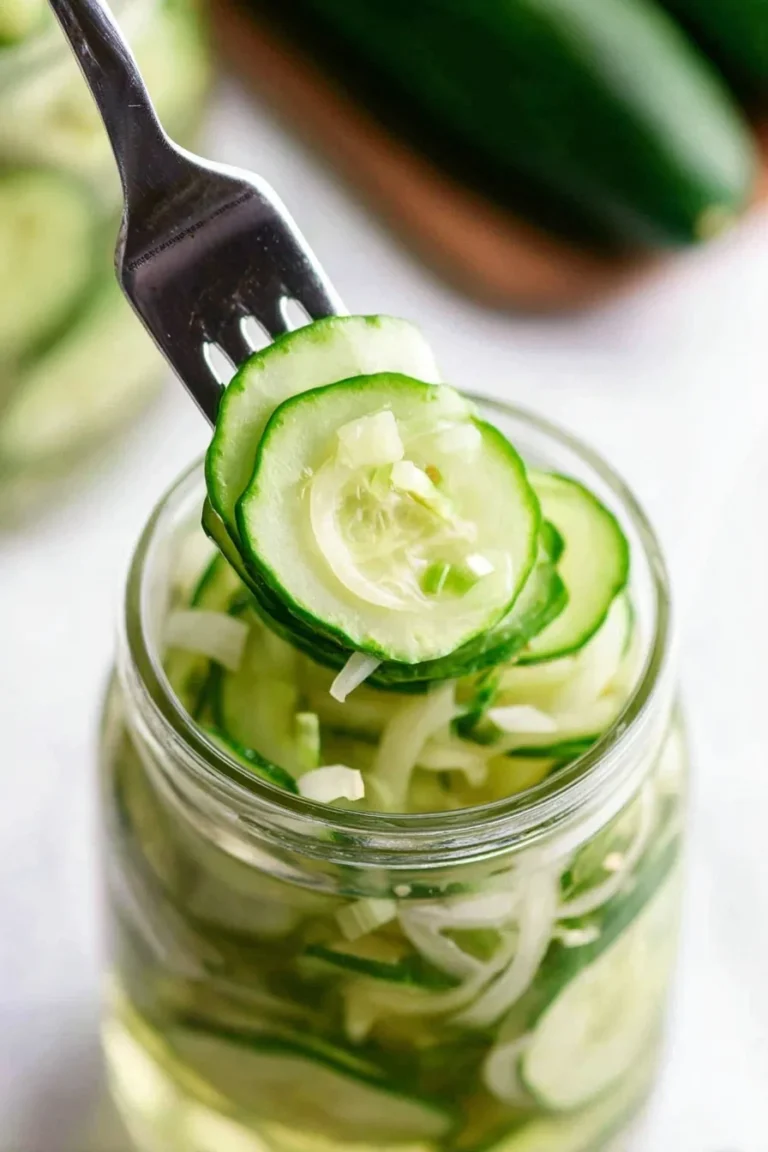
If you love quick pickling as much as I do, you’ve got to try my Refrigerator Pickles Recipe next. Just like this pickled garlic, refrigerator pickles are easy to make, full of tangy crunch, and completely vegan. They’re perfect for sandwiches, burgers, or snacking straight from the jar — and the best part is they come together in no time.
A Little History: Pickled Garlic Around the World
Pickled garlic isn’t new — cultures all over the world have been enjoying it for centuries:
- Mediterranean cuisine – often paired with olives, bread, and wine as part of mezze platters.
- Korean cuisine (maneul jangajji) – garlic cloves are pickled in soy sauce and vinegar for a savory, tangy side dish.
- Middle Eastern cuisine – served with grilled meats, falafel, and flatbreads.
- European traditions – in Italy and France, pickled garlic is sometimes infused with herbs and enjoyed as an antipasto.
This cultural background not only makes your recipe more interesting but also connects it to global food traditions.
Health Benefits of Pickled Garlic
Pickled garlic isn’t just tasty — it’s also packed with wellness perks that make it a smart addition to your plant-based meals:
- Rich in antioxidants – garlic contains compounds that help fight free radicals and support overall health (Healthline – Garlic’s Benefits).
- Supports your immune system – garlic is well-known for its natural antibacterial and antiviral properties.
- Gentler on digestion – pickling mellows garlic’s sharp bite, making it easier on the stomach compared to raw cloves.
- Boosts gut health – vinegar-based pickles add probiotics that can support healthy digestion (Harvard T.H. Chan School – Probiotics).
- Plant-based nutrition – naturally vegan and gluten-free, it’s a perfect fit for clean eating.
Tip: While pickled garlic is healthy, enjoy it in moderation — especially if you’re sensitive to vinegar or salt.
Disclaimer: Garlic (and other alliums like onions) may not be well-tolerated by everyone, particularly those with sensitive digestion or conditions like IBS. Always listen to your body and consult a healthcare professional if unsure.
Nutrition Information
Serving Size: 1 (about 2–3 cloves)
Servings Per Recipe: ~12
| Nutrient | Amount per serving |
|---|---|
| Calories | ~15 kcal |
| Carbohydrates | 3 g |
| Protein | 0.5 g |
| Fat | 0 g |
| Fiber | 0.2 g |
| Sodium | ~180 mg |
| Sugar | 1 g (from brine) |
| Vitamin C | ~2% DV |
Note: Nutrition values are approximate and may vary depending on the size of garlic cloves and the exact ingredients used.
Frequently Asked Questions
Is pickled garlic good for you?
Yes! Pickled garlic is full of antioxidants, supports the immune system, and is easier on the stomach than raw garlic. It’s a tasty, gut-friendly way to add garlic to your meals.
How long does pickled garlic last?
When stored in the fridge in a sealed jar, pickled garlic will last up to 1 month. For longer-term pantry storage, follow USDA-approved canning methods.
Are pickled garlic cloves still strong?
Pickling softens garlic’s sharp bite, making it tangier, slightly sweet, and much milder than raw cloves. Many people find it easier to eat straight from the jar!
Why does garlic turn blue or green when pickled?
It’s a natural chemical reaction between garlic’s sulfur compounds and trace minerals in the vinegar. It may look unusual, but it’s completely safe to eat.
Can I can pickled garlic for shelf storage?
Yes, but you’ll need to use sterilized jars and follow safe water-bath canning methods. The recipe here is a quick refrigerator pickle, not a canning recipe.
Recipe
Pickled Garlic Recipe
Ingredients
- 2 cups fresh garlic cloves, peeled
- 1 cup white vinegar (or apple cider vinegar)
- 1 cup water
- 1 tablespoon salt (non-iodized)
- 1 tablespoon sugar (optional, balances acidity)
- 1 teaspoon whole peppercorns
- ½ teaspoon chili flakes (optional, for heat)
- Fresh herbs (dill, thyme, or rosemary – optional)
Instructions
- Prepare the Garlic – Peel 2 cups of garlic cloves. Rinse and pat dry.
- Make the Brine – In a small saucepan, combine vinegar, water, salt, and sugar. Heat until dissolved, then remove from heat.
- Fill the Jar – Add garlic, peppercorns, chili flakes, and herbs into a clean jar.
- Pour the Brine – Carefully pour the hot brine over the garlic until fully submerged.
- Seal & Store – Close the jar tightly and let it cool to room temperature.
- Refrigerate – Store in the fridge for at least 3 days before eating (flavor deepens with time).
Notes
- If your garlic turns blue or green, don’t worry — it’s safe to eat.
- For spicier garlic, add extra chili flakes or even a sliced jalapeño.
- Always store in the fridge for safety — this is a quick refrigerator pickle, not a canning recipe.
- Garlic will keep up to 1 month refrigerated.
Nutrition Information:
Yield: 12 Serving Size: ~2–3 clovesAmount Per Serving: Calories: 15Total Fat: 0gCarbohydrates: 3gSugar: 1gProtein: 0.5g
Nutrition values are approximate and may vary depending on the size of garlic cloves and the exact ingredients used
And there you have it — a simple, delicious way to make pickled garlic right at home. With just a few pantry staples and a little patience, you can transform plain garlic into something tangy, flavorful, and totally addictive. It’s perfect for tossing into salads, serving with bread, or even sneaking straight from the jar (no judgment here!).
I’d love to hear how you make your pickled garlic — do you like it spicy, herby, or plain and simple? Drop your tips and questions in the comments below. And if you try this recipe, don’t forget to share your creations with me! Tag me on Instagram @QuickWhiskRecipes or save it to your board on Pinterest so you can come back to it anytime.
Happy pickling, friends — your jar of garlicky goodness is waiting!